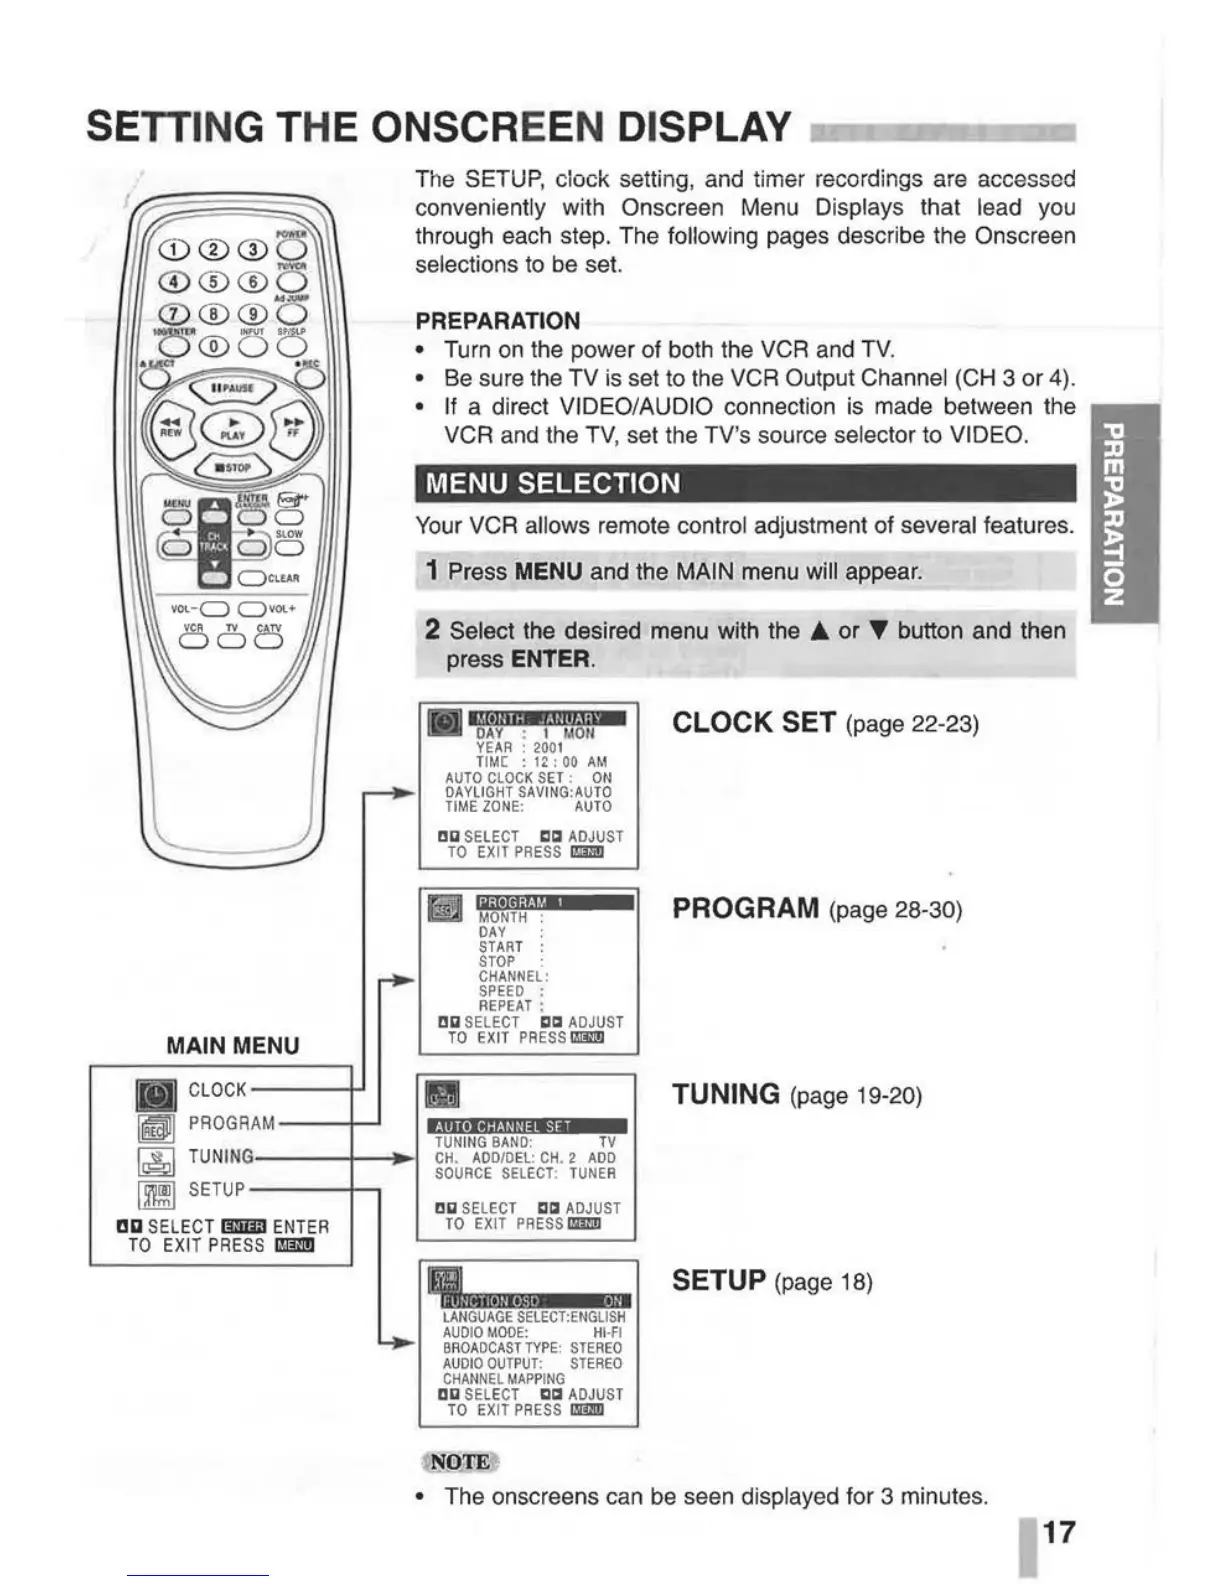
SETTING THE ONSCREEN DISPLAY
MAIN MENU
The
SETUP,
clock setting, and timer recordings are accessed
conveniently with Onscreen Menu Displays that lead you
through each step. The
following pages describe the Onscreen
selections
to
be set.
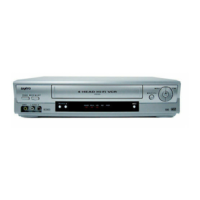
PREPARATION
• Turn
on
the power of both the
VCR
and TV.
•
Be
sure the TV
is
set to the VCR Output Channel
(CH
3 or 4).
•
If
a direct VIDEO/AUDIO connection is made between the
VCR and the TV, set the TV's source selector to
VIDEO.
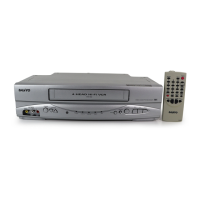
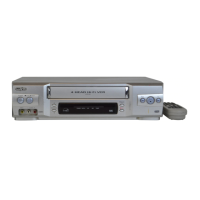
MENU SELECTION
Your
VCR allows remote control adjustment of several features.
1 Press MENU and the MAIN menu will appear.
2 Select the desired menu with the
J;.
or
~
button and then
press
ENTER .
•
11
j
@Jtli
:wt1JI
II61;
\W
DAY
: I
MON
YEAR
:
2001
TIM[ :
12
:
00
AM
AUTO
CLOCK
SET
:
ON
DAYLIGHT
SAVING:
AUTO
TIME
ZONE:
AUTO
DD
SELECT
CCI
ADJUST
TO
EXIT
PRESS
l!ml!l
fril
'!§JfAtM;•
DAY
START
:
STOP
CHANNEL:
S
PEED
:
REPEAT
:
DD
SELECT
CCI
ADJUST
TO
EXIT
PRESS
l!ml!l
CLOCK SET (page 22-23)
PROGRAM (page 28-30)
CLOCK
-----t-'
PROGRAM--
-I--'
~
TUNI
NG---I~~
~
~
SETUP
-
--I--t
l·lliieli:t.Jd@i#l•11
TUNING
BAND:
TV
CH
.
ADD/DEL:
CH
. 2
ADD
SOURCE
SELECT:
TUNER
DD
SELECT
CCI
ADJUST
TUNING (page 19-20)
DD
SELECT
miDll
ENTER
TO
EXIT
PRESS
lml1!l
TO
EXIT
PRESS
l!ml!l
.
lijiiiJIIi~i
!li'W
LANGUAGE
SELECT:
ENGLISH
AUDIO
MODE:
HI-FI
BROADCASTTYPE:
STEREO
AUDIO
OUTPUT:
STEREO
CHANNEL
MAPPING
DD
SELECT
CCI
ADJUST
TO
EXIT
PRESS
l!ml!l
· N0'FE
SETUP (page 18)
• The onscreens can
be
seen displayed for 3 minutes.
17
 Loading...