44
Service Manual Signum
Component Replacement SIWAEDG
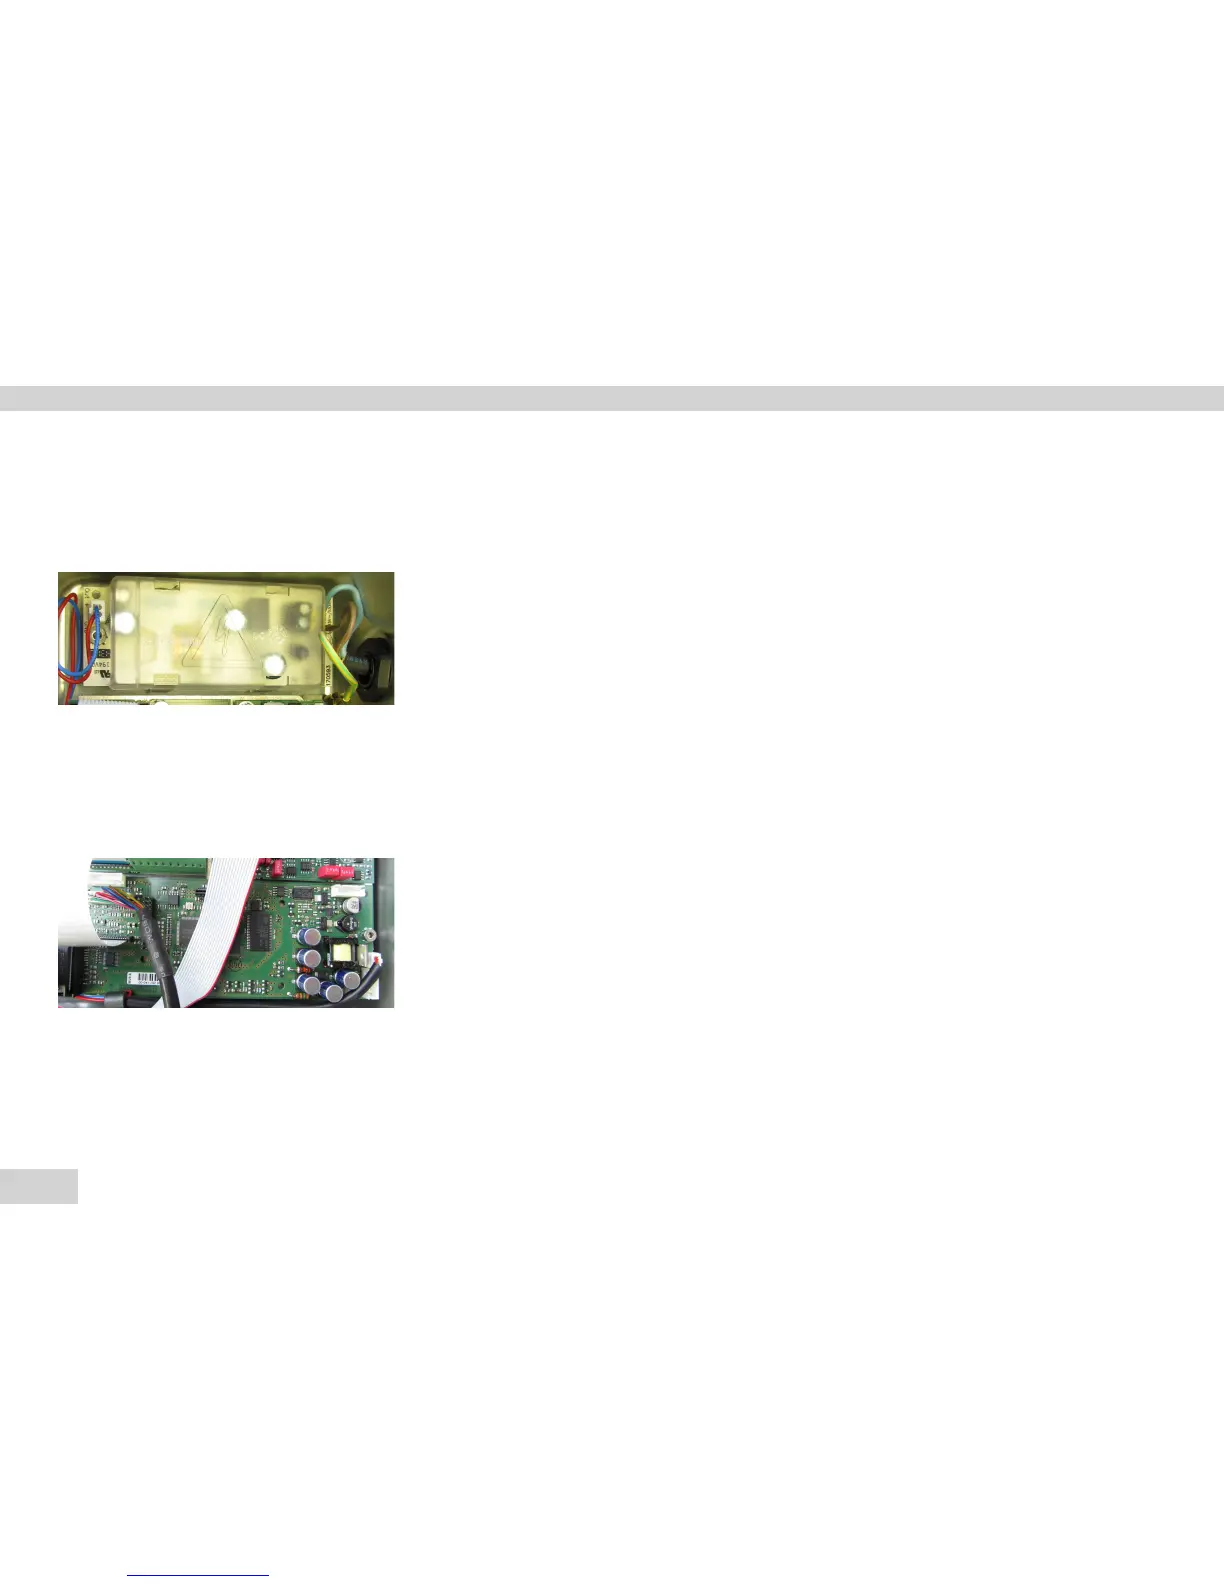
Replacing the Power Supply PCB
Opening the Display Unit (
see page 34 )
Caution: Unplug the power cord
– The protective cover needs to be lifted when replacing the power supply PCB.
To do this, insert a regular screwdriver into the four openings of the protective cover
and carefully press the clips located at the bottom to the side.
– Remove the protective cover and disconnect the power cord on the right (blue/brown).
– Remove the left plug (red/blue), remove the screws and replace the power supply.
Do not forget to reattach the protective cover.
Replacing the Main PCB
– Loosen and remove the ribbon cable and power supply cable
– Remove the screws, cable and replace the PCB
– Once the main PCB has been replaced, make sure that the plug connections are properly
reconnected.
 Loading...