Maintenance
WP33L_BA_K1_12_en_08.fm
69
8.14 Replacing the connecting rod
1. Remove the connecting rods as described in Chapter 8.10
“Replacing gudgeon pins / bearings“.
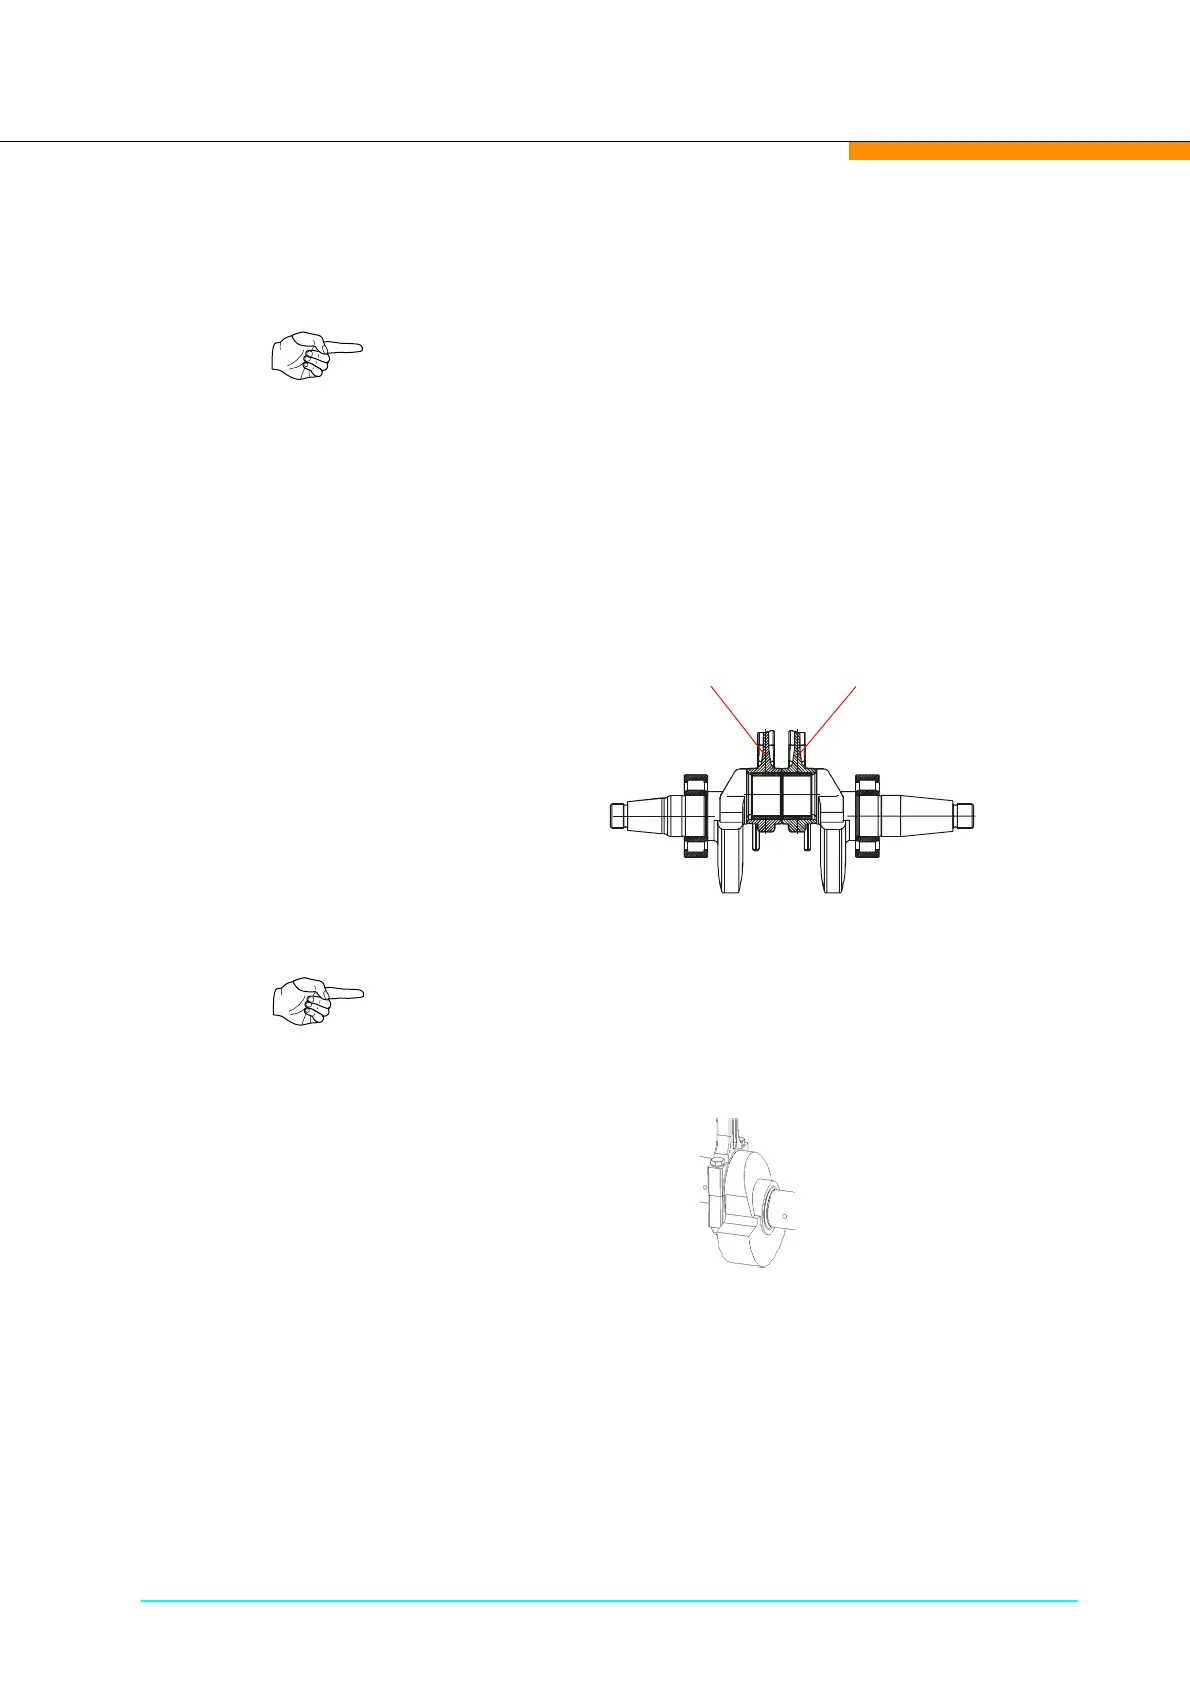
2. Place the well oiled connecting rods onto the crankshaft.
Make sure the connecting rods are in the correct position on
the crankshaft (see illustration).
After tightening, the connecting rod should rotate easily on
the crankshaft. Observe torque of 50 Nm (see Chapterl 8.4).
Note!
When replacing a connection rod, the gudgeon pin of the
corresponding stage must also be replaced.
2
nd
stage
1
st
stage
motor fan
Note!
Numbers are punched on the upper and lower halves of the con-
necting rod. These numbers must match. See illustration.
 Loading...