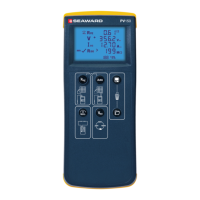
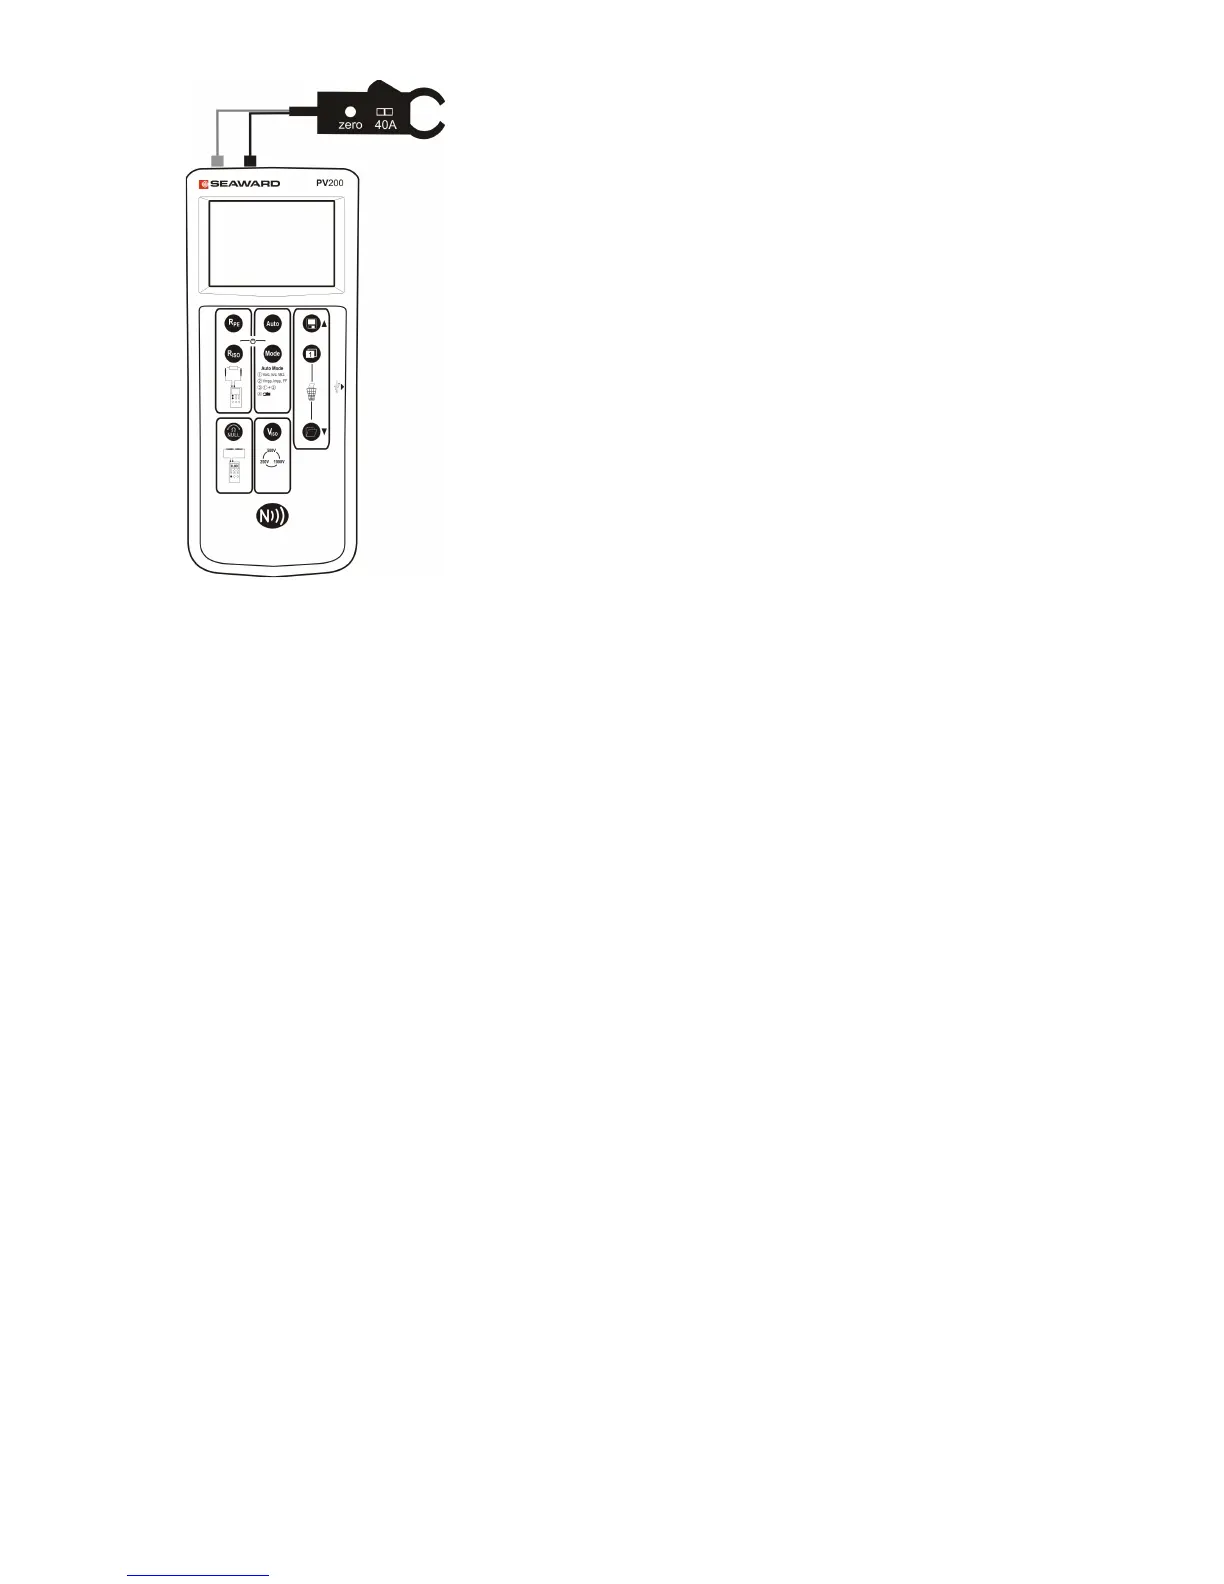
1. Disconnect all cables from the PV test inputs (8 &
9 in figure 2).
2. Connect the current clamp to the red – black
4mm probe inputs.
3. Move the current clamp switch to the 40A
position.
4. Press the zero key on the current clamp for a few
seconds.
5. Place the clamp around the DC cable of the solar
installation.
6. Press the Viso key until the clamp icon (figure 3,
icon b) appears on the LCD.
7. The measured current is shown on the LCD next
to the clamp icon.
Note: The Auto key is disabled whilst the DC power
measurement is in use.
5.12 Auto Shutdown
After 1 minute of being idle the PV200/210 will turn itself off in order to conserve
battery power. This auto shutdown period can be extended as follows:
1. Turn the PV200/210 unit off
2. Press and hold the NULL key, then press both the ON/OFF keys together.
Keep holding the NULL key.
3. The display will show “OFF” on line 1, and the turnoff time on line 2 (in
minutes)
4. Keep holding the NULL key and press the Viso key. Each press of the
Viso key will increment the turnoff time.
5. Increment beyond 10 to set the time back to 1 minute
Note: When displaying DC Operating Power (section 5.11) the Auto Shutdown
function is deactivated whilst DC voltage or current are detected. This will
allow extended time for monitoring DC power.
5.13 Error Messages
Under certain conditions, the PV200/210 may indicate an error message.
5.13.1 User serviceable error codes
 Loading...