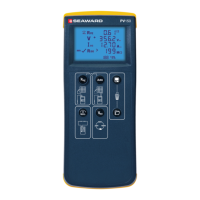
PV200/210 Operating Instructions
- 9 -
5
Using the Seaward PV200/210
5.1 Powering On the PV200/210
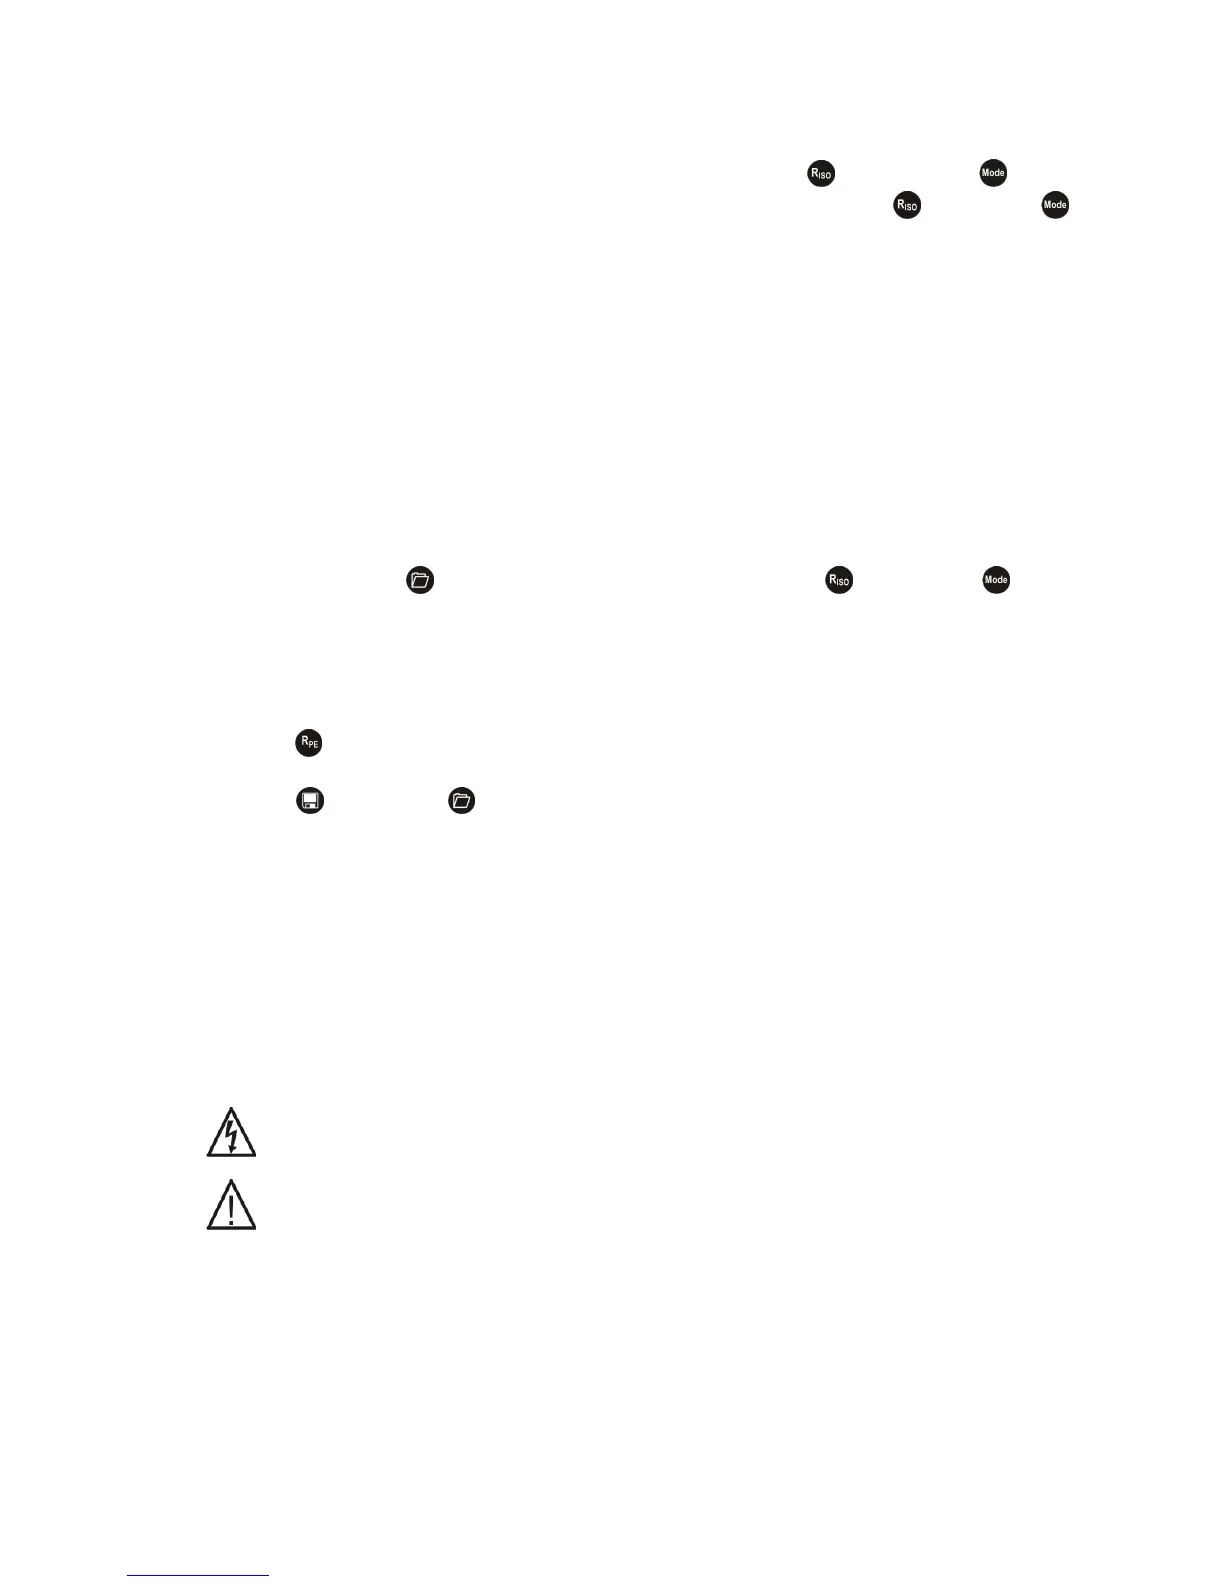
To turn the PV200/210 on, press and hold the Riso
and Mode
keys
simultaneously. To turn the PV200/210 off, press and hold the Riso
and Mode
keys simultaneously.
5.2 Battery Condition Check
The PV200/210 automatically performs battery condition checks whilst idle and during
measurements. When the battery level is low, the battery symbol icon will appear on
the PV200/210 display. The PV200/210 will continue to function, however the batteries
should be replaced.
Note: When the battery symbol icon is flashing all tests will be inhibited and the
batteries must be replaced immediately as described in section 9.4.
5.3 Setting the date and time
1. Turn off the PV200/210.
2. Press and hold the key and then press simultaneously the key and the key.
3. The date format and time format is shown as follows:
MM.DD = month (1-12). Day (1-31)
YYYY = year
HH.mm = hours (0-23).minutes (0-59)
SS = seconds (0-59)
4. Use the key to navigate to the field that you wish to change.
5. A flashing field shows that this field can be set.
6. Use the key and the key, to increase or decrease the value. With each change,
the seconds field is set to zero.
7. Turn off the device to save the setting.
Note: If the PV200/210 has established a Solarlink™ connection to the Survey
200R, the date/ time of the PV200/210 will automatically be synchronized to
the date/ time of the Survey 200R.
The Survey 200R real-time clock is the master and the PV 200/210 the
slave.
5.4
Protective Earth Resistance (Rpe) Function
Always ensure that the circuit under test is electrically isolated.
If the test probes are connected to a voltage >30V AC/DC the measured
voltage will be displayed on the LCD, the Rpe measurement function will be
disabled.
5.4.1 Test lead resistance null
The PV200/210 can automatically compensate for the resistance of the test leads using
the following procedure:
 Loading...