Secutron Inc. vii
List of Figures
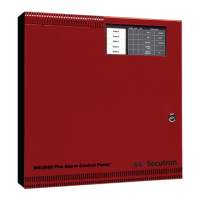
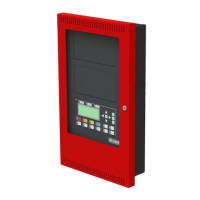
Figure 1 MR-2605 cabinet with door closed ................................................................................. 15
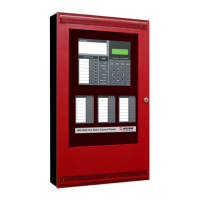
Figure 2 MR-2605 display and controls ........................................................................................ 15
Figure 3 MR-2605 Cabinet Overview ........................................................................................... 15
Figure 4 Zone Label Insert ............................................................................................................ 16
Figure 5 Panel Assembly and Modules Locations ........................................................................ 23
Figure 6 Mounting Dimensions ..................................................................................................... 24
Figure 7 Knockout Locations ........................................................................................................ 24
Figure 8 MR-2605 Terminals Descriptions ................................................................................... 25
Figure 9 Connecting 2-Wire Alarm Initiating Devices ................................................................... 27
Figure 10 Connecting 4-Wire Smoke Detectors ............................................................................. 27
Figure 11 Connecting NAC Devices (Class ‘B’) .............................................................................. 28
Figure 12 Connecting NAC Devices (Class ‘A’) .............................................................................. 28
Figure 13 Connecting Batteries ...................................................................................................... 29
Figure 14 Connecting AC Power .................................................................................................... 30
Figure 15 Connecting the Alarm and Trouble Relays ..................................................................... 30
Figure 16 Connecting Optional Devices ......................................................................................... 30
Figure 17 Locating the Walk Test Switch ....................................................................................... 40
Figure 18 Using the LED Indicators to Program the System .......................................................... 41
Figure 19 Using the Controls to Program the System .................................................................... 41
Figure 20 LED Indicators for Viewing the Event Buffer .................................................................. 51