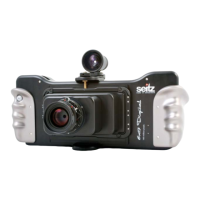
2.2 Step 2: Get the computer ready (continued)
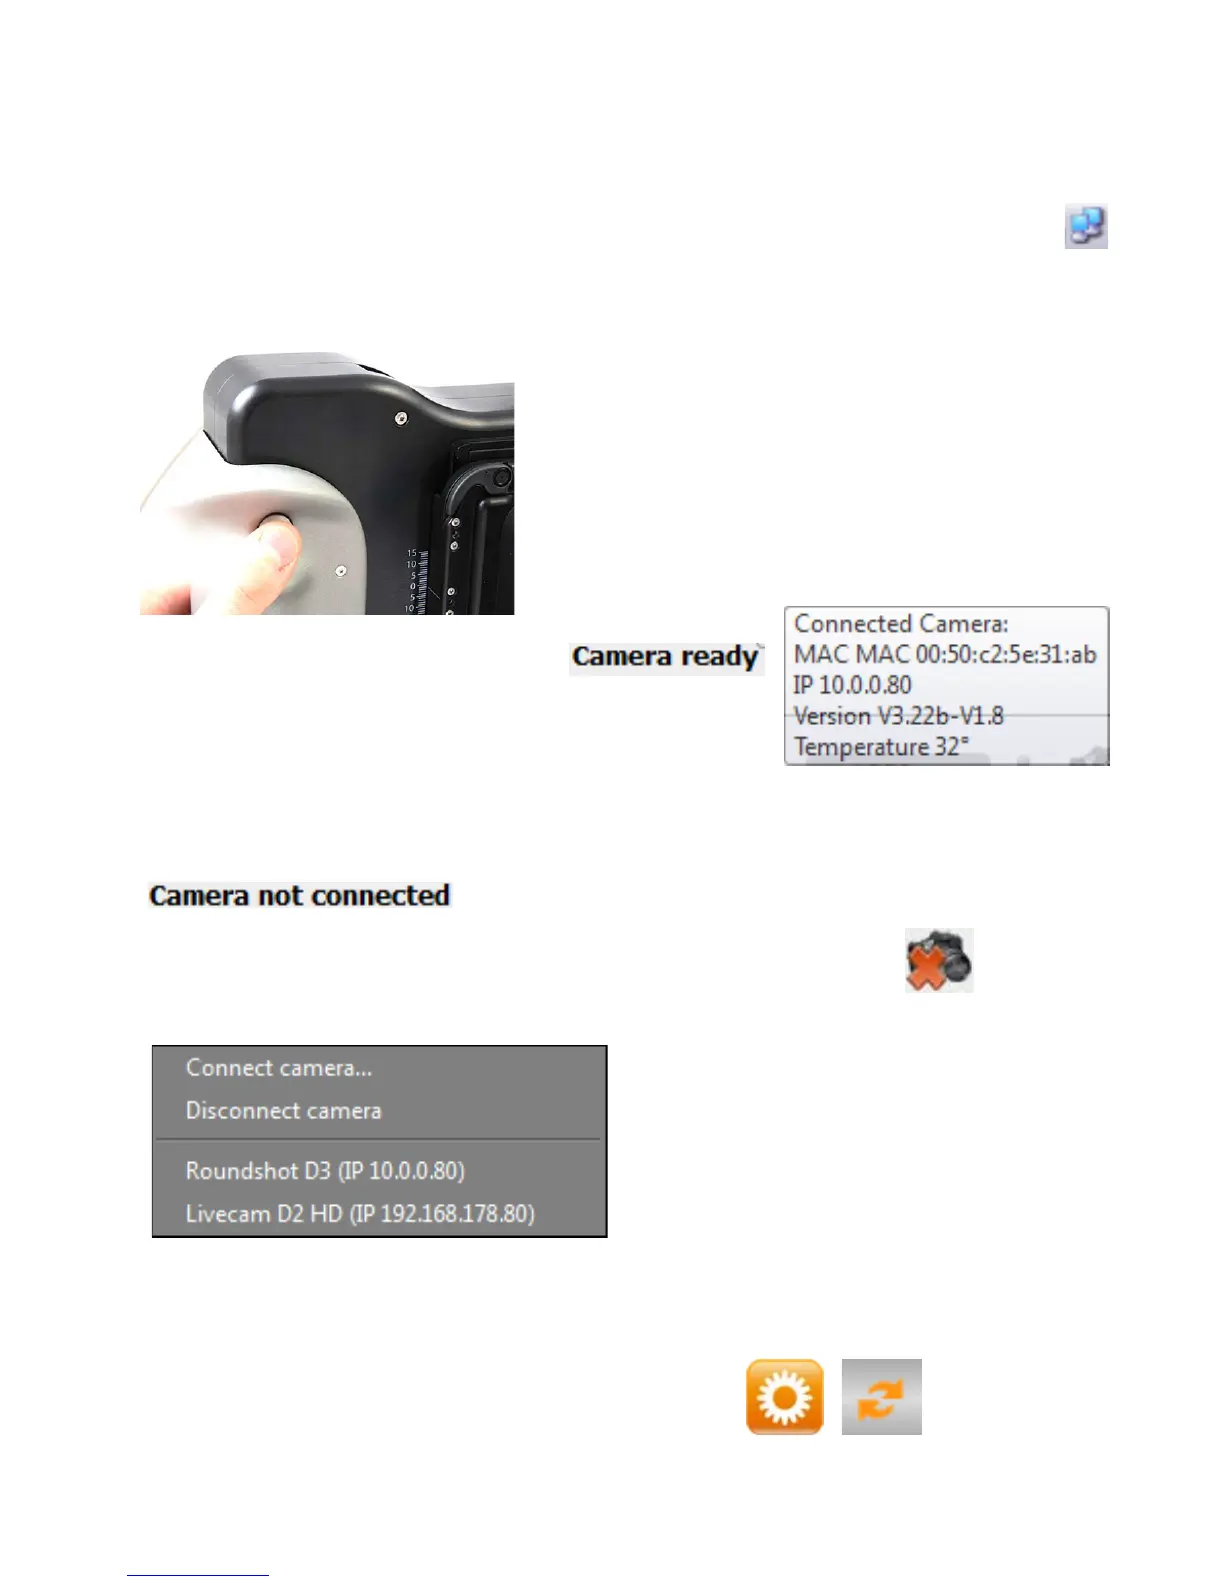
Press the „power on“ button on the camera to start the camera connection process.
The network connection icon shows the ongoing process. A network pop-up
confirms that the connection is established.
If the camera connection cannot be established automatically the “Camera not
connected” message appears in the lower left hand corner of the software:
The green LED (previously continuous green)
now starts to blink. The connection is confirmed
in the D3 software by the „Camera ready“
message which appears in the lower right hand
corner of the software. At the same time a small
pop-up window showing camera information as
IP address will appear in the lower right hand
corner of the software:
In the “shoot” menu click right on the camera connection icon:
The software searches in the network for
available cameras and displays them in a
list (with their IP addresses).
Click on the camera name to start the
connection.
If the camera cannot be connected it is possible to establish the connection by
clicking on
Establish the camera connection by confirming with “OK”.
Instruction Manual Seitz 6x17 Digital - version 4.05 - May 2013- © by Seitz Phototechnik AG / Switzerland www.roundshot.ch page 16