12
Sentinel Pro Installation and Setup Guide
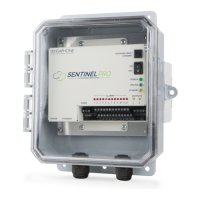
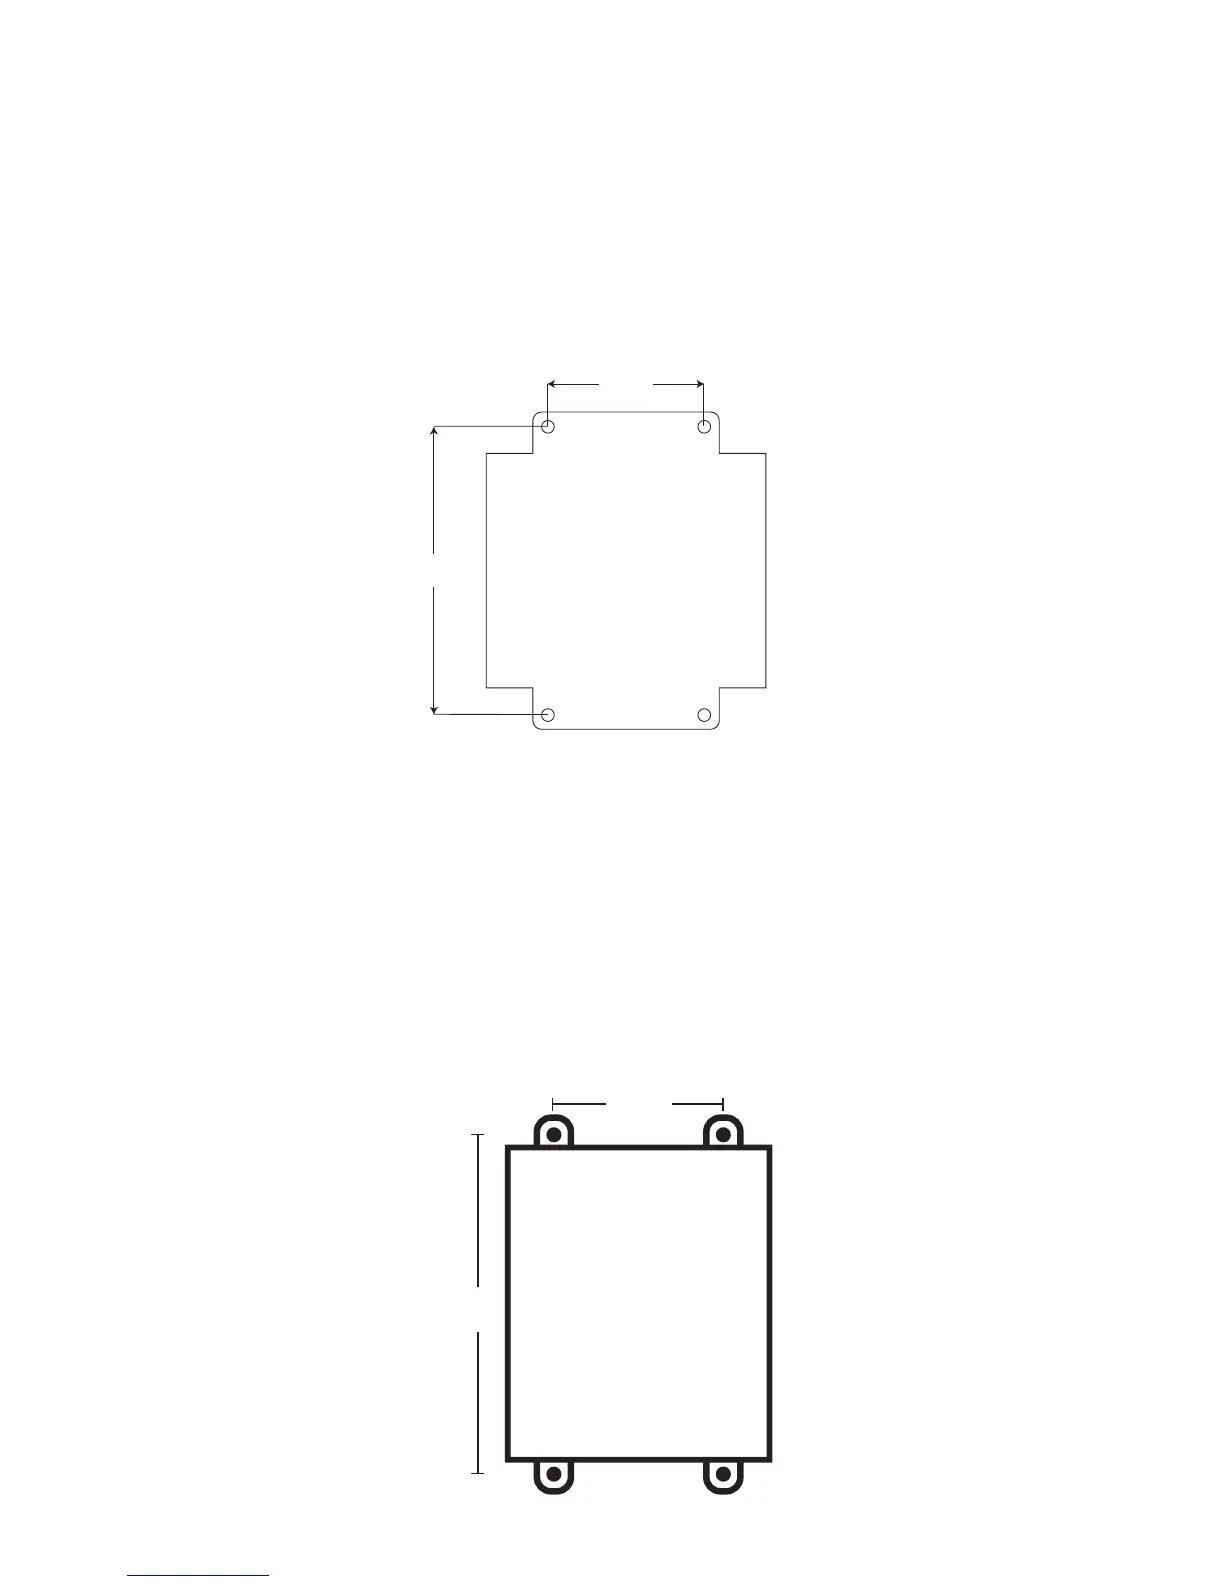
WALL MOUNT INSTALLATION
The Sentinel Pro can be wall mounted using dry wall anchors and (4) #8 screws. Follow the steps
below:
1) Install four drywall anchors (if necessary). Attach the Sentinel Pro using four #8 tapping screws. See
Figure 2 for dimensions.
2) Attach sensors to the zone terminals.
3) Plug the power adaptor into a 115VAC 50/60Hz outlet.
4) Connect a CAT5 cable to the Ethernet port and connect to a 10/100 network hub, switch or router.
5.75”
3.00
Figure 2: Sentinel Pro mounting dimensions
SENTINEL CELLULAR VERSION
The Cellular version of the Sentinel Pro includes a 4G modem and battery backup system to keep the
entire unit functioning for up to 8 hours. A special Battery Backup Controller is included to maintain
proper charging of the 12V backup battery and automatically switchover when power fails. The unit is
packaged in a NEMA-4X Polycarbonate enclosure with a universal 12V power supply. Cellular subscrip-
tion plans are available from Sensaphone.
Mounting Dimensions (Cellular):
10.54”
268mm
13.3”
 Loading...