Doc No. 006-0211-00 Rev AK Page 10 of 33
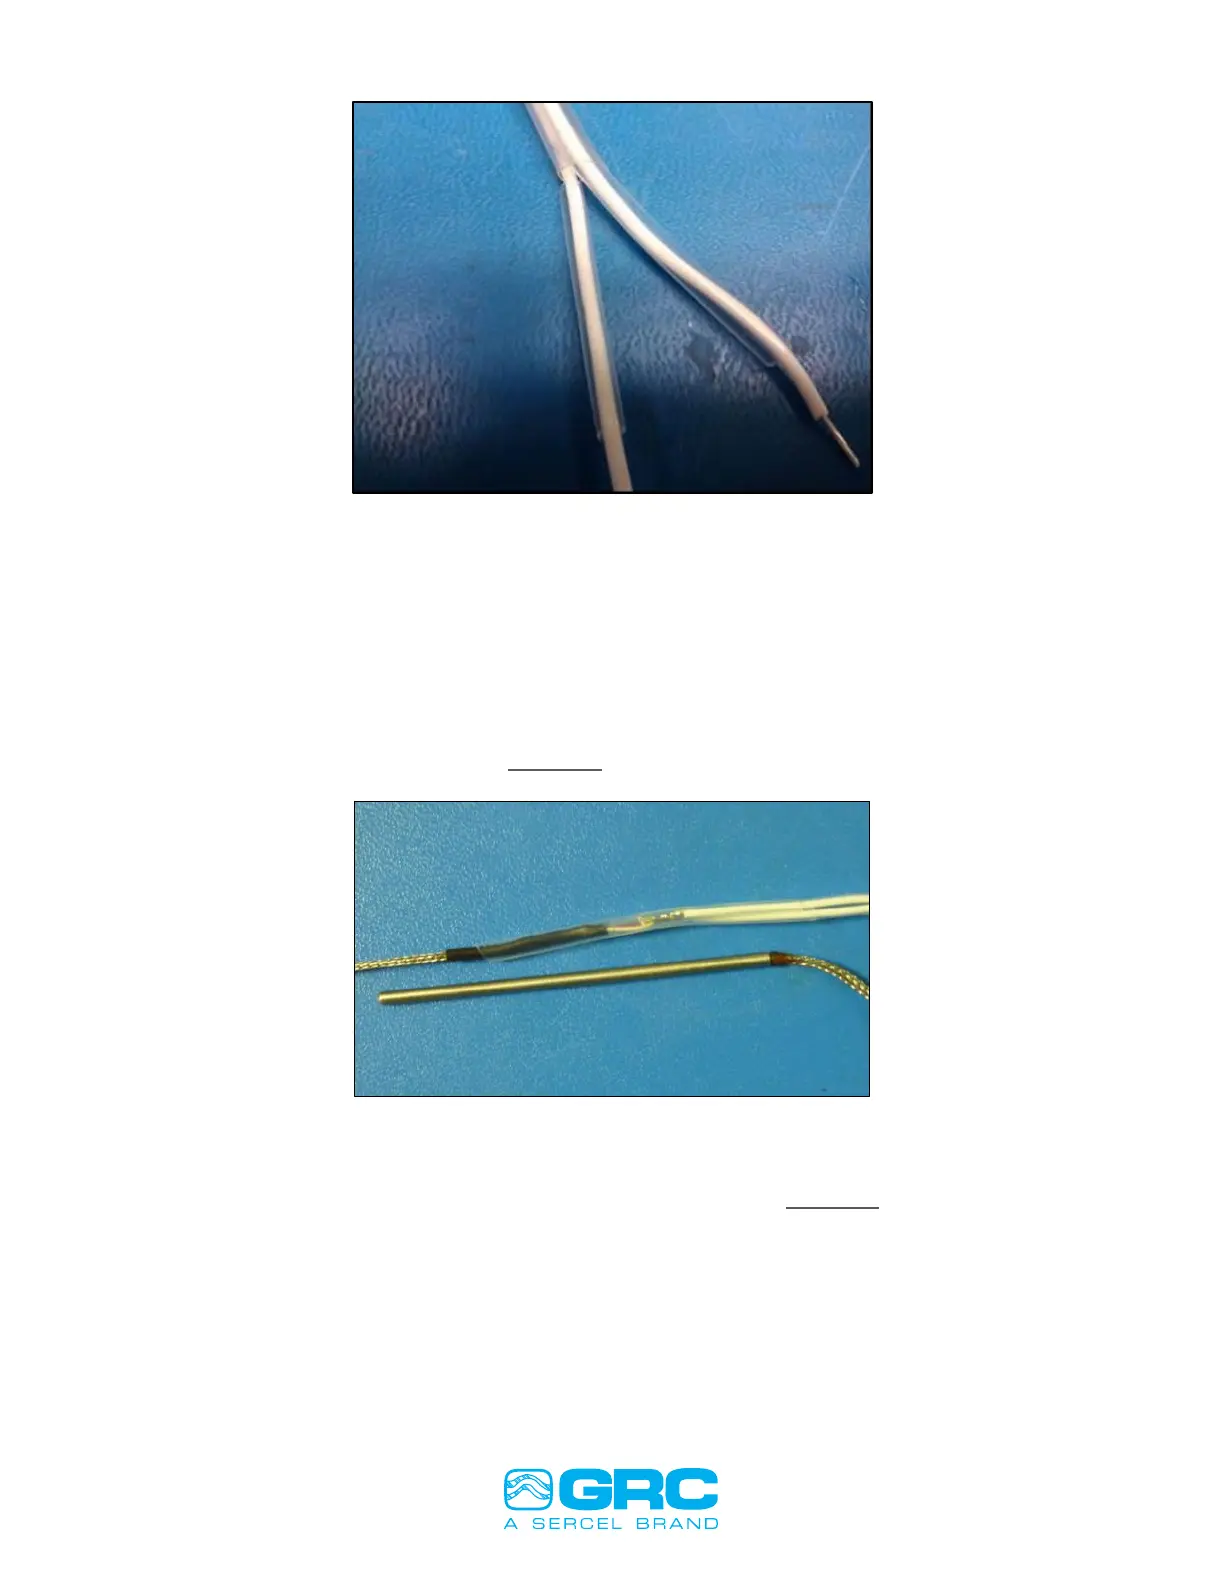
Figure 5: Three Pieces of Shrink Tubing on the Gauge Wires
6. Twist one RTD wire and one RTD gauge wire together creating a splice so that it
appears as a straight wire and not two wires side by side. At this time solder the
two wires together using high temp solder. Do the same step for the other two
wires (one from the RTD and the other from the gauge).
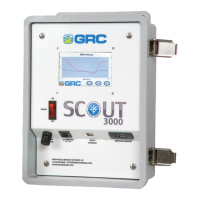
7. Slide the heat shrink tubing down over each individual soldered bare wire and
heat shrink the two pieces of tubing using a hot air gun (heat gun). The solder
joint should be located in the center of the length of the tubing and the result
should appear as shown in FIGURE 6.
Figure 6: Long Piece of Heat Shrink Tubing Over Both Wires
8. Slide the longer piece of heat shrink tubing over both wires so that the solder
joint is centrally located inside the tubing as shown in FIGURE 7.