15
© Setra Systems, Inc. All Rights Reserved. The Setra Systems name and logo are registered trademarks of Setra Systems, Inc.
Rough-in Installation
Completing the Installation
1. Connect all the electrical connectors matching the
wiring connector with the mates on the back of the unit.
Some connectors are color-coded and keyed to prevent
mis-wiring.
2. Connect any remaining pressure signals to HIGH and
LOW ports on pressure sensors, utilizing the clear tubing
with integrated external springs to prevent crimping.
3. As you push the Setra FLEX unit into the electrical box,
push the black nylon tubing (if on-board sensor is used)
into the conduit tube or into the wall cavity. The supplied
clear tubing should be the only tubing in the electrical
box after the unit is slid in as far as it will go.
4. When wiring is complete, push the FLEX unit into the
enclosure and secure with four (4) mounting screws.
5. Leaving FLEX display in its lowered position on hinges,
apply power so the FLEX unit starts operation.
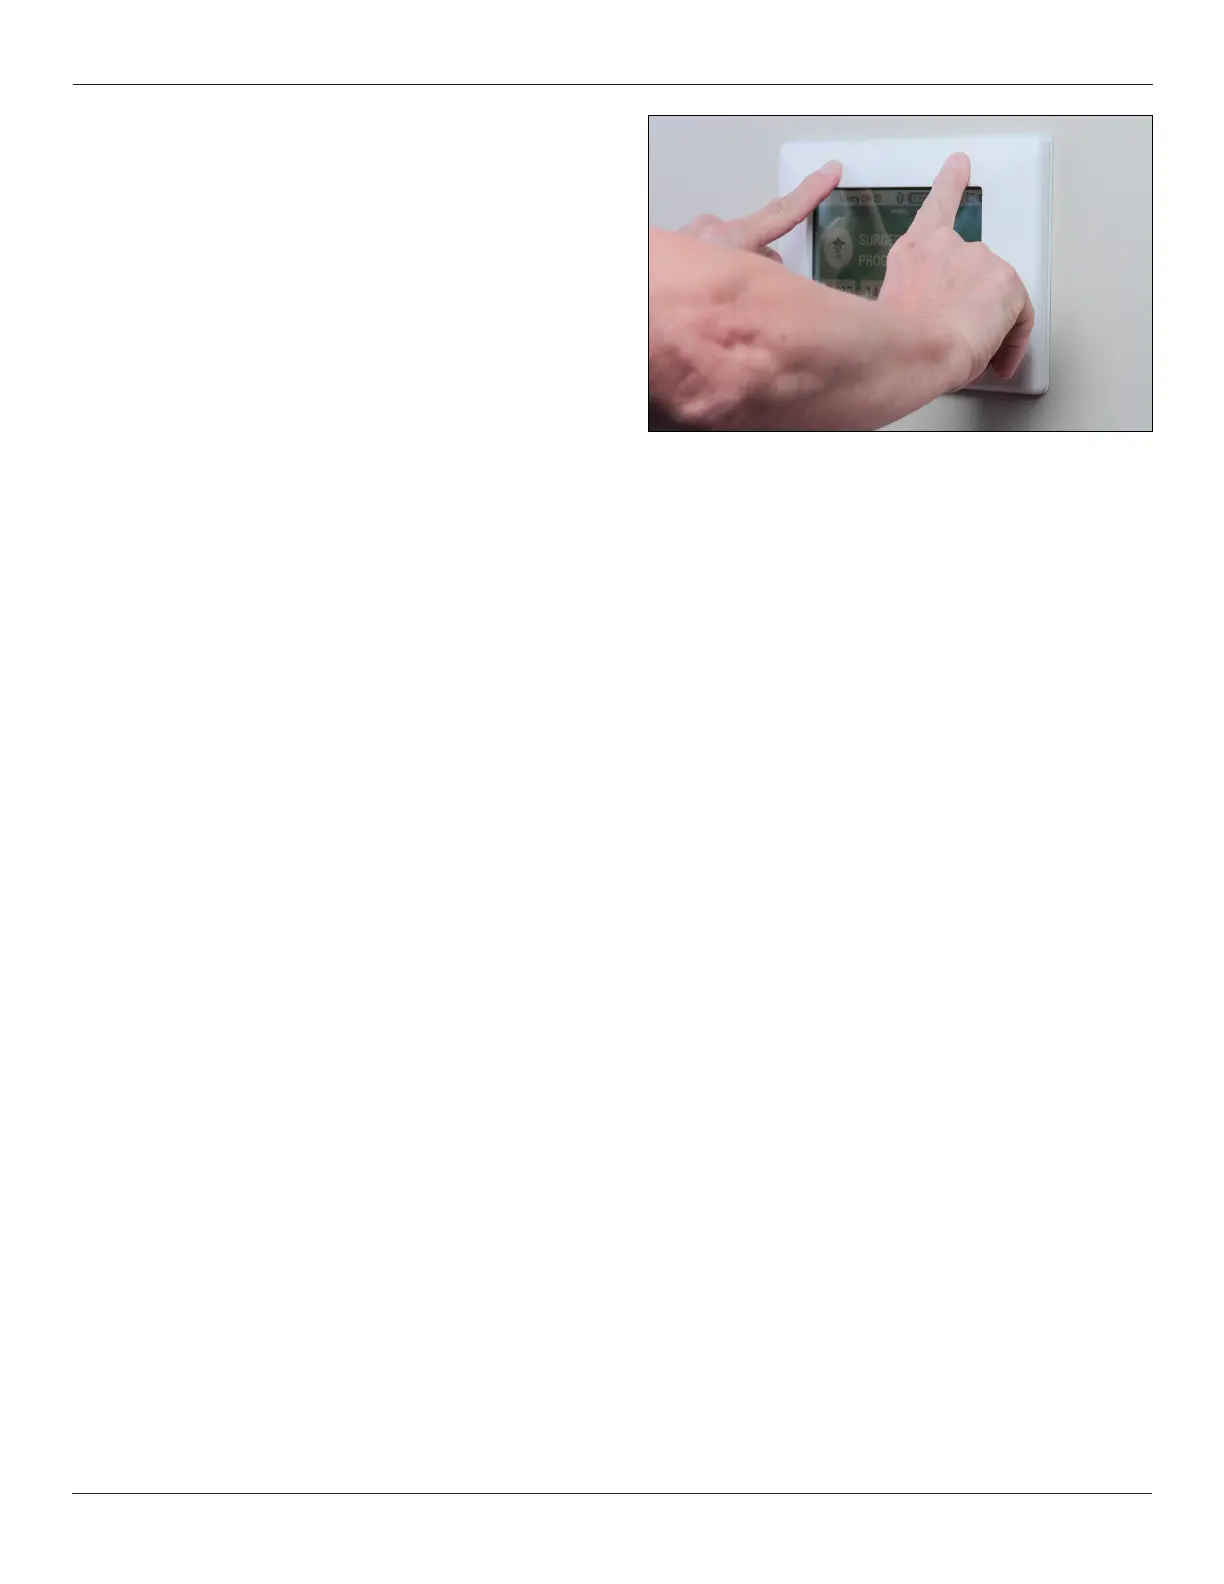
6. When the FLEX initial conguration screen appears,
swing the display and faceplate housing up and press
inplacesothatsecurityrollerslockthedisplayrmlyin
place tight against the wall surface.
All FLEX units with on-board sensors, and external
transducers should be powered and operational for 30
minutes for warmup time and to ensure acclimated
conditions are met for one-time pressure sensing
stabilization. If necessary, after the 30 minute warmup,
units can be re-zeroed if no room pressure is present
(open door, or no airflow, or disconnect pressure tubes).
2.6 Servicing FLEX
In the event the FLEX unit needs to be recalibrated or
removed for service, security holes at the bottom of the
faceplate enable the display to be pulled back from the
wall surface. Slide a terminal screw driver gently into the
holes until it stops. Then rotate the screw driver blade 90
degrees to unattach the faceplate snaps. Repeat for both
holes.