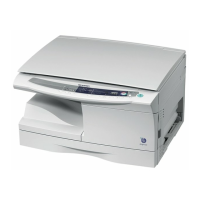
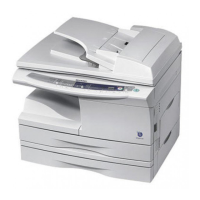
AL-1551CS DISASSEMBLY AND ASSEMBLY 8 - 1
[8] DISASSEMBLY AND ASSEMBLY
The disassembly and assembly procedures are described for the fol-
lowing sections:
1. High voltage section
2. Operation panel section
3. Optical section
4. Fusing section
5. Tray paper feed/transport section
6. Manual paper feed section
7. Rear frame section
8. Power section
9. SPF section
10. 2nd cassette section
11. Duplex motor section
12. Reverse roller section
13. RSPF section
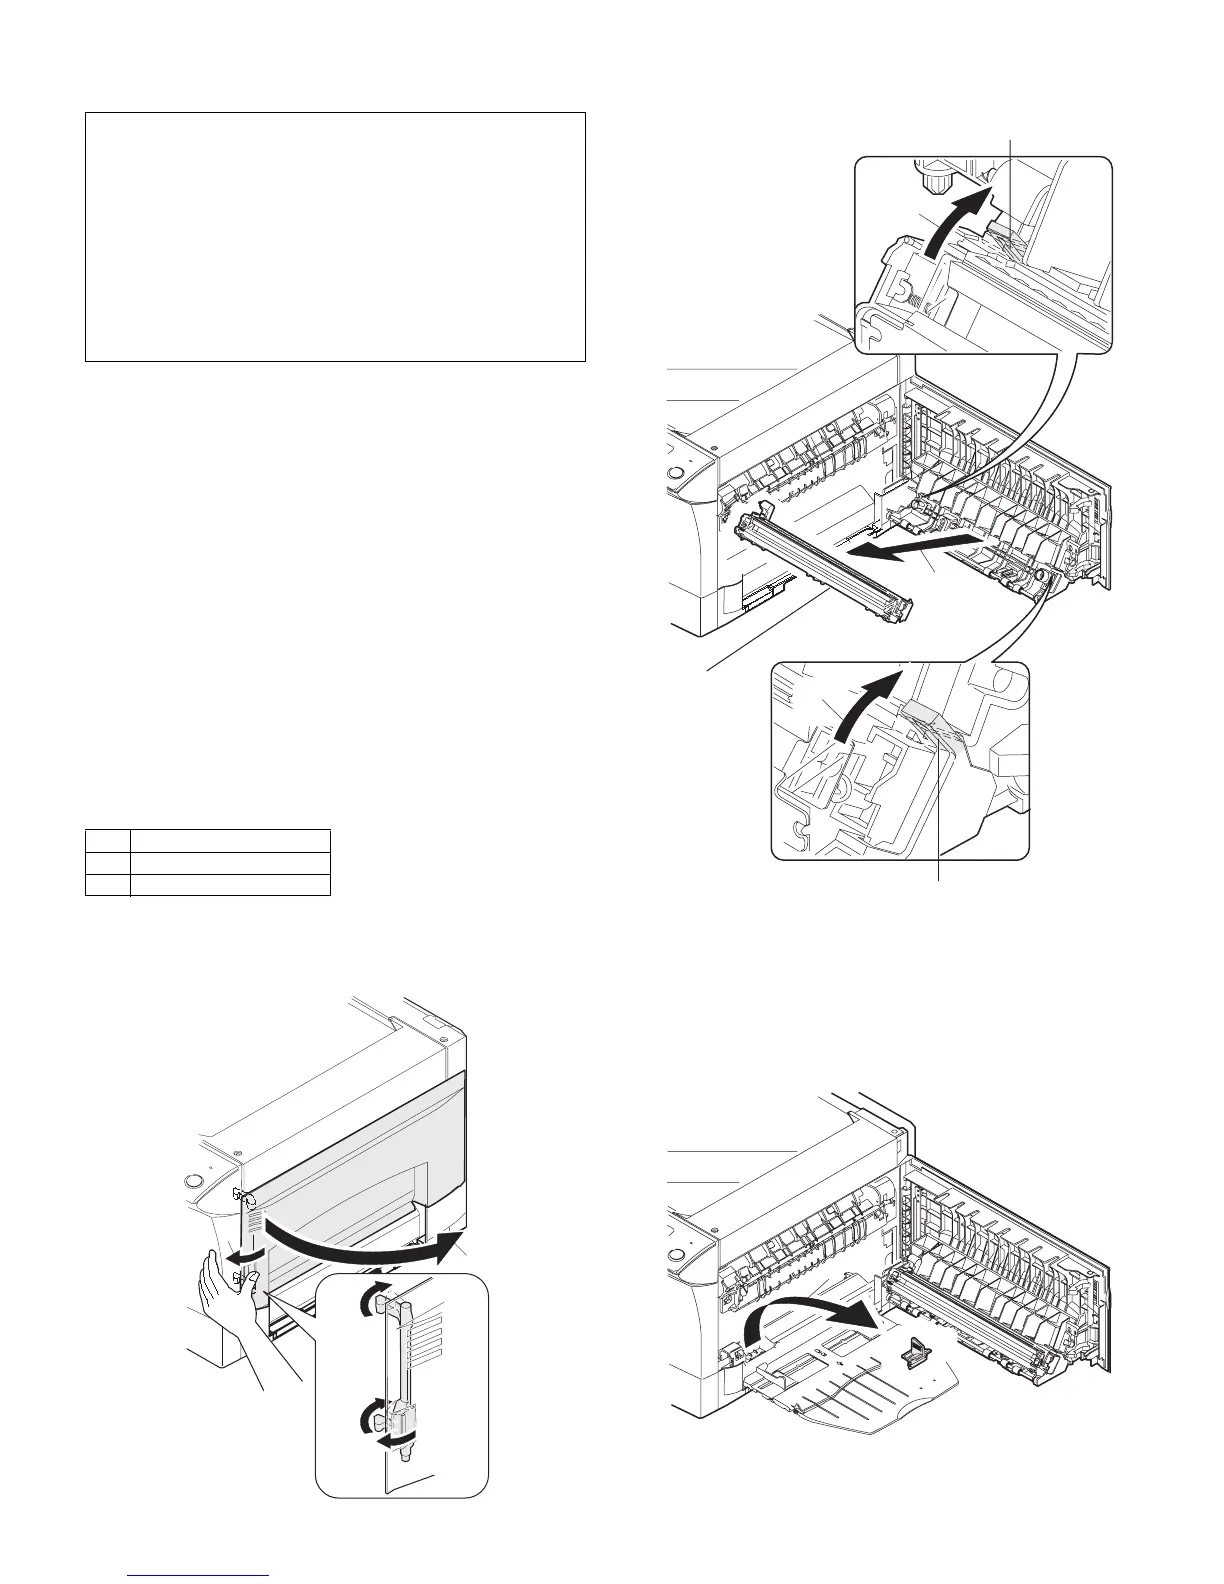
1. High voltage section
A. List
B. Disassembly procedure
1) Press the side cover open/close button and open the side cover.
2) Push up the lock pawls (2 positions) of the side cover, and remove
the transfer charger.
C. Assembly procedure
For assembly, reverse the disassembly procedure.
D. Charger wire cleaning
1) Remove the charger cleaner from the manual paper feed unit.
Before disassembly, be sure to disconnect the power cord for
safety.
1. Do not disconnect or connect the connector and the harness
during the machine is powered. Especially be careful not to
disconnect or connect the harness between the MCU PWB
and the LSU (MCU PWB: CN119) during the machine is
powered. (If it is disconnected or connected during the
machine is powered, the IC inside the LSU will be destroyed.)
2. To disconnect the harness after turning on the power, be
sure to turn off the power and wait for at least 10 sec before
disconnection. (Note that a voltage still remains immediately
after turning off the power.)
No. Part name Ref.
1 Transfer charger unit
2 Charger wire
1)
2)
2)
1)
1)
Transfer
charger
Lock pawl rear
Lock pawl front
1)