CONTROL
PANEL
ASSEMBLY
AND
COMPONENTS
REMOVAL
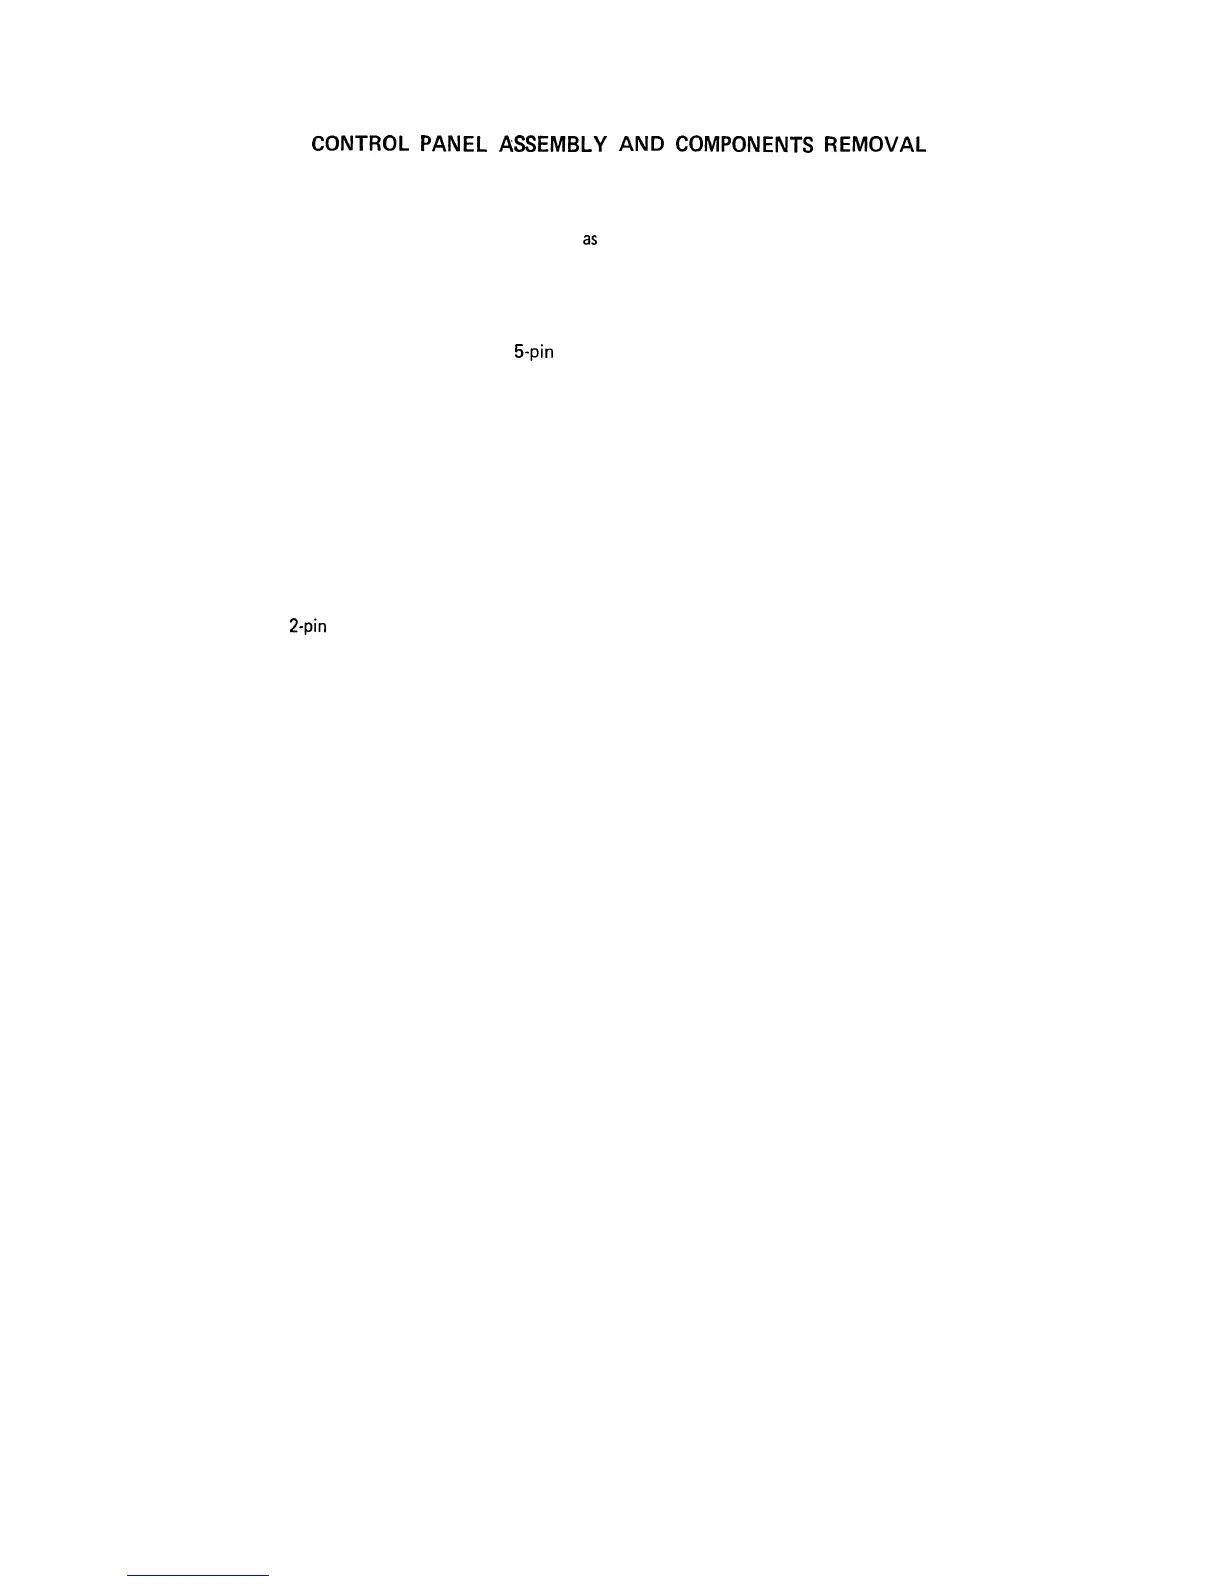
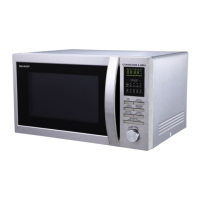
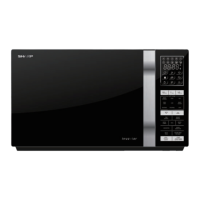
The complete control panel should be removed for
replacement of the components.
To remove the control panel, refer to Figure 34 and
as
proceed as follows:
1. Disconnect the oven from the power supply and remove
the outer case.
2. Discharge the high voltage capacitor.
3. Disconnect the 1 l-pin connector and
5-pin
wire
connector from the control unit.
4. Remove the single (1) screw holding the control panel
to the chassis support.
5. Remove the two (2) screws holding the bottom edge of
the control panel to the base cabinet (A).
6. Remove the single (1) screw holding the control panel to
the oven cavity front flange.
7. Pull the control panel forward.
Replacement of individual component is as follows:
CONTROL UNIT AND KEY UNIT
1. Disconnect the
2-pin
connector from the control unit.
2. Take off the 1 l-pin connector of key unit from the
control unit.
3. Remove the seven (7) screws holding the control panel
and key unit angle to the back plate.
4. Separate the back plate and control panel frame.
Key Unit:
1. Remove the single (1) screw holding the key unit angle
to the control panel frame.
2. Key unit is now free.
Control Unit:
1. Remove the two (2) screws holding the control unit to
the back plate.
2. Lift up the control unit and remove it.
STOP SWITCH
1. Disconnect the wire leads from the switch.
2. Remove the screw holding the switch to the open device.
108