Maintenance and Repair 5
Shield Fire, Safety and Security Ltd.
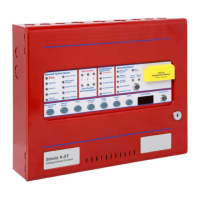
Shield A-XT Releasing Fire Control Panel - Installation and Operation Manual SEXTCP-OM
Revision E01.00
54 of 127
Installing the Battery-Fuse
To install the Battery-Fuse:
AC Input Fuse
The following procedures describe methods for removing and installing the AC input fuse of the Shield A-XT
Releasing Fire Control Panel.
Removing the AC Input Fuse
To remove the AC input fuse:
1 Confirm that cabling connections at the EXTING. terminals are disconnected.
2 Confirm that 115 VAC or 230 VAC is turned-off at the power source.
3 Confirm that the red-lead of the recharging circuit is disconnected from the positive terminal of the
standby-battery.
4 Install the replacement fuse in the upper-half of the fuse-housing.
5 Connect the upper-half to the lower-half of the fuse-housing.
6 Secure the fascia to the cabinet of the Shield A-XT Releasing Fire Control Panel using the two
retaining-screws.
7 Re-connect the red-lead of the recharging circuit to the positive terminal of the standby-batteries.
8 Re-connect cabling to the EXTING. terminals of the Shield A-XT Releasing Fire Control Panel.
9 Close and lock the door of the Shield A-XT Releasing Fire Control Panel.
10 Turn on 115 VAC or 230 VAC at the power source.
11 Test the fire control panel by operating it to determine that it functions.
1 Disconnect cabling connections at the EXTING. terminals of the Shield A-XT Releasing
Fire Control Panel.
2 Turn off 115 VAC or 230 VAC at the power source.
3 Unlock and then open the door of the Shield A-XT Releasing Fire Control Panel.
4 Remove the AC input fuse from the terminal block housing.