Mark VII Restored Manual - V1.02 – Donated without cost to the world-wide Shopsmith Community - Everett L. Davis 2016 19
CROSSCUTTING
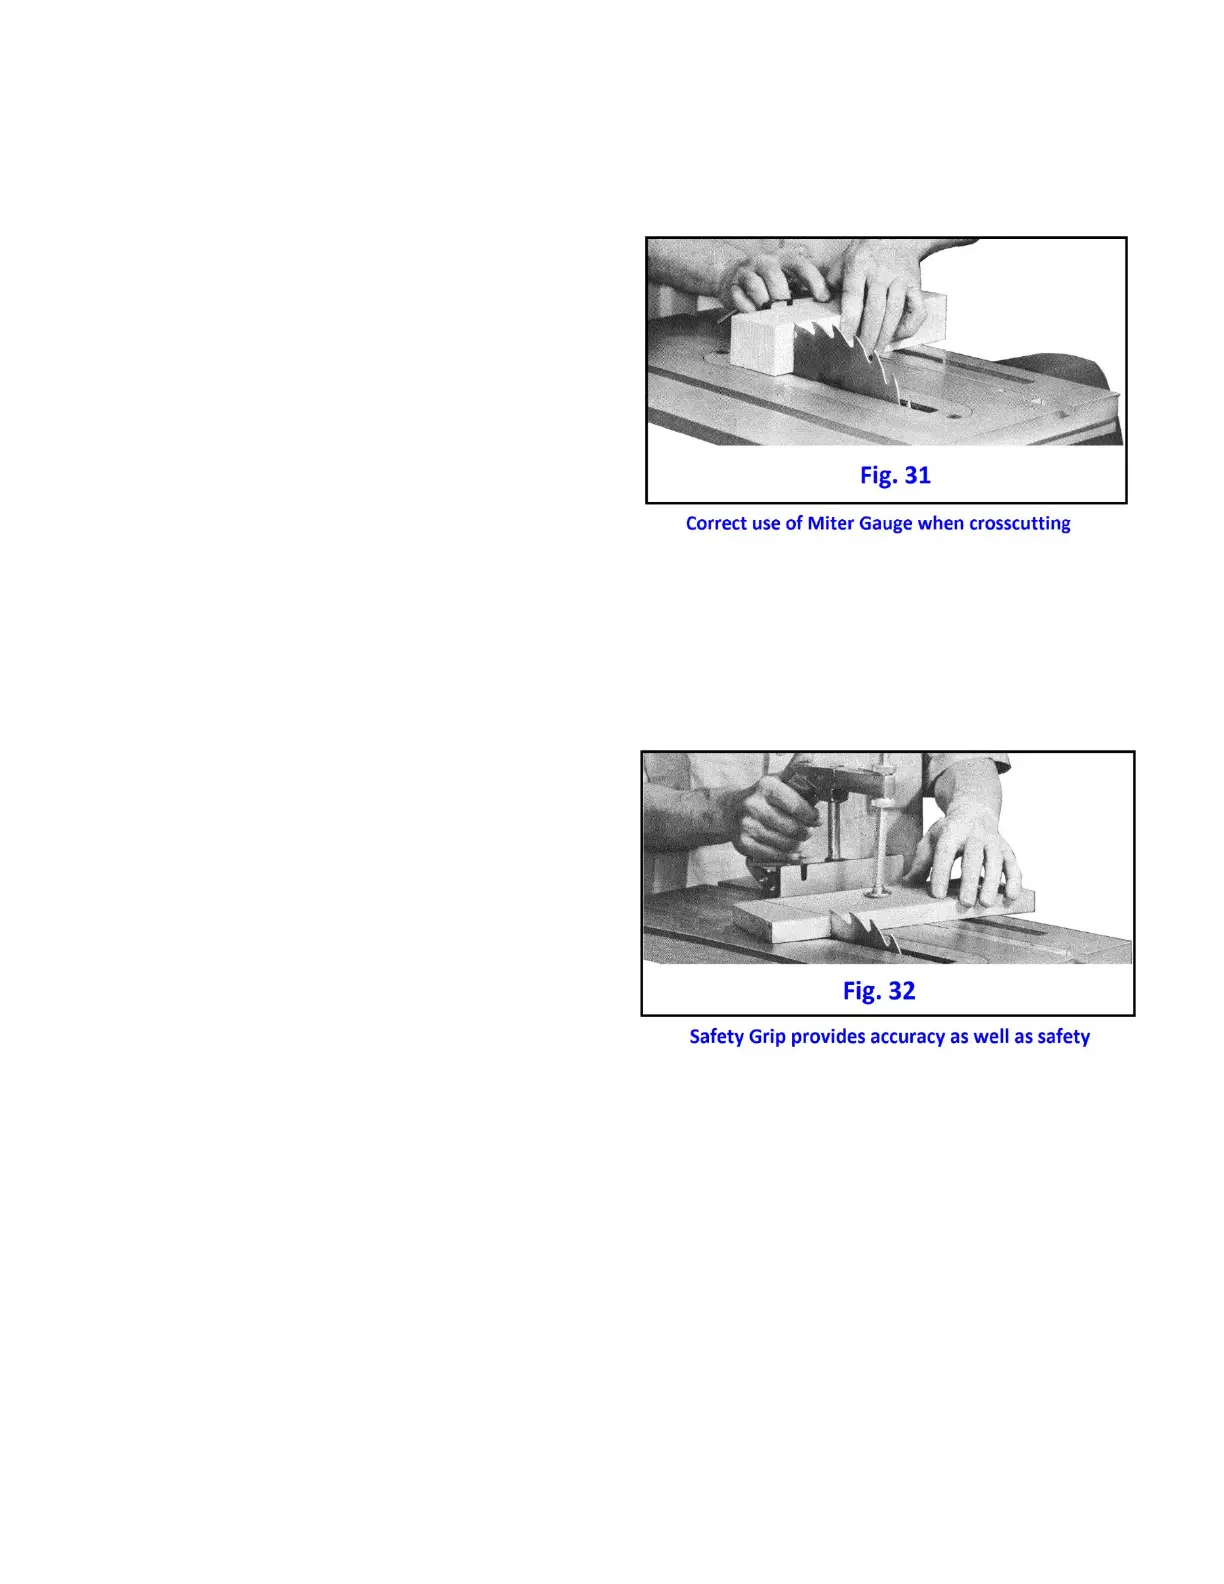
The miter gauge, positioned in either of the table slots, holds the work square to the blade throughout the pass.
If the miter gauge is used without the safety grip,
hands should be placed on miter gauge as shown (Fig.
31), body positioned out of the line of cut. Use the
left hand to hold the work against the face of the
miter gauge and down on the table, while the right
hand feeds it forward.
NEVER FORCE OR RUSH THE CUT. You will always get
a smoother, better cut and a minimum of blade
chatter with a slower pass since you are letting more
teeth pass over a given area of the wood. When the
wood is cut through, keep hands in same position
and return work and miter gauge to the starting
point. Never attempt to remove the cutoff until you have switched off the machine and the blade has stopped
turning. This takes but a second and will avoid accidents.
MITER GAUGE SAFETY GRIP
A MAGNA exclusive, this revolutionary miter gauge
hold down is a useful, practical device that is
furnished as a standard item with the SHOPSMITH
MARK VII. All you have to do is grip the handle (which
in itself facilitates handling the miter gauge) and the
hold down automatically bears down on the work to
keep it flat on the table and snug against the face of
the miter gauge. You can do cross-cutting, mitering,
cross beveling, etc., easier, safer and with more
accuracy than ever before possible. Molding head
operations, shaping cuts, even many sanding jobs
and drill press techniques are made easier with the
Miter Gauge Safety Grip. Once mounted, which is quickly done since the SHOPSMITH MARK VII miter gauge is
designed for the hold down, this item will prove so useful you will never remove it.
Take out the slotted screw and its spacer washer from the bottom corner of the grip. Screw the threaded stud
into the 3/8-16 tapped hole in the top of miter gauge, while fitting bottom of grip over miter gauge indicator
mount. Tighten stud with Allen wrench through cross hole. Install slotted screw and spacer washer. Washer
should be on right hand side.
MITER CUTS
Miter cuts (Fig. 32) are made like crosscuts except that the miter gauge is adjusted to the angle required. A firm
grip is needed to counteract "creep" which is the pulling action of the blade on the work as the cut is made. AS
ALWAYS, MAKE THE PASS SLOWLY, hands holding the work firmly and positioned on the miter gauge well away
from the saw blade.
SHOPSMITH'S Miter Gauge Safety Grip is especially useful on cuts of this nature.