Shure Incorporated
17/45
1.
2.
3.
4.
5.
1.
2.
3.
◦
◦
4.
5.
•
•
•
•
1.
2.
3.
4.
Turn on potential sources of interference (other wireless systems or devices, computers, large LED panels, effects processors,
and so on) so they are operating as they would be during the presentation or performance. The scan will detect and avoid any
interference they generate.
Group Scan
Performagroupscantofindthegroupwiththemostavailablefrequencies.Availablefrequenciescanbeautomaticallyde
ployed to receiver channels and other networked components.
Go to Channel Menu > Group Scan.
Press O to scan the group.
When the scan is complete, the number of frequencies found are shown on the display.
Press O to assign frequencies to components on the network.
To deploy frequencies to your transmitters, perform an IR sync.
Channel Scan
Perform a channel scan to find available frequencies within a group.
Go to Channel Menu > Channel Scan
Use the arrow buttons to choose the group you'd like to scan.
Choose one of the following options:
Find Next: Finds the next available frequency within the group
Find Best: Finds the best available frequency based on RSSI
Press O to confirm your frequency selection.
To deploy frequencies to your transmitters, perform an IR sync.
Spectrum Scan
Scan the full RF spectrum for potential sources of interference, from the receiver or from connected control software. Use the
control buttons to move the cursor across the spectrum and view frequency and level information.
Set Zoom: Zoom in on the cursor point, up to 16x.
Save: Store the current scan results.
Recall: Restore the results of the most recently saved scan.
Rescan: Perform a new scan.
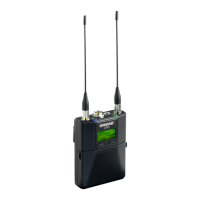
IR Sync
Use IR Sync to form an audio channel between the transmitter and receiver.
Note: The receiver band must match the band of the transmitter.
Power on the transmitter.
Enter a receiver channel menu.
Select Sync.
Align the IR windows until the receiver IR sync LED illuminates red. When complete, Success appears. The transmitter
and receiver are now tuned to the same frequency.