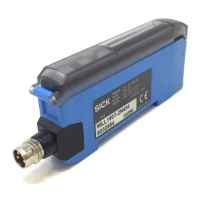
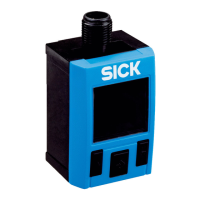
WLL190T-2 Photoelectric switches for fibre-optic cables
2007-08-24 SENSICK 9
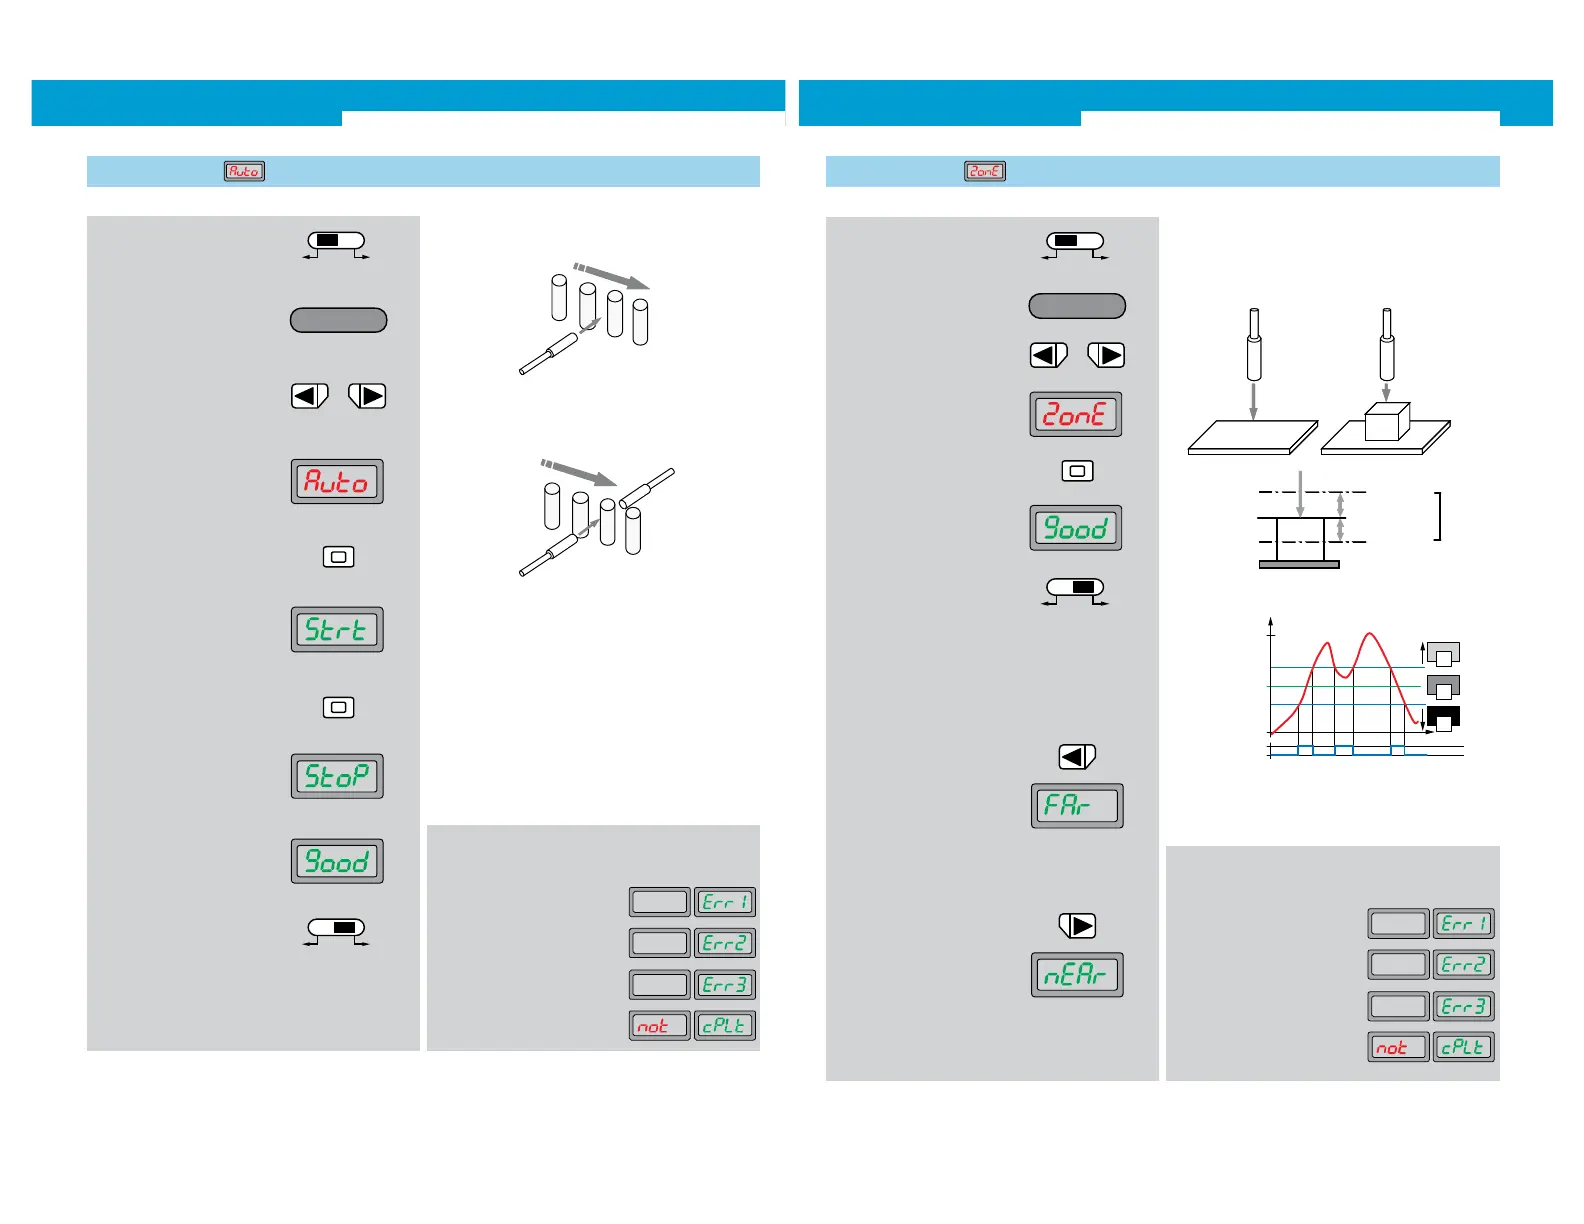
1. Selector switch to SET
Automatic adjustment without stopping the production process.
1st step: start Teach procedure
2. Operating mode
Teach-in active
3. In the basic menu, select
required mode by pressing
the arrow keys
4. Auto Teach-in is shown on the
display
5. To start: press Teach-in key
10. Selector switch to RUN
11. The switching threshold display
flashes, and the basic display
is shown
6. Start
7. To stop: press Teach-in key
8. Stop
2nd step: stop Teach procedure
Allow one object or, even better, for several objects to pass.
1.4 Auto Teach-in
9. Teach-in successful
Typical applications:
When objects can only be learned during the ongoing
process, e.g. ejection control.
In case of faulty input during Teach-in,
the following messages are shown:
Indicates that light intensity is too low
Indicates a non-detected,
moving object
Indicates a calculation error
Indicates an interruption
of the Teach-in
WLL190T-2 Photoelectric switches for fibre-optic cables
10 SENS ICK
The switching point of the object is learned, and detected, within a
window. This window can be manually extended for the lower (far)
and higher (near) switching threshold, respectively.
Adjust diffuse type fibre to the background without and with object.
8. The switching threshold display
flashes, and the basic display
is shown
1. Selector switch to SET
2. Operating mode
Teach-in active
4. Zone Teach-in is shown on the
display
7. Selector switch to RUN
5. Press Teach-in key
6. Adjust diffuse type fibre to the
background without and with
object
Adjusts the zone with ± 10% according to the light received.
1.5 Zone Teach-in
Typical applications:
Ideal for mark detection, e. g. detecting no. 2 (see diagram above)
with variable window. Or foreground suppression and back-
ground suppression simultaneously.
Optionally, the switching thresholds for close and
far ranges can be readjusted, via the arrow keys.
9. Press arrow key
10. Selected range (FAr)
briefly appears
11. The value of the received light (red display) then appears, and
the threshold value (green display) flashes for about 5 seconds.
During this time, the threshold value for the far range (FAr) can
be set via the arrow keys.
12. Press arrow key
13. Selected range (nEAr)
briefly appears
14. The value of the received light (red display) then appears, and
the threshold value (green display) flashes for about 5 seconds.
During this time, the threshold value for the near range (nEAr)
can be set via the arrow keys.
In case of faulty input during Teach-in,
the following messages are shown:
Indicates that light intensity is too low
Indicates a non-detected,
moving object
Indicates a calculation error
Indicates an interruption
of the Teach-in
3. In the basic menu, select
required mode by pressing
the arrow keys