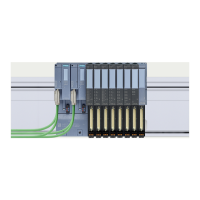
Each dark-colored terminal block allows access to the supply voltage via terminals (red/blue).
Requirements for connecting the cable for the supply voltages
● The supply voltages are turned off.
● Color coding labels (Page 77) (optional) have been applied.
Tools required
Depending on conductor type
● Single wire without ferrule: Toolless
● Multi-core (stranded wire) with ferrule or ultrasonic compacting:
Suitable tool to prepare the cable.
● Multi-core (stranded wire) without ferrule, unprocessed: 3 to 3.5 mm screwdriver
Read the section "Wiring rules (Page 85)".
Connecting conductors
Follow these steps
Conductor
(type)
Solid Multi-core (stranded wire)
Mounting Without ferrule With ferrule or ultrasonic com‐
pression
Without ferrule, unprocessed
Step 1 Strip 8 to 10 mm of the wires.
Step 2 Only for multi-stranded wires: Compress or crimp the
cable with ferrules
-
Step 3 - Press the screwdriver into
the spring release.
Step 4 Insert the wire into the push-in terminal as far as it will go.
Step 5 - Pull the screwdriver out of
the spring release.
Removing wires
Using the screwdriver, press the spring release of the terminal as far as it will go and pull out
the wire.
Additional information
● Replacing the terminal blocks is described in the section "Replacing a terminal block
(Page 125)".
● Removing wires is described in the section "Removing wires (Page 128)".
Wiring
6.5 Wiring the terminal block
ET 200SP HA Distributed I/O system
90 System Manual, 08/2019, A5E39261167-AD

 Loading...