System overview
1.8 Mounting and disassembly
SIRIUS Innovations
72 System Manual, 01/2011, A8E56203870002-03
1.8 Mounting and disassembly
Mounting and disassembly
Within each device size, the mounting options are identical.
Table 1- 21 Mounting options
Size Mounting Disassembly
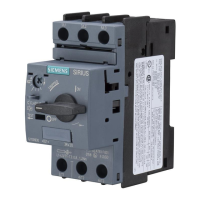
Screw mounting Disassembly with a screwdriver S00, S0
Snap-on mounting on 35 mm DIN
rail (according to DIN EN 60715)
Disassembly without tools
1.8.1 Screw mounting
Screw mounting
SIRIUS switching devices can be screwed onto a level surface.
Push-in lugs are required in order to fasten the 3RV2 motor starter protectors with screws.
1.8.2 Snap-on mounting
Snap-on mounting
SIRIUS Innovations products in sizes S00 and S0 are snapped onto 35 mm DIN rails
according to DIN EN 60 715, without tools.
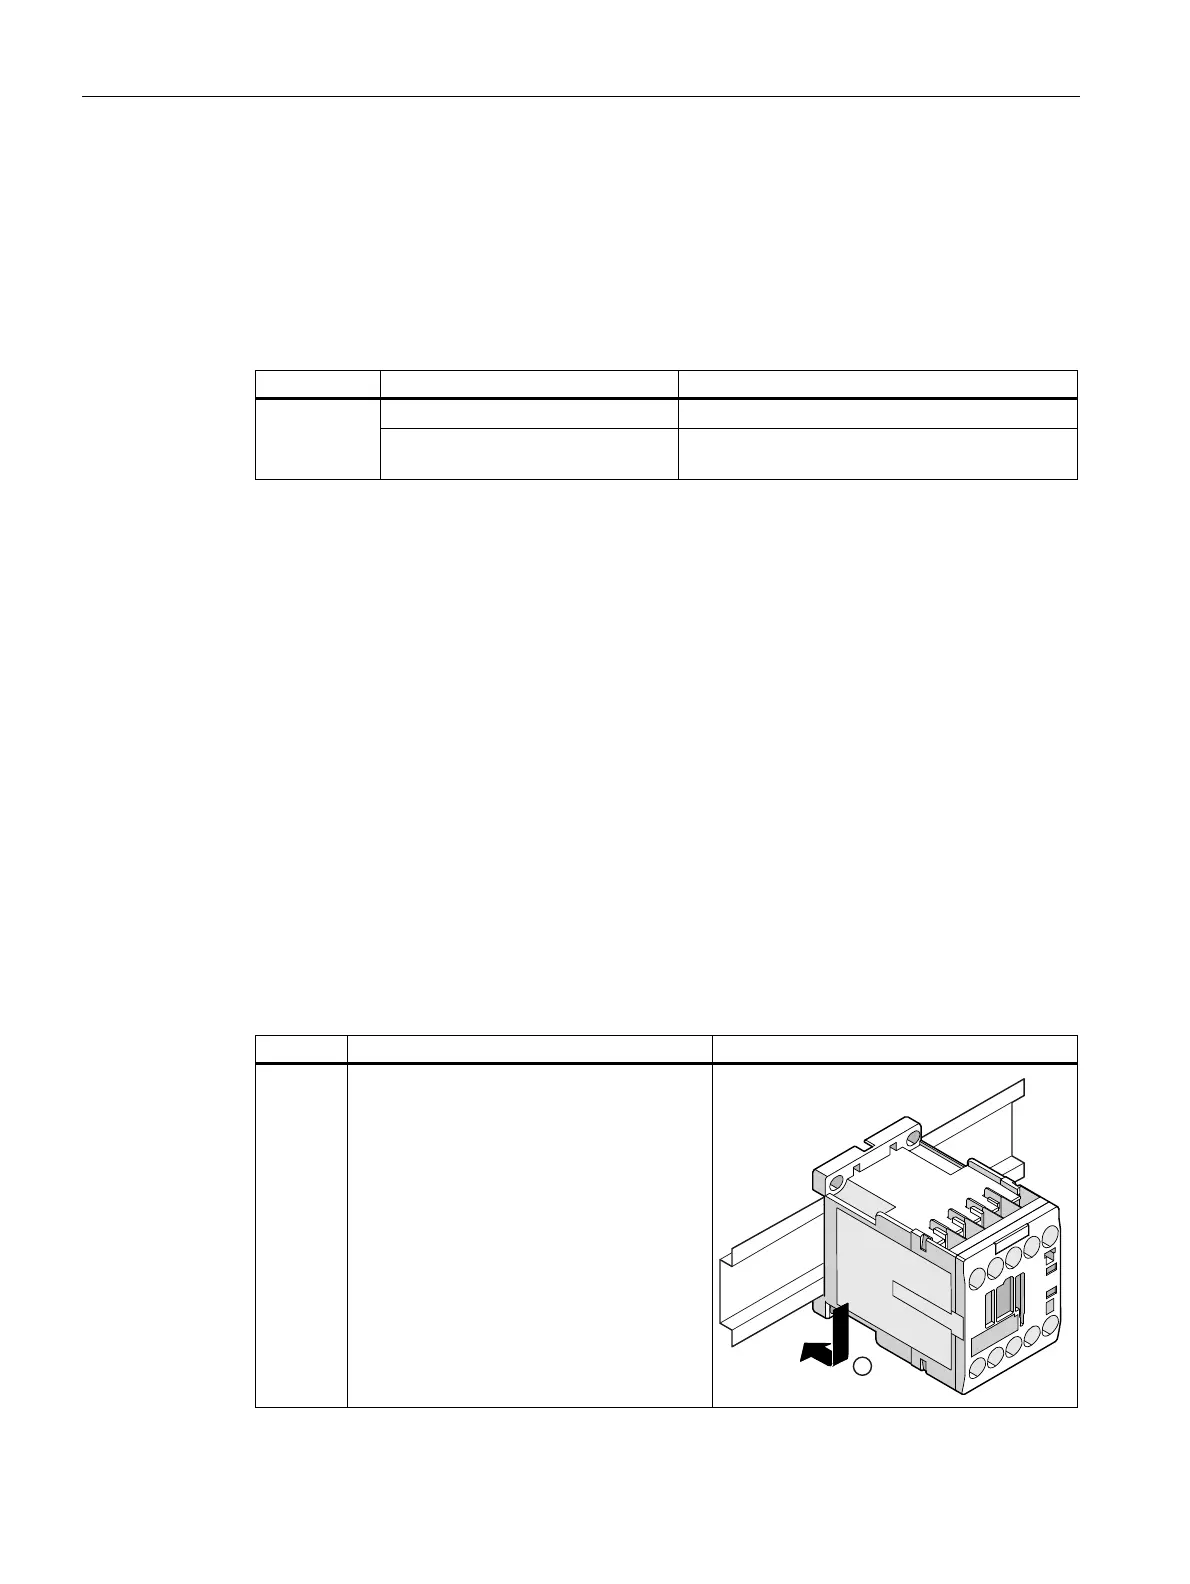
The tables below describe how to snap a component onto a DIN rail, using a contactor (size
S00) as an example. The procedure is the same for all SIRIUS switching devices.
Table 1- 22 Mounting on a DIN rail
Step Operating instruction Image
1 Position the device on the top edge of the
DIN rail. Press down until it snaps onto the
bottom edge of the DIN rail.
 Loading...