2-9
Note: Unless otherwise noted, wiring is not supervised.
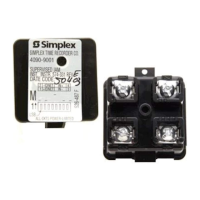
1. Wire the 4020-0153 CCDACT into the system in accordance with Figure
2-6 (on the next page) and the references below the figure.
2. Route the TELCO cables using separate paths from the panel exit to the
RJ-31X modules.
3. Use the cable tie-wrap (supplied) to provide strain relief for these cables.
Secure the cables to any grounded standoff or metal fixture along the cable
run between the CCDACT and the panel exit.
4. Use the 4020 programmer to assign the MONITOR I/O point a Device Type
of MONB, and to assign the Point Type as SECMON. Assign a spare user
Digital Pseudo Point, P256, with a Description of CCDACT TROUBLE
with a Type of TROUBLE.
5. Add an equation to Custom Control as follows:
INPUTS:
The NORM state of:
IO1 SECMON
OUTPUTS:
TRACK points ON pri=9,9
P256 TROUBLE CCDACT TROUBLE
Note: The selection of Monitor I/O point 1 and Pseudo point P256 are for
illustration only.
Continued on next page
Installing the 4020-0153 CCDACT Kit, Continued
Wiring the 4020-0153 CCDACT
into the System