Chapter 2: Install the server hardware 24
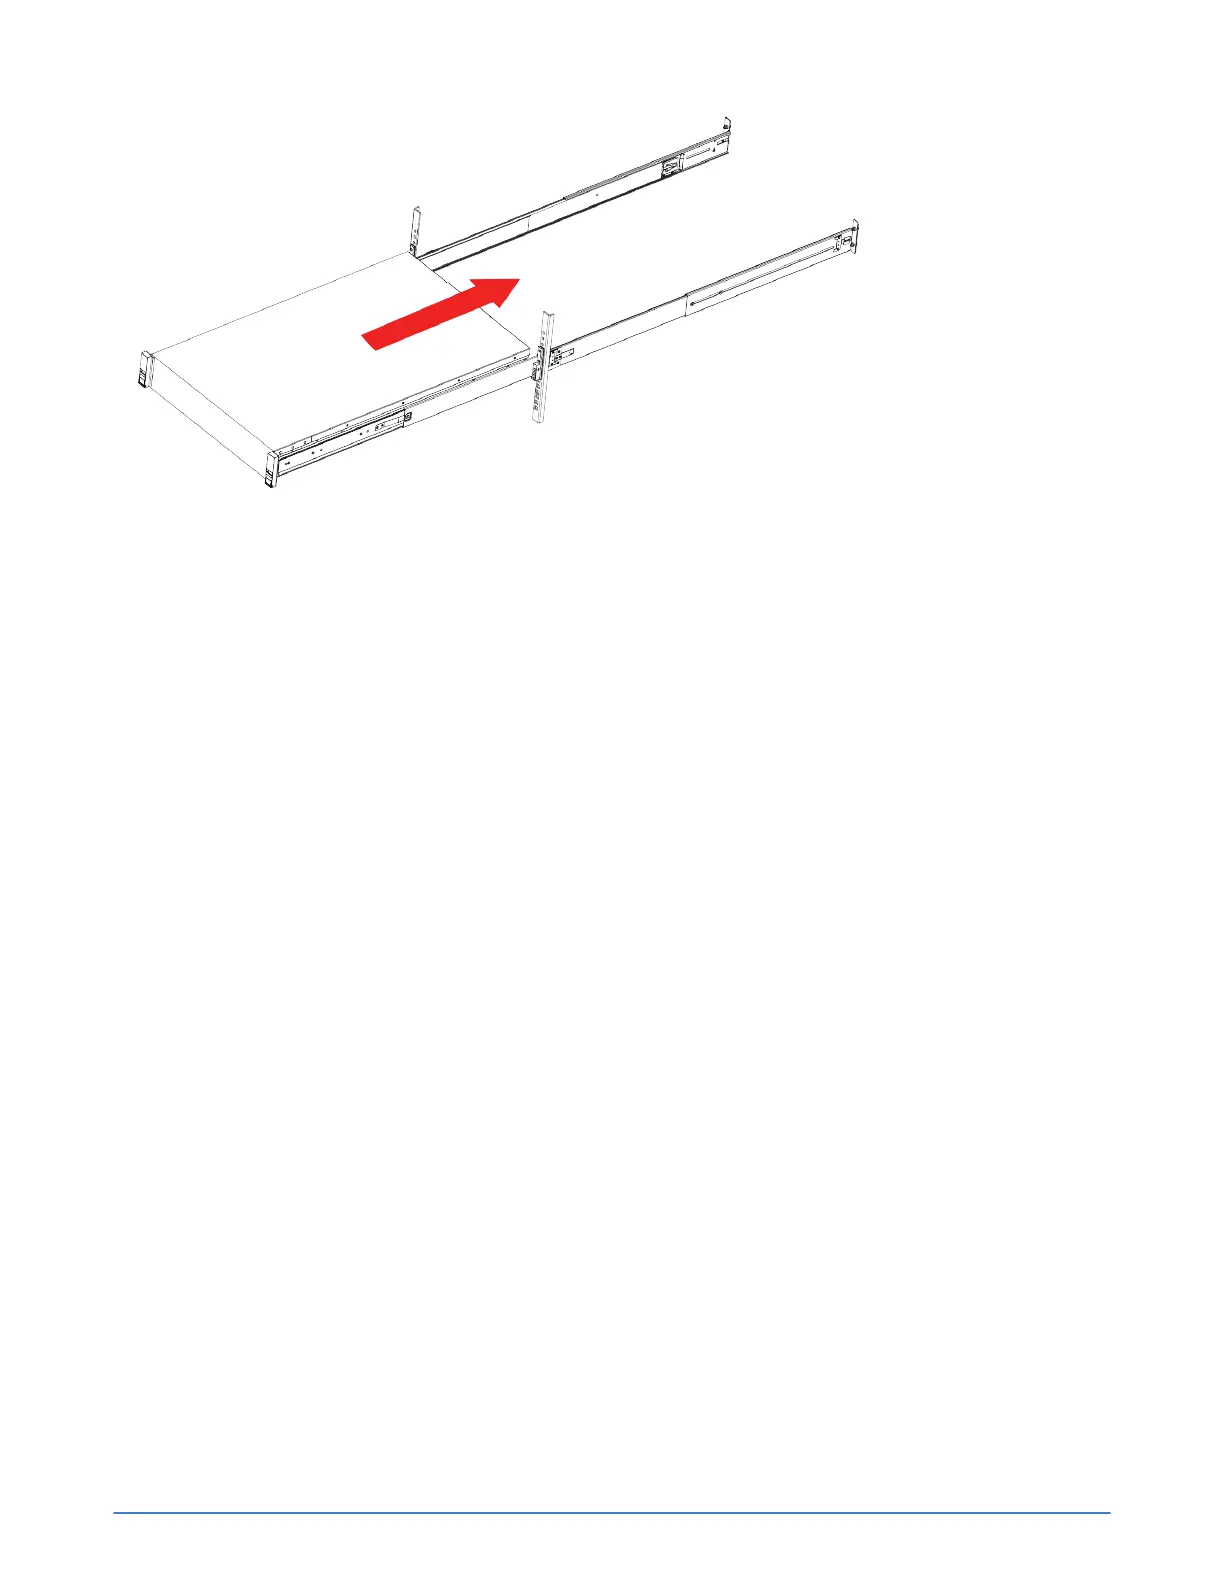
Figure 3: Server rack installation
6. Slide the release clip on each inner rail toward the rear and push the server into the rack until the
front latches engage with the rack posts.
7. Optionally, use the two screws provided with the rail kit to secure the server to the rack in the event
the rack will be moved with the server installed. Open each front latch and insert the screw through
the hole under the lever.
Connect the power cables
Procedure overview
Each server includes two, hot-swappable, power supplies labeled 1 and 2. You connect both power
supplies to power sources. For high availability, you connect each power supply to a different circuit.
In addition, SimpliVity recommends that you use redundant uninterruptible power supplies (UPS) to
protect against a complete power outage.
Procedure
1. Obtain the two power cables from the shipping box.
2. Use the power cables to connect each power supply to a source of power, preferably on different
circuits.
3. Use the cable strain relief (hook and loop fastener) on each power supply to secure the power cable
and prevent an accidental disconnection.
Connect the network cables
Procedure overview
You use the dual-port 10GbE mLOM ports for the SimpliVity Storage, Federation, and Management
networks, which is the preferred method if you are using UCS Manager (UCSM). You can use the
embedded dual-port 1GbE network interface card (NIC) for the Management network, which is optional
if you are using UCSM.