28
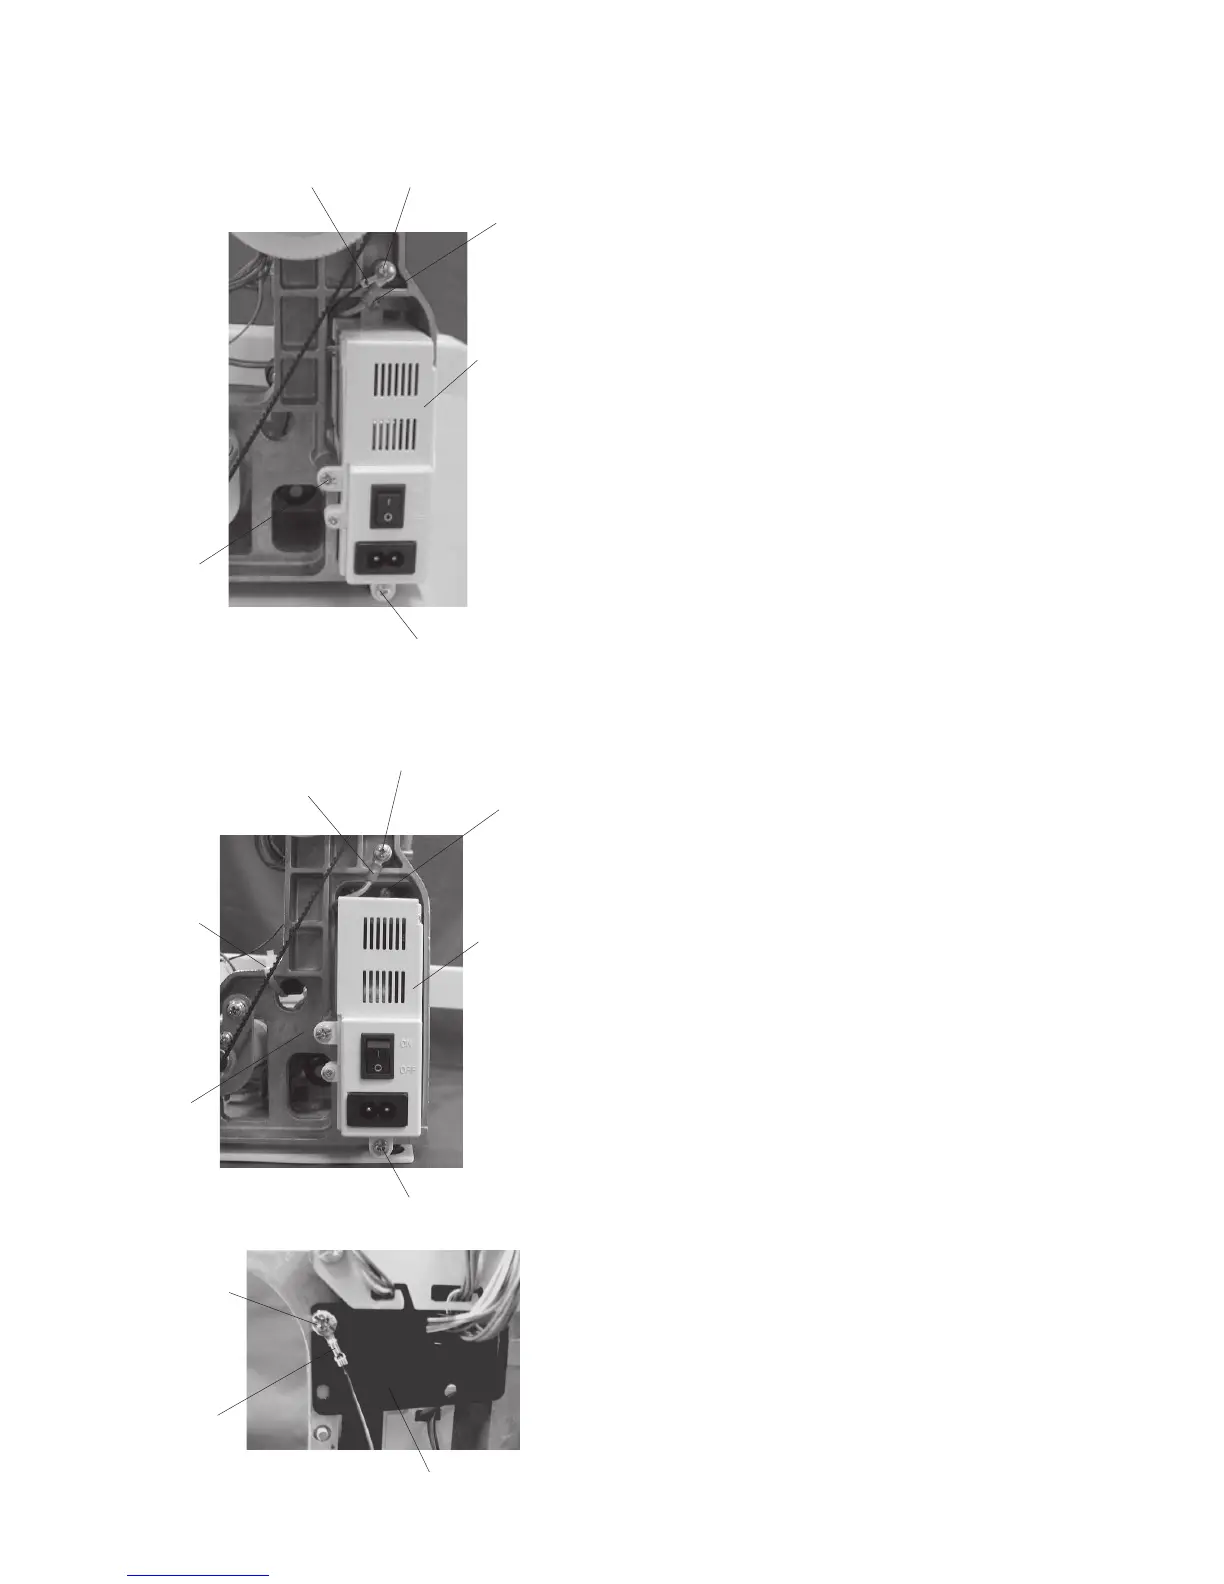
Replacing the Switching Power Supply
To remove:
1. Remove the face cover, bed cover, front cover
and rear cover.
2. Remove the setscrew (A) and remove the
grounding wires.
3. Remove the 3 setscrews (B) and remove the
switching power supply.
To attach:
4. Follow the above procedure in reverse.
NOTE:
Refer to page 16 for connector diagram.
Setscrew (A)
Setscrew (B)
Switching
power supply
Setscrew (B)
Setscrew (B)
Grounding wires
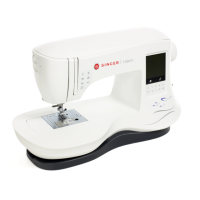
For Australia only
Setscrew (A)
Grounding wire (B)
Setscrew (C)
Switching
power supply
Setscrew (C)
Setscrew (C)
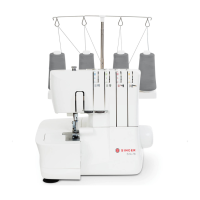
Grounding
wire (E)
Setscrew (D)
Cord guide
Cord binder
To remove:
1. Remove the face cover, bed cover, front cover
and rear cover.
2. Remove the setscrew (A) and remove the
grounding wire (B).
3. Remove the 3 setscrews (C) and cord binder.
4. Remove the setscrew (D) and remove the
grounding wire (E) and the cord guide, remove
the switching power supply.
To attach:
5. Follow the above procedure in reverse.
NOTE:
Refer to page 16 for connector diagram.