6 Connection
SMA Solar Technology AG
Operating manualEDMM-10-BE-en-2736
9. Connect the other end of the AC connection cable to the voltage supply.
10. Connect the connection point to the utility grid.
☑ The product starts operation (see Section7, page38).
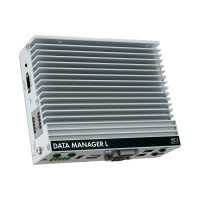
6.7 Replacing SMA Com Gateway with RS485 Devices
The product can be used in existing systems with RS485 devices to include the system into the SMA
infrastructure. The RS485 devices are included via RS485 interface of the product. The product
replaces an existing SMA Com Gateway in the system. For this purpose, the SMA Com Gateway
only needs to be replaced with the product. The RS485 devices communicate with the product
either via Modbus RTU or SMA Data1. Mixed operation of both protocols is not intended.
Requirements:
☐ The same baud rate (1200 baud, 9600 baud or 19200 baud) must be set in all RS485
devices. Devices with SMA Data1 support baud rates of 1200 baud and 19200 baud.
☐ In all devices with SMA Data1, the same values must be set for the maximum active power
limit and the nominal power.
Procedure:
1.
WARNING
Danger to life due to electric shock
Lethal voltages are present at the connection point of the utility grid.
• Disconnect the connection point from the utility grid using the separator (e.g. miniature
circuit breaker).
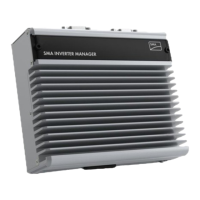
• Pull the two-pole power supply unit plug out of the jack X1 on the
SMAComGateway.
2. Release the RJ45 network cable plug and pull out of the network port X4 or X5 on the
SMAComGateway.
3. Pull the six-pole plug for connecting the RS485 devices out of the port X2 on the
SMAComGateway.
4. If mounted on a DIN rail: unhook the
SMAComGateway from the DIN rail. To do so, tilt
the lower edge of the SMAComGateway forwards
and remove the SMAComGateway upwards out
of the DIN rail.
5. If mounted on a wall: remove the screws from the brackets and remove the
SMAComGateway.