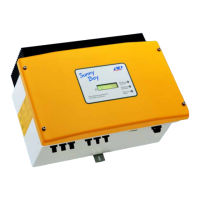
4. Press the cable support sleeve out of the cable gland.
5. Remove one filler plug from the cable support sleeve.
6. Route the network cable through an opening in
the cable support sleeve.
7. Thread the network cable through the cable gland.
8. Insert the RJ45 plug of the network cable into the
network pin connector on the inverter until it
snaps into place.
9. Ensure that the RJ45 plug is securely in place by pulling slightly on the network cable.
10. Press the cable support sleeve back into the
cable gland.
11. Screw the swivel nut hand-tight onto the cable gland.
12. Tighten the connection cap to the inverter using
the three screws and a Torx screwdriver (TX20)
(torque: 3.5Nm).
13. Screw the swivel nuts hand-tight onto the cable gland of the AC connection and the cable
gland of the network cable.
6Electrical Connection
SMA Solar Technology AG
Operating ManualSB15-25-1VL-40-BE-en-1136
 Loading...
