Operation Manual
33
No time recordings for one or
two breaker’s main contacts
Channel protection fuses
FS01, FS02 or FS03 (4 A
slow) blown (see the diagram)
Replace the blown
fuse(s)
No time recordings for any
main contacts
Common main contact fuses
(FS04, 5 A slow) blown (see
the diagram)
Replace the blown
fuse(s)
Resistance value too big
Dirty, defective or misaligned
contacts
Submit the breaker to
maintenance
“R” and “C” terminals in
wrong position
Refer to the
connections section
No
resistance
measure-
ment from
one or two
main
contacts
~~~
message
displayed or
printed
Unable to perform a reliable
resistance reading
Check for loose
connections
Vsns? message
displayed or
printed
50 mA FAST fuses for
channel 1 (PF01 or PF04),
channel 2 (PF02, PF05) or
channel 3 (PF03, PF06) (see
the diagram)
Replace the blown
fuse(s)
R>>> message
displayed or
printed (Time will
not be recorded
either)
Channel protection fuses
FS01, FS02 or FS03 (4 A
slow) blown (see the diagram)
No
resistance
measure-
ment from
any main
contacts
Vsns?
message
displayed or
printed
Common 50 mA FAST PF07
fuse blown (see the diagram)
Replace the blown
fuse(s)
R>>> message
displayed or
printed
Common main contact fuses
(FS04, 5 A slow) blown (see
the diagram) or battery too
low.
Replace the blown
fuse(s) or fully
recharge the battery
AUX1 or AUX2 record no event
+ (PF08, PF09 – 50 mA
FAST) or GROUND (FS07,
FS08 BTF) aux input fuses
(see the diagram)
Replace the blown
fuse(s) or repair (BTF)
Check your connections and repeat the test before suspecting of
a blown fuse. A broken cable or open contact in the circuit
breaker can produce the same symptoms as a blown fuse.
PME-500-TR
34
Use only fuses with the same rate and type as the ones
replaced. Failure to do this may invalidate the warranty.
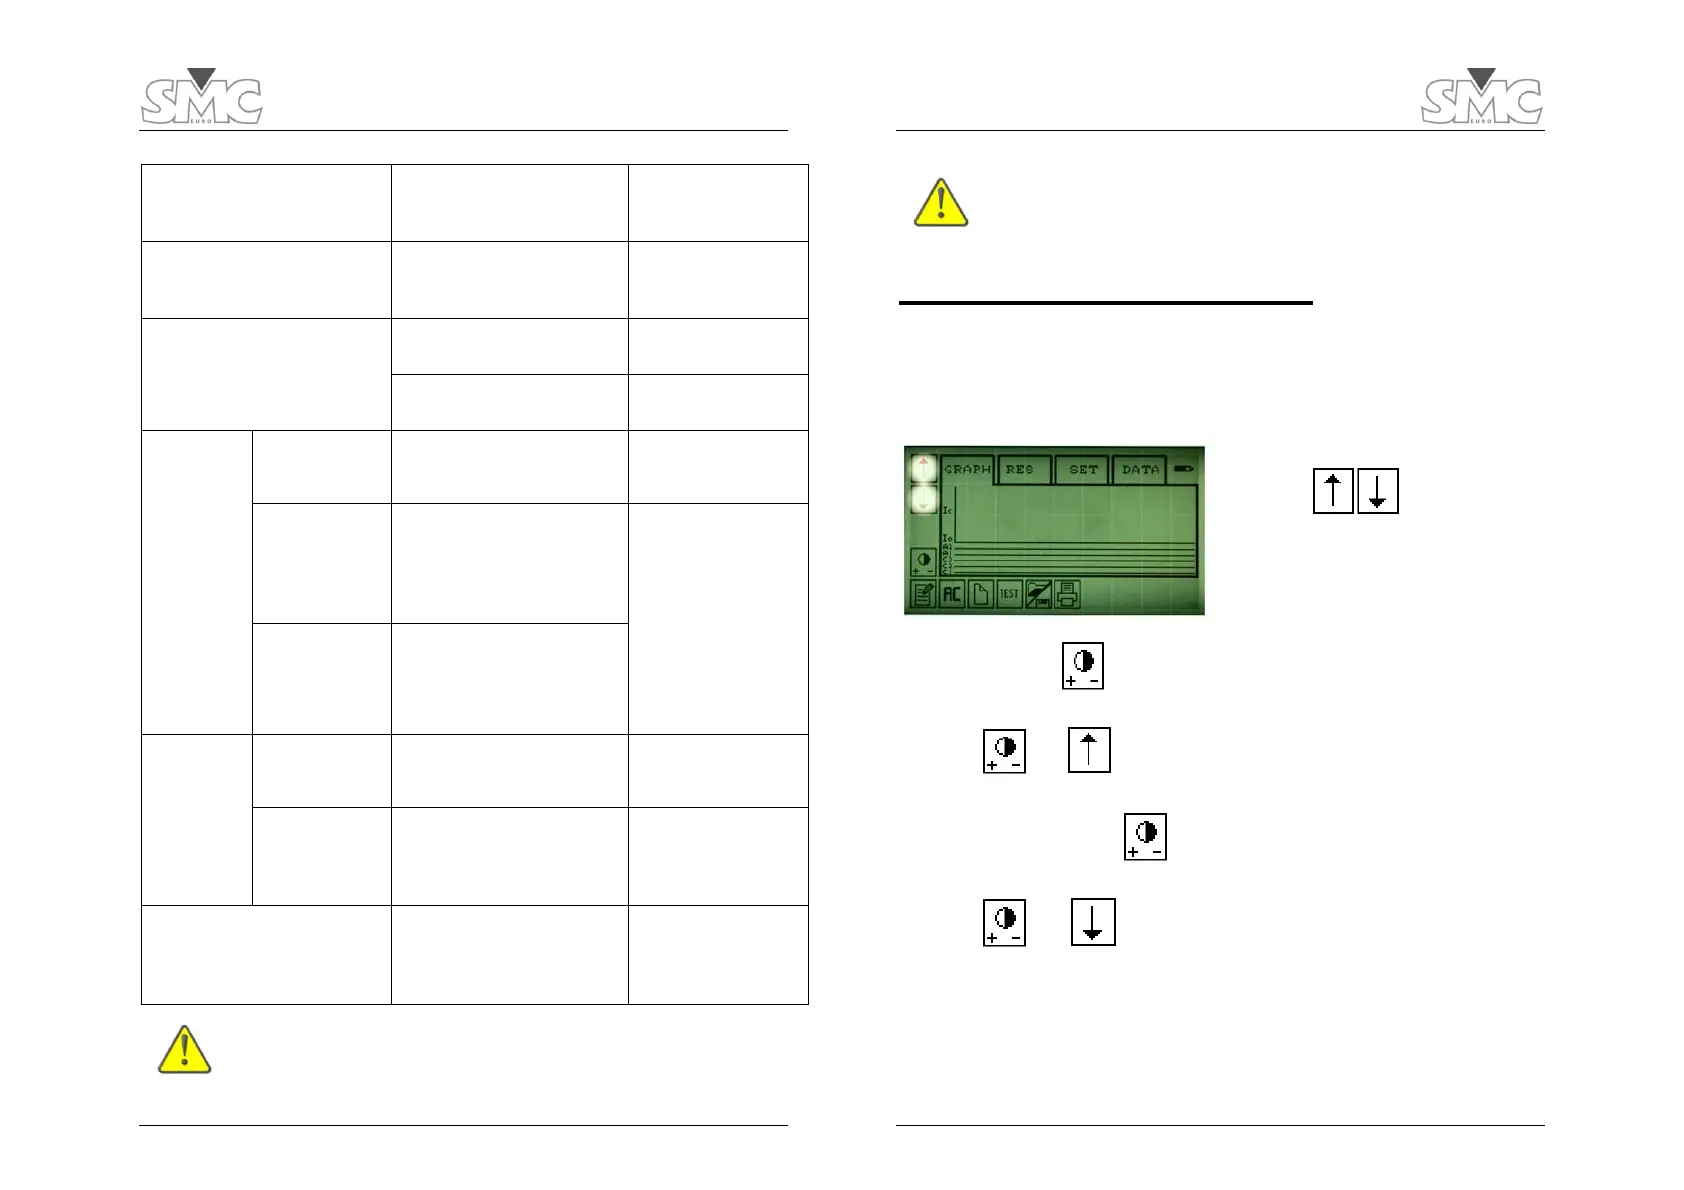
TROUBLESHOOTING PROCEDURES
1. Resetting the Display Contrast
For an easier display contrast adjustment it is recommended to reset the factory contrast
setting first. This procedure restores the “center” contrast position and then sets the
maximum and minimum adjustable values to your preferences.
1) Press
simultaneously until
you hear a short beep. The center
contrast value has now been set.
2) See NOTE.
3) Press and hold
until the desired maximum adjustable contrast is reached by
the display.
4) Press
and to store the maximum adjustable contrast value in memory.
A short beep should be heard.
5) Again, press and hold
until the desired minimum adjustable contrast is
reached by the display.
Press
and to store the minimum adjustable contrast value in memory.
A short beep should be heard.
NOTE
If your equipment is a higher serial number than 109.973 or the touch screen has
been substituted after December 2011, the procedure of Resetting the Display Contrast
will leave the brightness very low (blue screen).
 Loading...