Step 6 - Connecting all components to the inverter - connect the auto transformer and
loads (AC), PV strings (DC), and meter. Refer to
StorEdge Inverter Connections
on page
56. .
Step 7 - Commissioning the inverter - Activate the system and pair the power
optimizers. Refer to
Commissioning the Installation
on page 45.
Step 8 - Connecting to the monitoring platform. Refer to
Setting Up Communication to
the Monitoring Platform
on page 96.
Step 9 - System Configuration - Configuring the RS485 bus and StorEdge applications.
Refer to
System Configuration
on page 109.
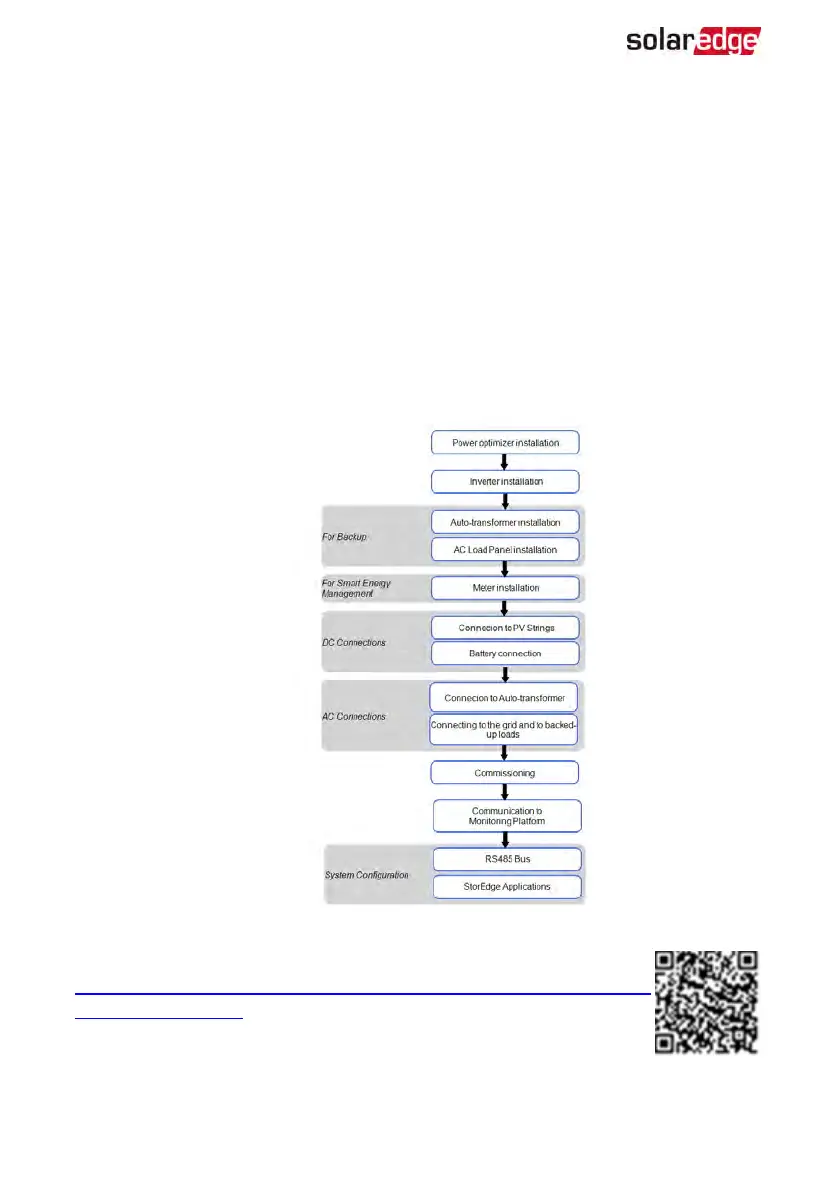
The following flowchart appears throughout this Installation Guide to assist with the
installation steps:
For additional information, refer to
https://www.solaredge.com/sites/default/files/storedge_wiring_quick_guide_and_
on_site_checklist_na.pdf.
StorEdge Solution with Backup MAN-01-00262-1.5
18 Installation Workflow