16
Copyright © 2015 Somfy SAS. All rights reserved.
EN
Images not contractually binding
2. INSTALLATION
1
Instructions which must be followed by the motorisation and home automation professional
installing the drive.
1
Never drop, knock, drill or submerge the drive.
1
Install a separate control point for each drive.
1
Never connect 2 control points to a single motor.
1
Check compatibility if the motor is being used with a bus system (e.g.: a “ ” system).
2. 1. INSTALLATION
1
Check the strength of the roller shutter and its fittings.
1
C h e c k t h a t t h e d r i v e u s e d i s s u i t a b l e f o r t h e s i z e o f r o l l e r s h u t t e r, t o a v o i d t h e r i s k o f d a m a g i n g t h e
roller shutter and/or the Somfy product.
F o r i n f o r m a t i o n a b o u t t h e c o m p a t i b i l i t y o f t h e d r i v e w i t h t h e r o l l e r s h u t t e r a n d a c c e s s o r i e s , c o n t a c t
the roller shutter manufacturer or Somfy.
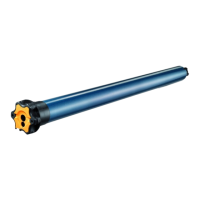
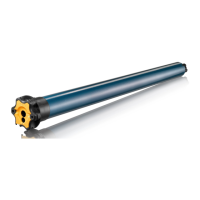
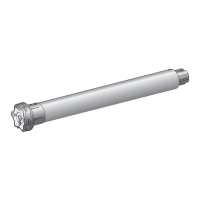
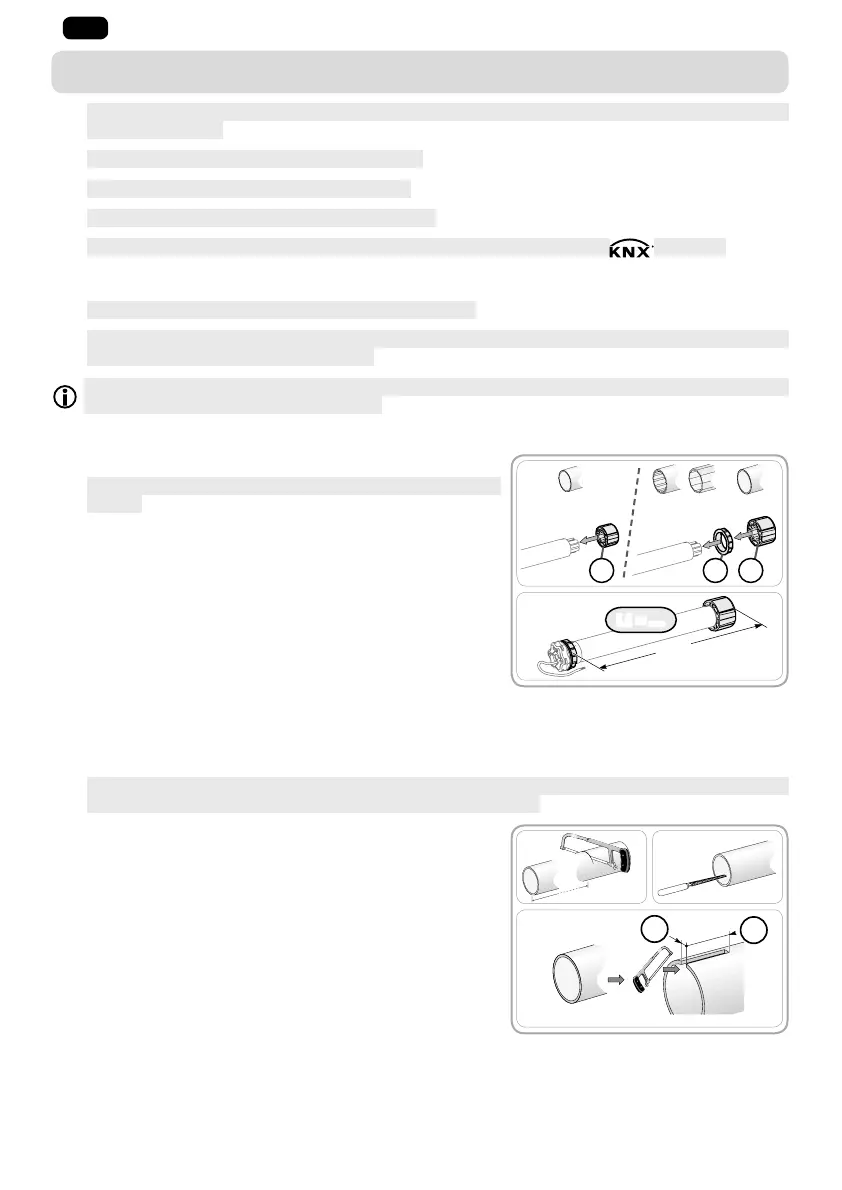
2. 1. 1. Preparing the drive
1
C h e c k t h a t t h e i n n e r d i a m e t e r o f t h e t u b e i s 4 7 m m o r
greater.
1) Fit the accessories required to integrate the motorisation in
the roller tube:
• Either fit the drive wheel a on the drive.
• Or fit the crown b and the drive wheel c on the drive.
2) Measure the length (L1) between the inner edge of the
motorisation head and the rim of the drive wheel.
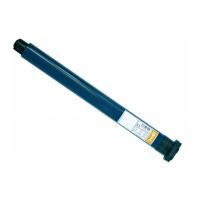
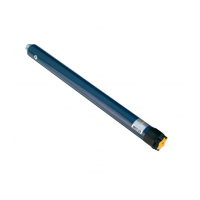
2. 1. 2. Tube preparation
1
I n s t a l l a i l m o 5 0 W T m o t o r i n a r o l l e r t u b e w i t h a m i n i m u m t h i c k n e s s o f 0 . 5 m m a n d a s m o o t h i n n e r
surface: with no welding, crimping, folding, etc. inside the tube.
1) Cut the roller tube to the required length, depending on the
motorised product.
2) Deburr the roller tube and remove the swarf.
3) For smooth roller tubes, cut a notch with the following
measurements:
• d = 4 mm (0.16 in)
• e = 28 mm (1.1 in)
1)
L1
L1 = …
2)
Ø > 47 mm
cb
Ø = 47 mm
a
3)
1) 2)
d
e
 Loading...