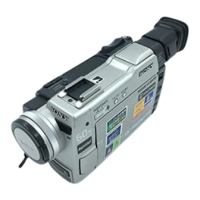
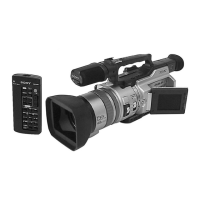
-- Recording - Basics --
Recording a picture
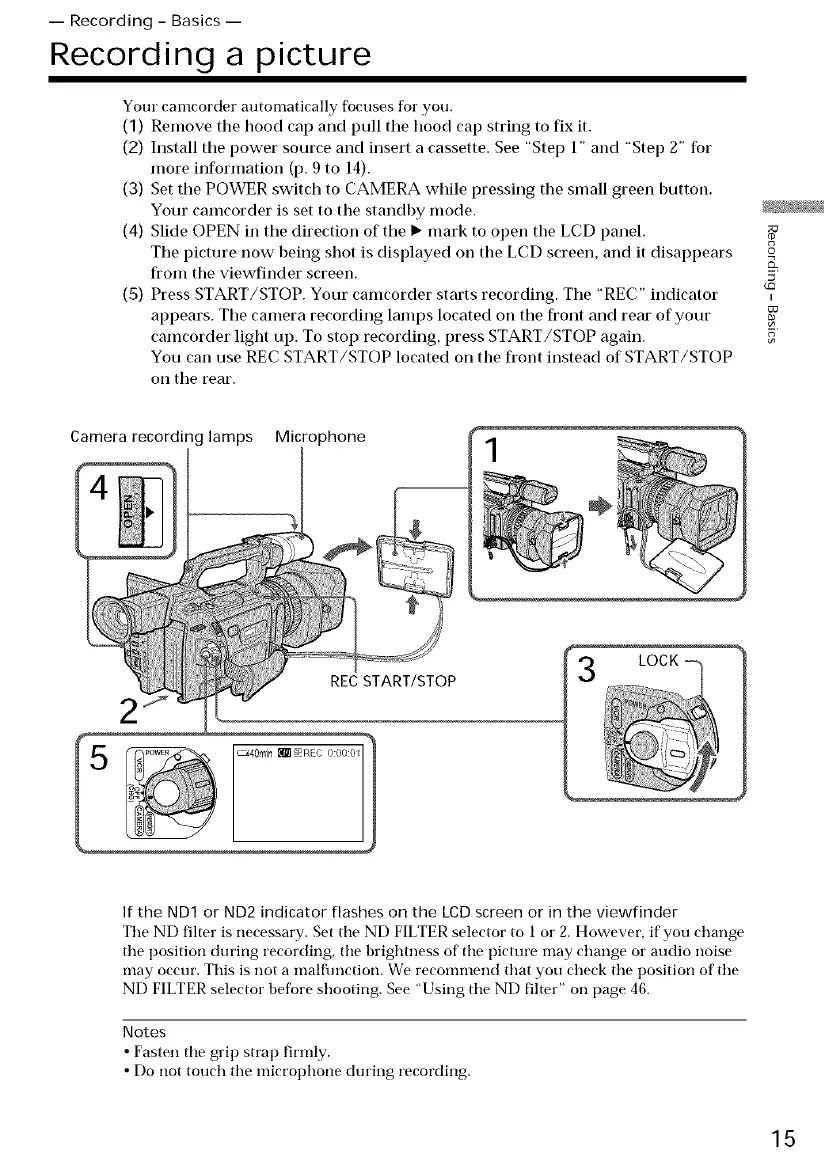
Your camcorder automatically focuses for you.
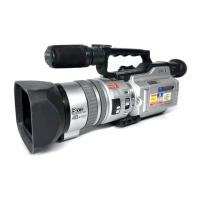
(1) Remove the hood cap and pull the hoocl cap string to fix it.
(2) Install the power source and insert a cassette. See "Step 1" and "Step 2" for
more information (p. 9 to 14).
(3) Set the POWER switch to CAMERA while pressing the small green button.
Your camcorder is set to the standby mocle. _ •
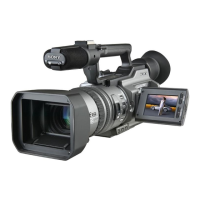
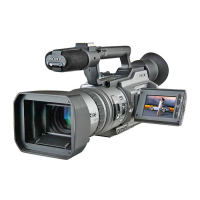
(4) Slide OPEN in the clirection of the I_ mark to open the LCD panel.
The picture now being shot is displayed on the LCD screen, and it disappears
from the viewfinder screen. 5
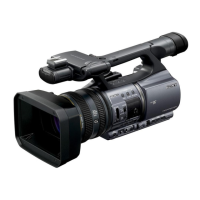
(5) Press START/STOP. Your camcorder starts recording. The "REC" indicator
appears. The camera recording lamps located on the front and rear of your
camcorder light up. To stop recorcling, press START/STOP again. 5
You can use REC START/STOP located on the front instead of START/STOP
on the rear.
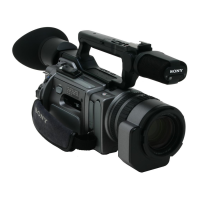
Camera recording lamps Microphone
÷
REC START/STOP
If the ND1 or ND2 indicator flashes on the LCD screen or in the viewfinder
The ND filter is necessary. Set tile ND FILTER selector to 1 or 2. However, if' you change
the position during recording, the brightness of the picture may change or audio noise
may occur. This is not a malflmction. We recommend that you check the position of the
ND FILTER selector before shooting. See "Using the ND filter" on page 46.
Notes
• Fasten the grip strap firmly.
• Do not touch the microphone dining recording.
15
 Loading...