50
EN
4 Press DISPLAY/CHARACTER
repeatedly until the desired type of
character appears.
Each time you press the button, the
display changes as follows:
A (Upper cases) n a (Lower cases)
n 0 (Numbers and Symbols*) n A...
*You can use the following symbols:
! ” # $ % & ’ ( ) * + , – . / : ; < = > ? @ _ `
5 Turn SELECTOR until the character
you want appears.
The selected character flashes. To enter a
blank space, press ) while the cursor
is flashing.
6 Press ) to enter the character.
The cursor shifts rightward and waits for
the input of the next character.
7 Repeat steps 4 to 6 to complete the
entire title.
If you made a mistake, press 0 or )
until the character you want to change
flashes, then repeat steps 4 to 6.
To erase the character, press EDIT/NO
while the character is flashing.
8 Press ENTER/YES to complete the
labeling procedure.
The titles you entered appear
sequentially.
Labeling an MD
You can create titles (names) for your
recorded MDs and tracks. You can use up to
1,700 characters for a disc.
1 To label a disc, press p and stop
playing the disc.
To label a track, turn SELECTOR
until the desired track number
appears.
2 Press EDIT/NO repeatedly until
“Name in ?” appears.
3 Press ENTER/YES.
The cursor starts flashing.
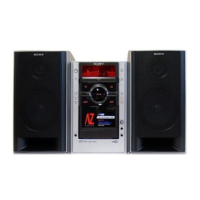
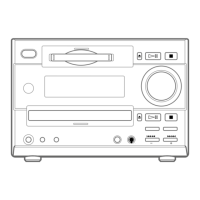
Cursor
r REC
=
SELECTOR
+
0)
p
· ∏
§
EJECT
•
•
•
•
•
•
•
•
•
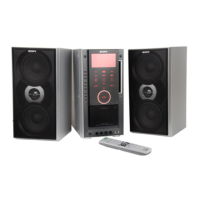
0
10
=
SELECTOR
+
0)
p
· ∏
§
OPEN/CLOSE
6
5
4
0
3,821
SCROLL
 Loading...