53
EN
3 Press DIRECTION repeatedly to
select the side you want to record
on.
Select A to record on one side. Select
Å or a to record on both sides.
4 Press r REC on the tape deck.
The tape deck stands by for recording.
“PLAY · P {REC}” (for front side)
appears.
5 Start playing the source to be
recorded.
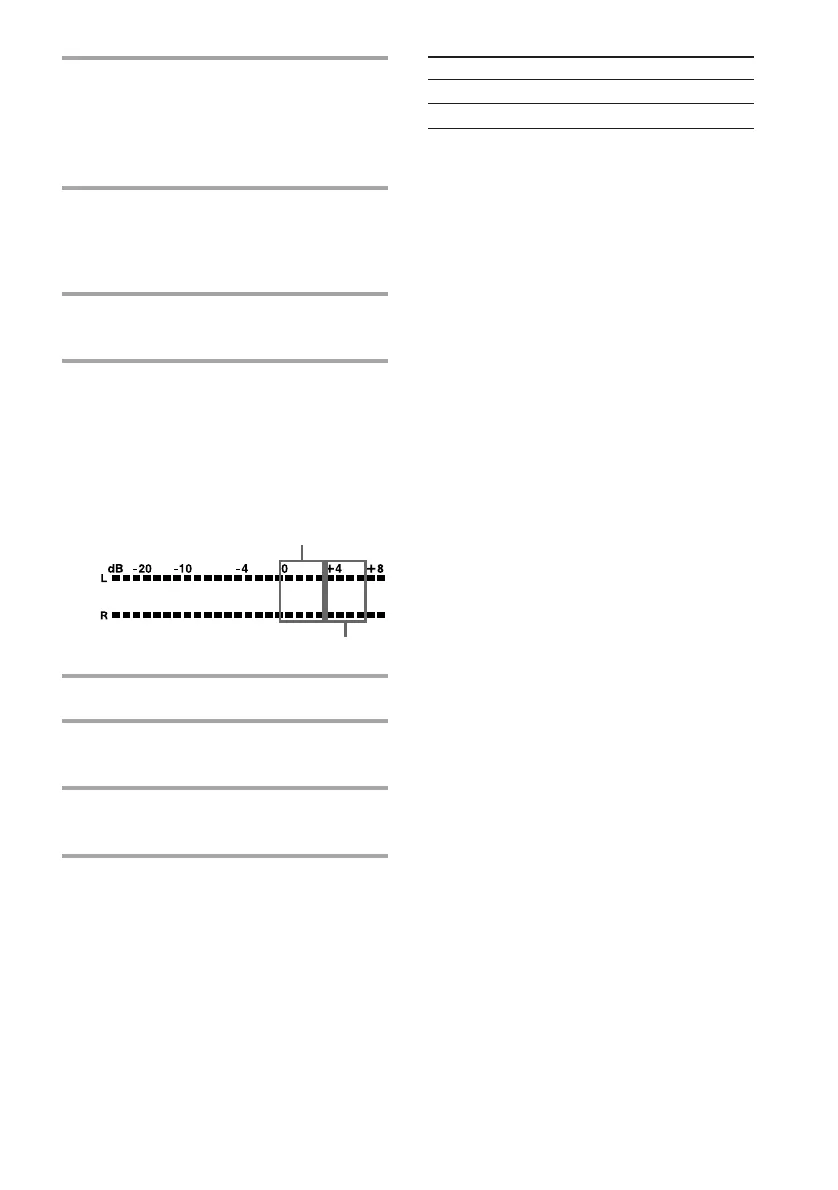
6 Turn REC LEVEL to adjust the
recording level.
While monitoring the sound at the
highest level, adjust the recording level
so that it falls within the range illustrated
below.
7 Stop playing the source.
8 Press P or · on the tape deck.
Recording starts.
9 Start playing the source to be
recorded.
a
When using a TYPE-I (normal)
or TYPE-II (CrO
2) tape
When using a TYPE-IV (metal) tape
To Press
Stop recording p on the tape deck.
Pause recording P on the tape deck.
Tips
• Pressing SYSTEM POWER on the DHC-MD77/
EX77MD/EX770MD automatically turns on the
TC-TX77/TX770 deck if you connect them to each
other using the audio bus cable.
• If you want to record from the reverse side, press
ª in step 4 so that “ª PLAY P {REC}” (for
reverse side) appears.
• When you want to reduce the hiss noise in low-
level high-frequency signals, press DOLBY NR
repeatedly to select B or C before step 4. You
cannot switch DOLBY NR during recording.
• If you press RESET, the counter display returns to
“00 00.”