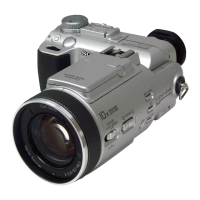
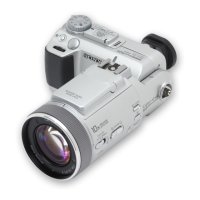
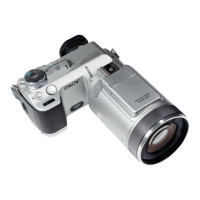
RadarW
Adjust the white balance when the strobe light flashed.
Mode CAMERA
Subject Flash adjustment box (Note 3)
Paper which reflection rate is
18% (Note 6)
(50 cm from the front of lens)
Measurement Point Displayed data of page: 1 (Note
4) and page: F, address: E8, EA,
EC, EE
Measuring Instrument Adjusting remote commander
Adjustment Page F
Adjustment Address B6, B7, E0 to EF
Specified Value Y level data 1: 03 to 0A
Y level data 2: 03 to 08
R-Y level data:
007A to 0086 (Note 4)
B-Y level data:
007A to 0086 (Note 4)
Note 1: Check that the data of page: 6, address: 02 is “00”.
If not, turn the power of unit OFF/ON.
Note 2: Perform this adjustment in the Flash adjustment box.
Note 3: Refer to “4. Preparing the Flash adjustment box”.
(See page 6-7)
Note 4: The right four digits of the page: 1 displayed data of the
adjusting remote commander.
1:
XX:XX
Displayed data
Note 5: “Strobe White Balance Adjustment” is available only
once after the power is turned on. Turn the power off,
then on again if the adjustment is retried.
Note 6: Background paper (J-2501-130-A).
Switch setting:
1) FLASH (Control button) .............. ON
Adjusting method:
Order Page Address Data Procedure
1
Perform “Data setting during
camera system adjustment”.
(Refer to page 6-14)
26 2C01
3 6 90 00
4 6 91 00
56 92FF
66 93FF
76 6C01
8 6 01 79 Press PAUSE button.
96 07
Check the data changes to
“01”.
10 6 01 67 Press PAUSE button.
11 Check the flashing.
12 6 02
Check the data changes to
“01”.
13 F E8
Check that the displayed data
satisfies the Y level data 1
specified value.
14 6 01 00 Press PAUSE button.
Order Page Address Data Procedure
15 6 01 67 Press PAUSE button.
16 Check the flashing.
17 6 02
Check the data changes to
“01”.
18 6 01 00 Press PAUSE button.
19 6 01 67 Press PAUSE button.
20 Check the flashing.
21 6 02
Check the data changes to
“01”.
22 6 01 00 Press PAUSE button.
23 6 01 67 Press PAUSE button.
24 Check the flashing.
25 6 02
Check the data changes to
“01”.
26 6 01 00 Press PAUSE button.
27 6 01 B9 Press PAUSE button. (Note 7)
28 Check the flashing.
29 6 02
Check the data changes to
“01”.
30 6 01 00 Press PAUSE button.
31 6 01 E7 Press PAUSE button.
32 Check the flashing.
33 6 02
Check the data changes to
“01”.
EA Check that the displayed data
34 F EC satisfies the Y level data 2
EE specified value.
35 Wait for 1 second.
36 0 03 2C
37 1
Check that the R-Y level data
(Note 4) satisfies the specified
value.
38 0 03 2D
39 1
Check that the B-Y level data
(Note 4) satisfies the specified
value.
Note 7: The adjustment data will be automatically input to page:
F, address: B6 to B7 and E0 to EF.
Processing after Completing Adjustment:
Order Page Address Data Procedure
1 6 01 00 Press PAUSE button.
2 6 90 00
3 6 91 00
4 6 92 00
5 6 93 00
66 2C00
76 6C00
8 0 03 00
9
Release the data setting
performed at step 1.
(Refer to page 6-14)
 Loading...