HBD-E280/T28
26
1-2. Playback operation confi rmation
Confi rm operation in each signal/output mode of test disc (BLX-
104/204) according to the content of the repair.
Note: “AV Sync.” doesn’t operate.
2. Networking Confi rmation
Confi rm it according to the following procedure when you confi rm
the connection of the network.
Note: Do not execute “Network Connection Diagnostics” of “Network
Settings” of the home menu with only the router connected.
Procedure:
1. Connect the router with the unit with LAN cable.
2. Turn on the power of the unit and the router.
3. Press the [HOME] button on the remote commander, and the
home menu is displayed.
4. Select “Setup” → “Network Settings” → “Internet Settings”,
and press the [
] button on the remote commander.
5. Select “View Networks Status” and press the [ ] button on
the remote commander.
6. Confi rm IP address are displayed in “IP Address”, “Subnet
Mask” and “Default Gateway”.
IP Address Setting: XXXX
Internet Access: XXXX
Physical Connection: XXXX
IP Address: XXX.XXX.XXX.XXX
DNS Settings: XXXX
MAC Address: XXX.XXX.XXX.XXX
Primary DNS: XXX.XXX.XXX.XXX
Secondary DNS: XXX.XXX.XXX.XXX
Subnet Mask: XXX.XXX.XXX.XXX
Default Gateway: XXX.XXX.XXX.XXX
SECTION 4
ELECTRICAL CHECK
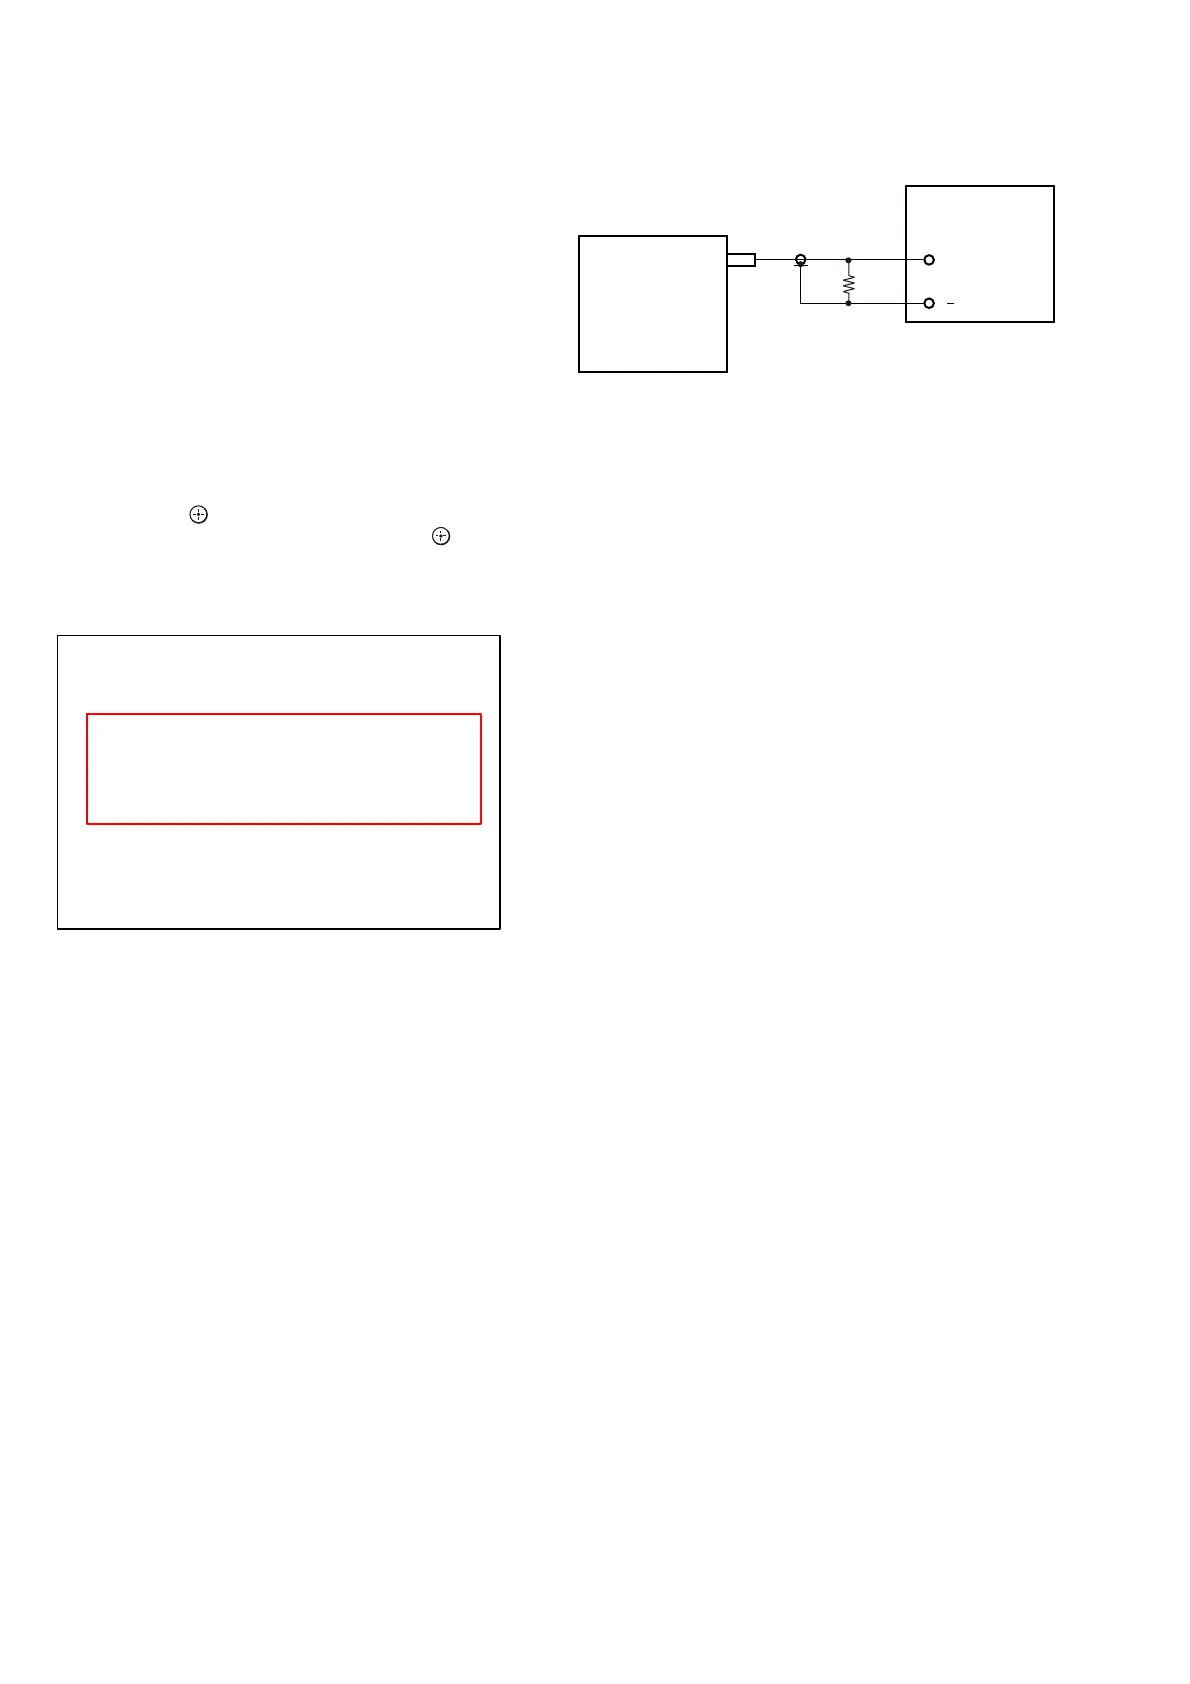
FM AUTO STOP CHECK
generator
SET
+
75 Ω
Procedure :
1. Turn the power on.
2. Input the following signal from Signal Generator to FM an-
tenna input directly.
Carrier frequency : A = 87.5 MHz, B = 98 MHz, C = 108 MHz
Deviation : 75 kHz
Modulation : 1 kHz
ANT input : 35 dBu (EMF)
Note: Please use 75 ohm “coaxial cable” to connect SG and the set. You
cannot use video cable for checking.
Please use SG whose output impedance is 75 ohm.
3. Set to FM tuner function and scan the input FM signal with
automatic scanning.
4. Confi rm that input Frequency of A, B and C detected and auto-
matic scanning stops.
The stop of automatic scanning means “The station signal is re-
ceived in good condition”.