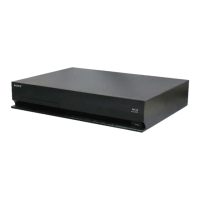
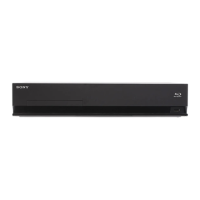
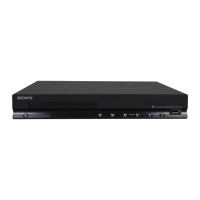
HBD-E280/T28
7
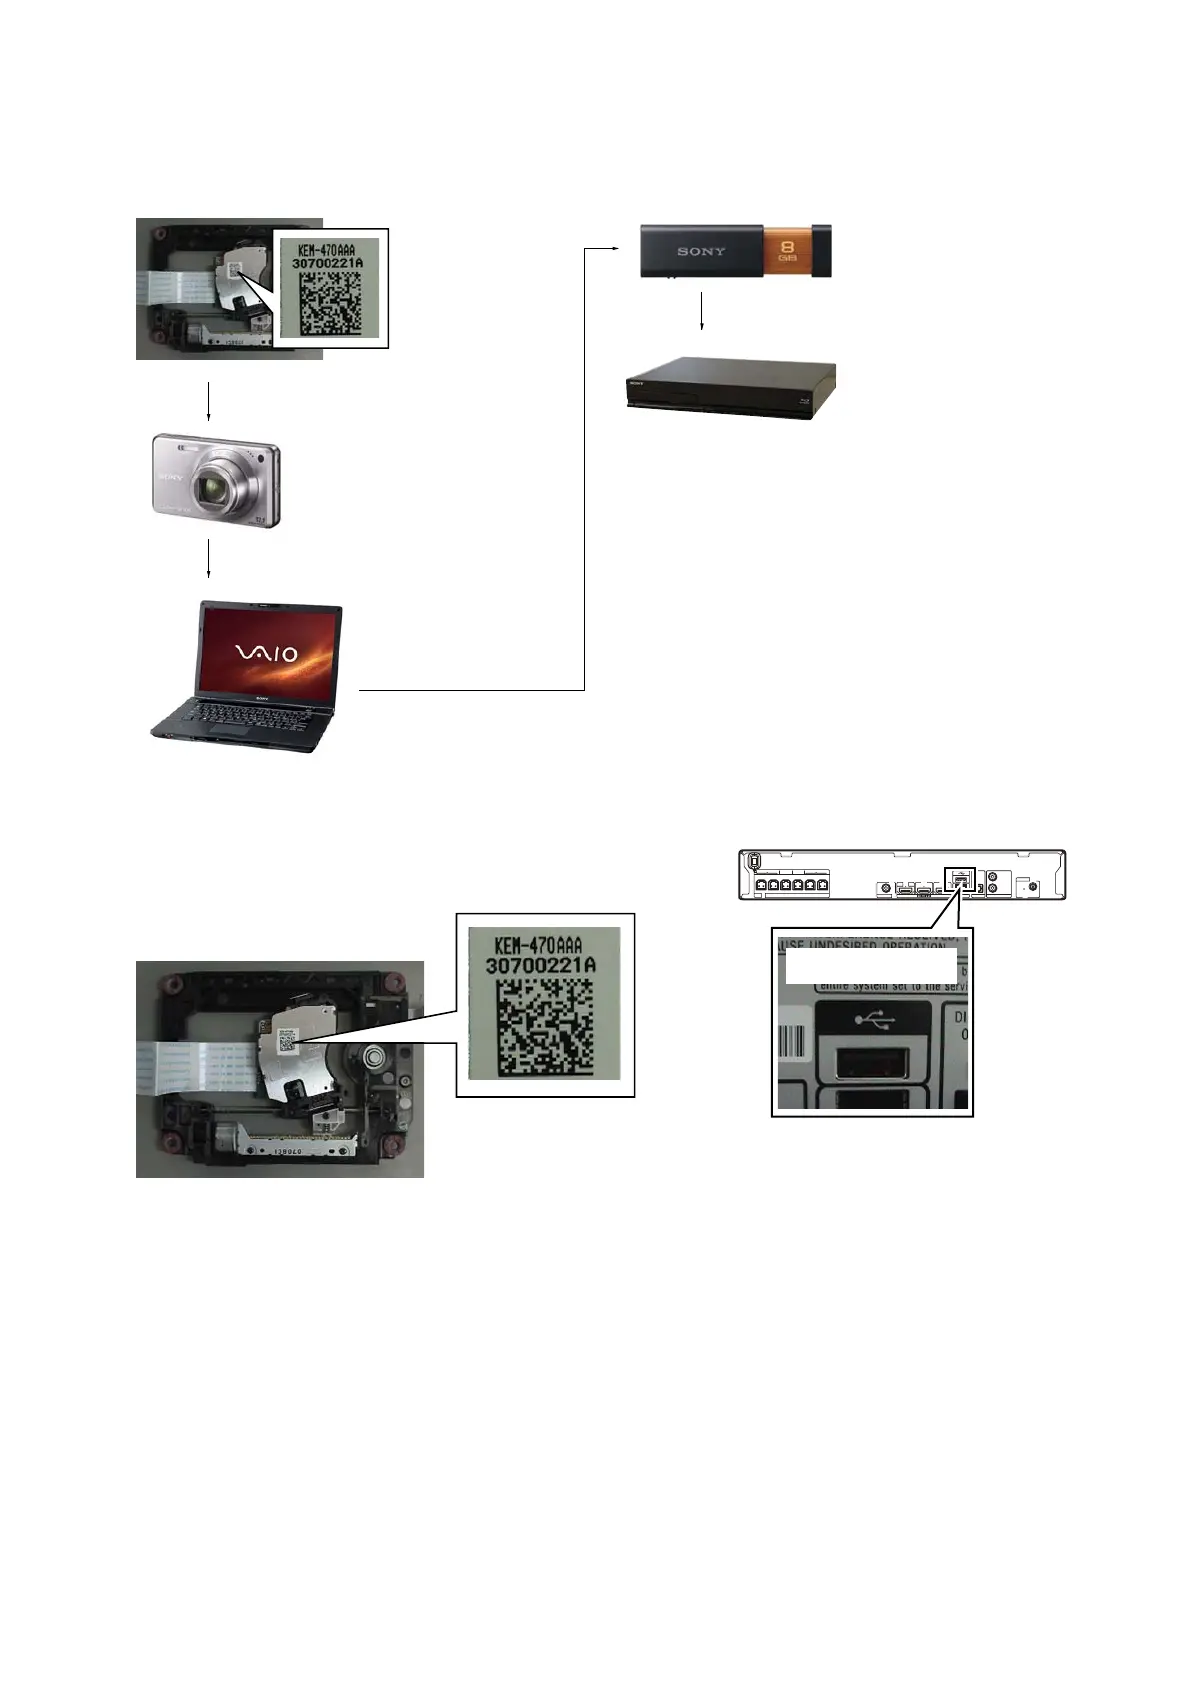
3. Optical device (KEM-460AAA) replacement
Flow of replacement:
Note: The photo in fl ow is an image.
Barcode label on
new optical device
(KEM-470AAA)
bottom side
Take photo (JPEG)
by digital camera
Save the text data
to USB memory
(memory capacity
need not be 8GB)
Connect USB memory
with rear USB connector
on this unit, and read the
text data by the service mode
Change photo into
the text data with
the barcode decoder
Procedure:
1. Remove the INSULATOR (4 pieces) and broken optical de-
vice (KEM-470AAA) from LOADING ASSY.
2. Take photo of the barcode on new optical device (KEM-
470AAA) bottom side by digital camera.
3. Assemble the INSULATOR (4 pieces) to new optical device
(KEM-470AAA), fi x (Torque value: 2 kgf) it to LOADING
ASSY with screw, and assemble this unit.
4. Drag & drop the taken photo by step 2 to “BDPRDec.exe”, and
make the text data (File name: BuData.txt).
5. Save the text data to USB memory.
6. Connect USB memory with rear USB connector on this unit,
and turn the power on.
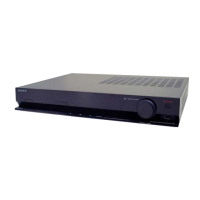
VIDEO OUT
OPTICAL
DIGITAL IN
TV
LAN (100)
AUDIO IN
R
L
AUDIO
FM
COAXIAL
75
ANTENNA
FRONT R FRONT L SUBWOOFER CENTER SUR R
ONLY FOR SS-TSB105
SPEAKERS
ONLY FOR
SS-WSB103
ONLY FOR
SS-CTB102
SUR L
ONLY FOR SS-TSB105
ARC
OUT
IN 1 IN 2
– Rear view –
Rear USB connector
7. Press the [FUNCTION] button on the remote commander to
select “BD/DVD”.
8. Press the buttons on the remote commander in order of
[DISPLAY], [0], [2], [1], [SUBTITLE], and enter the service
mode.
9. Press the buttons on the remote commander in order of [8], [1],
[ENTER], and execute “[1] Drive OP data Write”.
10. Turn the power off after writing the OP data.
11. Turn the power on, and enter the service mode again.
12. Press the buttons on the remote commander in order of [8], [7],
[3], [ENTER], and the dIOP value is displayed.
13. Confi rm value is the following specifi cation value, and turn the
power off.
Specifi cation value:
BD : ±3 mA
DVD/CD : ±3 mA
14. Turn the power on, confi rm playback performance of the BD
(BLX-104)/DVD (HLX-513)/CD (HLX-A1).
15. Completely assemble this unit, and complete the repair.