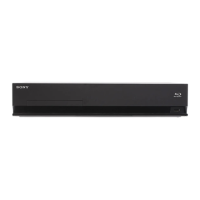
HBD-E2100/E3100/E3200/E4100/E6100
25
6. Diag (Audio Input Test)
This screen performs audio input test.
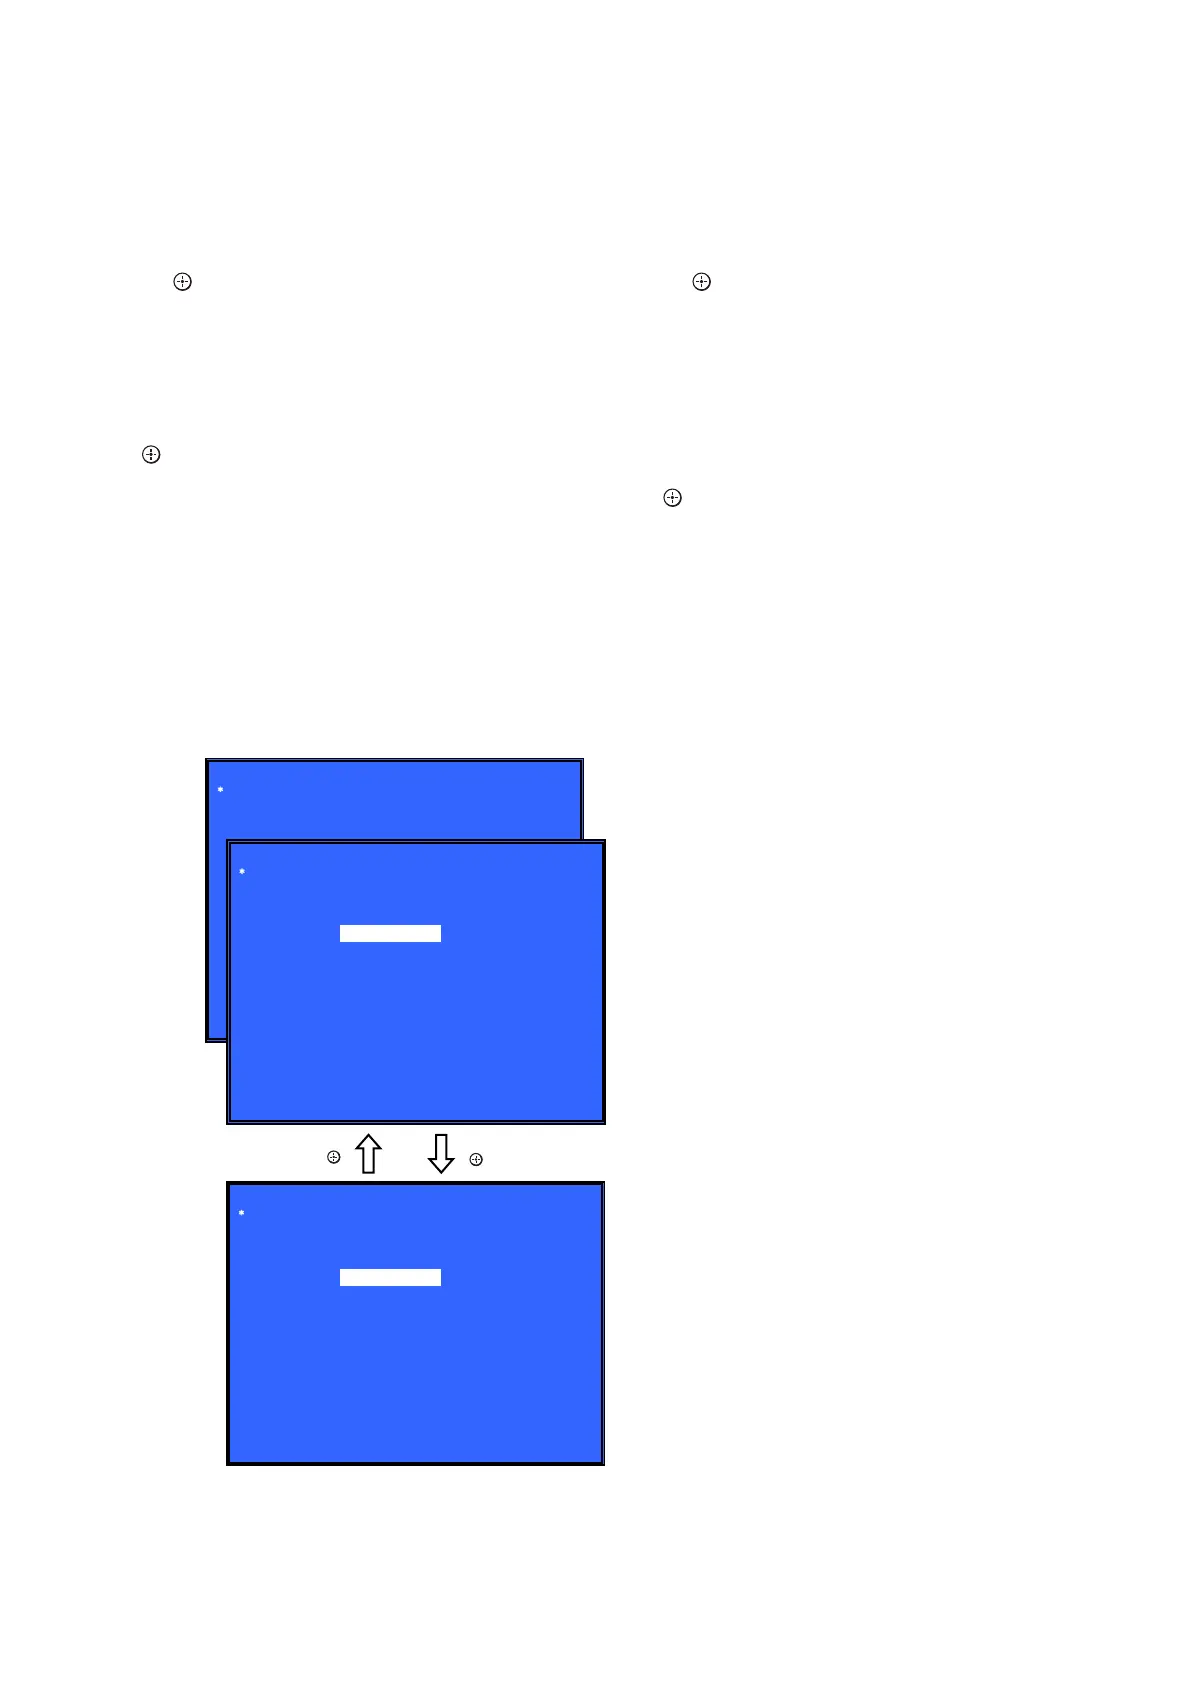
Screen 1: Select Audio Input Test Category
Operation:
[<]/[,] Selects the category
[m]/[ ] Activate the selected category
[RETURN] Returns to the service top menu
Screen 2: Select Input Device
After “Audio Input Test” selects in Screen 1, the device to test is
chosen.
Operation:
[M]/[m] Selects Device
[ ] Activate and Start Test/Stop
[RETURN] Returns to the selection of test category
• Device Test : Device List
Digital Input1 : CXD90019R-BA is inputted from Optical
Digital Input2 : CXD90019R-BA is inputted from ARC
Analog Input : CXD90019R-BA is inputted from AUDIO
• Audio Input Test
CXD90019R-BA is inputted from DIR/analog and outputs
LineOut (8ch) L and R.
Check tone sound by speaker connected with LineOut (8ch) L and
R.
(Input; LPCM 48kHz 2ch)
7. Diag (Wireless LAN Test)
This screen performs wireless LAN test.
Screen 1: Selects the Wireless LAN test category
Operation:
[
<
]/[
,
] Selects the category
[
m
]/[ ] Moves to the selected category
[RETURN] Returns to the service top menu
Screen 2: Wireless LAN test
[1] Show WLAN Hwinfo
[2] Connect to AccessPoint
[3] Start display RSSI value.
[4] Start Ping Test
Operation:
[
M
]/[
m
] Selects the test
[ ] Executes the test
[RETURN] Returns to selection of test category
Screen 2 : Select [1] Show WLAN HwInfo
• Viewing the display
Serial : Serial Number
Hard : Hardware Version
Mac : Mac Address
Screen 3 : Select [2] Connect to AccessPoint
Connect Access Point only with the following AP settings.
CERT: NO-ENCRYPT
WEPKEY: abcdef1234
PMK: ABCDE12345
SSID: SONY-Test-R
IPADDR: 192.168.1.100
NETMASK: 255.255.255.0
BROADCAST: 192.168.1.10
When connect to AP, Status is “Connected!”
When cannot connect to AP, Status is “can’t Connect!”
Screen 4 : Select [3] Start Display RSSI Value
Display RSSI value.
Screen 5 : Select [4 ] Start Ping Test
Ping Test.
IP address use the value of “192.168.1.10”.
Diag
Category:
Diag
Category: Audio Input Test
Device:
[ENT] Start Input Sound
HELP: [LEFT] [RIGHT] [UP] [DOWN] [ENT] [RET]
Audio Input Test
Digital Input 1
Digital Input 2
Analog Input
(Screen 1)
(Screen 2)
[ ]
Diag
Category: Audio Input Test
Device:
[ENT] Stop Input Sound
HELP: [LEFT] [RIGHT] [UP] [DOWN] [ENT] [RET]
[ ]
Digital Input 1
Digital Input 2
Analog Input
Ver. 1.5