1-20
DVP-NS975V
83
Settings and Adjustments
◆ AUDIO FILTER
Selects the digital filter to reduce noise above
22.05 kHz (Sampling frequency (Fs) of the
audio source is 44.1 kHz), 24 kHz (Fs is
48 kHz), or 48 kHz (Fs is above 96 kHz).
Note
There may be little effect by changing the digital
filter depending on the disc or playback
environment.
◆ DOWNMIX (DVD VIDEO/DVD-RW only)
Switches the method for mixing down to 2
channels when you play a DVD which has
rear sound elements (channels) or is recorded
in Dolby Digital format. For details on the
rear signal components, see “Checking the
audio signal format” (page 54). This function
affects the output of the following jacks:
– LINE OUT L/R (AUDIO) 1/2 jacks
– DIGITAL OUT (OPTICAL or COAXIAL)/
HDMI OUT jack when “DOLBY
DIGITAL” and “DTS” is set to “D-PCM”
(page 84).
◆ DIGITAL OUT
Selects if audio signals are output via the
DIGITAL OUT (OPTICAL or COAXIAL)/
HDMI OUT jack.
Note
Super Audio CD audio signals are not output from
a DIGITAL OUT (COAXIAL or OPTICAL)/
HDMI OUT jack.
Setting the digital output signal
Switches the method of outputting audio
signals when you connect a component such
as an amplifier (receiver) or MD deck with a
digital input jack.
For connection details, see page 23.
Select “DOLBY DIGITAL,” “DTS,” and
“48kHz/96kHz PCM” after setting
“DIGITAL OUT” to “ON.”
If you connect a component that is
incompatible with the selected audio signal, a
loud noise (or no sound) may be heard from
the speakers, risking damage to your ears or
speakers.
Notes
• The AV alignment function (page 61) is not
effective if you use the DIGITAL OUT
(OPTICAL or COAXIAL) jack, and set “DOLBY
DIGITAL” or “DTS” to “DOLBY DIGITAL” or
“DTS” respectively.
• The AV alignment function (page 61) is not
effective if you connect a Dolby Digital or DTS-
compliant device via the HDMI OUT jack, and set
“DOLBY DIGITAL” or “DTS” to “DOLBY
DIGITAL” or “DTS” respectively.
SHARP Provides a wide frequency range
and spatial feeling.
SLOW Provides smooth and warm
sound.
DOLBY
SUR-
ROUND
Normally, select this position.
Multi-channel audio signals are
output to 2 channels for enjoying
surround sounds.
NORMAL Multi-channel audio signals are
downmixed to 2 channels for use
with your stereo.
ON
Normally select this position. When
you select “ON,” see “Setting the
digital output signal” for further
settings.
OFF The influence of the digital circuit
upon the analog circuit is minimal. If
you are using the HDMI OUT jack,
PCM sound will be output depending
on the connected equipment.
If the signal is encrypted for copyright
protection purposes, the signal is only
output as 48 kHz/16 bit PCM.
AUDIO SETUP
AUDIO ATT:
AUDIO DRC:
DIGITAL OUT:
DOLBY DIGITAL:
OFF
STANDARD
AUDIO FILTER: SHARP
ON
DOWNMIX:
DOLBY SURROUND
D-PCM
PCM
48kHz/96kHz PCM:
48kHz/16bit
DTS:
AUDIO(HDMI):
AUTO
D-PCM
,continued
84
◆ DOLBY DIGITAL (DVD VIDEO/DVD-RW
only)
Selects the type of Dolby Digital signal.
Note
If the HDMI OUT jack is connected to equipment
not compatible with DOLBY DIGITAL signals,
the “D-PCM” signals will be automatically output
even when you select “DOLBY DIGITAL.”
◆ DTS
Selects the type of DTS audio signals.
Note
If the HDMI OUT jack is connected to equipment
not compatible with DTS signals, the “D-PCM”
signals will be automatically output even when you
select “DTS.”
◆ 48kHz/96kHz PCM (DVD VIDEO only)
Selects the sampling frequency of the audio
signal.
Notes
• The analogue audio signals from the LINE OUT
L/R (AUDIO) 1/2 jacks and 5.1CH OUTPUT
jacks are not affected by this setting and keep their
original sampling frequency level.
• If the HDMI OUT jack is connected to equipment
not compatible with 96 kHz/24 bit signals,
48 kHz/16 bit PCM will be automatically output
even when you select “96kHz/24bit.”
◆ AUDIO (HDMI)
Selects the type of audio signal output from
the HDMI OUT jack.
Note
A loud noise (or no sound) will be output if you
connect the player to a TV that is not compatible
with DOLBY DIGITAL/DTS signals and “AUTO”
is selected. In this case, select “PCM.”
D-PCM Select this when the player is
connected to an audio
component without a built-in
Dolby Digital decoder. You can
select whether the signals
conform to Dolby Surround
(Pro Logic) or not by making
adjustments to the
“DOWNMIX” item in
“AUDIO SETUP” (page 83).
DOLBY
DIGITAL
Select this when the player is
connected to an audio
component with a built-in
Dolby Digital decoder.
D-PCM
Select this when the player is
connected to an audio
component without a built-in
DTS decoder.
DTS Select this when the player is
connected to an audio
component with a built-in DTS
decoder.
48kHz/16bit The audio signals of DVD
VIDEOs are always converted
to 48 kHz/16 bit.
96kHz/24bit All types of signals including
96 kHz/24 bit are output in their
original format. However, if the
signal is encrypted for
copyright protection purposes,
the signal is only output as
48 kHz/16 bit.
AUTO
Normally, select this. Outputs
audio signals according to the
“DIGITAL OUT” settings
(page 83).
PCM Converts Dolby Digital, DTS,
or 96 kHz/24 bit PCM signals to
48 kHz/16 bit PCM.
85
Settings and Adjustments
Settings for the Speakers
(SPEAKER SETUP)
To obtain the best possible surround sound,
set the size of the speakers you have
connected and their distance from your
listening position. Then use the test tone to
adjust the volume of the speakers to the same
level.
This setting is effective when connecting the
speaker with 5.1 CH OUTPUT jacks (page
28).
You can create two different Speaker Setup
settings, one for Super Audio CDs and one for
all other types of discs.
1
Follow steps 1 through 4 of “Using
the Setup Display” (page 77) to
select “SPEAKER SETUP” in the
Setup display.
2
Select “DVD” or “SUPER AUDIO
CD” using X/x, then press ENTER.
Example: “DVD”
3
Set the following items in the
order that they are explained
below.
The default settings are underlined.
To return to the default setting
Select the item, then press CLEAR. Note that
only the “SIZE” setting does not return to the
default setting.
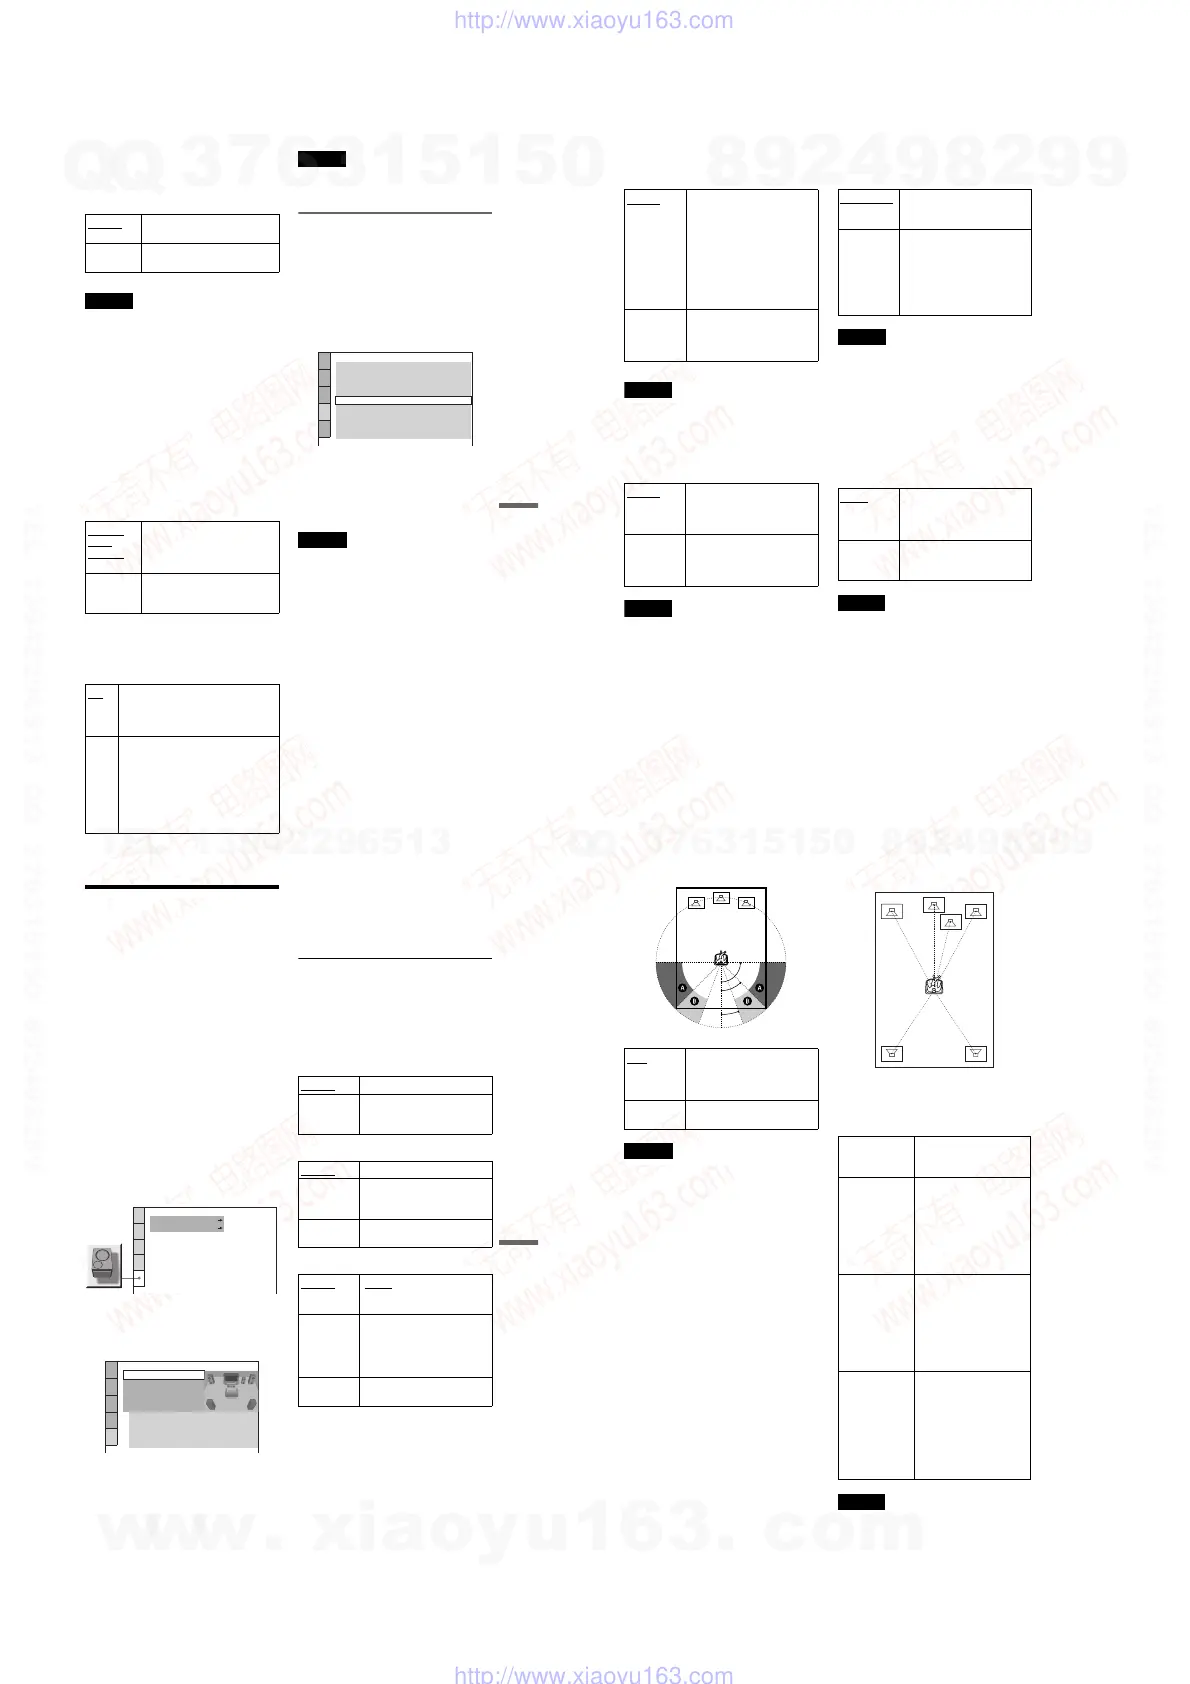
◆ SIZE
Selects the size of the speakers.
•FRONT
• CENTER
•REAR
* Rear speaker position
Correctly specify the location of the rear speakers to
enjoy the surround effect.
• Set to “SIDE,” if the location of the rear speakers
corresponds to section A below.
• Set to “REAR,” if the location of the rear speakers
corresponds to section B below.
This setting affects only “VIRTUAL REAR
SHIFT,” “VIRTUAL MULTI REAR,” and
“VIRTUAL MULTI DIMENSION” mode
(page 56). This setting does not affect the Super
Audio CD Multi audio signals.
SPEAKER SETUP
SUPER AUDIO CD:
DVD:
SPEAKER SETUP(DVD)
DISTANCE:
LEVEL(FRONT):
LEVEL(REAR):
OFF
TEST TONE:
FRONT:
CENTER:
YES
LARGE(REAR)
LARGE
LARGE
REAR:
SUBWOOFER:
SIZE:
LARGE Normally select this position.
SMALL Select this when the speaker
cannot reproduce adequate bass
frequencies.
LARGE
Normally select this position.
SMALL Select this when the speaker
cannot reproduce adequate bass
frequencies.
NONE Select this if you do not connect
a center speaker.
LARGE
(REAR/SIDE): Normally select
this position. Select according
to the rear speaker position*.
SMALL (REAR/SIDE): Select this
when the sound distorts or the
surround effects are difficult to
hear. Select according to the
rear speaker position*.
NONE Select this if you do not connect
rear speakers.
,continued
86
• SUBWOOFER
Notes
• The cut off frequency for the subwoofer is fixed at
120 Hz.
• If your speakers are too small to reproduce low
bass frequencies, utilize a subwoofer for low
frequency sound. When you set the speaker
settings to “SMALL,” the bass redirection
circuitry will be activated and the bass
frequencies for the speakers are output from the
subwoofer.
• Even if there are fewer than 6 speakers connected,
the player distributes the audio signal components
to the front speakers.
◆ DISTANCE
Sets the distance from your listening position
to the speakers.
Set the distance to your front speakers in
“FRONT” first (A). Then adjust the values in
“CENTER” (center speaker B), and
“REAR” (rear speaker C) , and
“SUBWOOFER” (D) to reflect the actual
distance to your center speaker, rear speakers,
and subwoofer.
Be sure to change the value in the Setup
Display each time you move the speakers.
Start from the front speaker. The default
adjustments are in parentheses.
Note
If each of the front or rear speakers are not placed at
an equal distance from your listening position, set
the distance according to the closest speaker.
YES Select this if you connect a
subwoofer to output the LFE
(Low Frequency Effect) signals
from the subwoofer.
NONE Select this if you do not connect
a subwoofer.
90
20
45
FRONT
(10 ft/3m)
Set this between 4 and 50 ft
(1.2m and 15.2m) in 1 ft
(0.3m) increments.
CENTER (10 ft/
3m)
Set this within –5 and +2 ft
(–1.5m and +0.6m) of the
“FRONT” setting in 1 ft
(0.3m) increments. For
example, if “FRONT” is set
to 17 ft (5.1m), “CENTER”
can be set between 12 and
19 ft (3.6m and 5.7m).
REAR (10 ft/
3m)
Set this within –16 and
+2 ft (–4.8m and +0.6m) of
the “FRONT” setting in 1 ft
(0.3m) increments. For
example, if “FRONT” is set
to 17 ft (5.1m), “REAR”
can be set between 1 and
19 ft (0.3m and 5.7m).
SUBWOOFER
(10 ft/3m)
Set this within –5 and +2 ft
(–1.5m and 0.6m) of the
“FRONT” setting in 1 ft
(0.3m) increments. For
example, if “FRONT” is set
to 17 ft (5.1m),
“SUBWOOFER” can be
set between 12 and 19 ft
(3.6m and 5.7m).
B
D
AA
CC
(4~50 ft/
1.2~
15.2m)
(4~50 ft/
1.2~
15.2m)
w
w
w
.
x
i
a
o
y
u
1
6
3
.
c
o
m
Q
Q
3
7
6
3
1
5
1
5
0
9
9
2
8
9
4
2
9
8
T
E
L
1
3
9
4
2
2
9
6
5
1
3
9
9
2
8
9
4
2
9
8
0
5
1
5
1
3
6
7
3
Q
Q
TEL 13942296513 QQ 376315150 892498299
TEL 13942296513 QQ 376315150 892498299
http://www.xiaoyu163.com
http://www.xiaoyu163.com