Chapter
5 Unit Operation
5.1 First Operation
If the system is baked (see section 4.6, “Baking Out” on page 43) the vacuum should be
checked. The base pressure should be lower than 10
-7
mbar (for more details please see
section 5.3.3, “Functional Test” on page 49). Check the electrical connections (see sec-
tion 4.7, “Electronic Units Installation” on page 44).
After storage for a prolonged period please read the start-up procedure given for the
CEM after bake out in section 4.6 . Check the detector voltage given in the Specification
Report for your analyzer (spectra prints: column Udet) with the default detector
voltage (menu Analyzer/ Settings). A monthly check of this parameter (see figure 15,
page 29) is recommended.
5.2 Quick Start
1. Check vacuum conditions.
2. Check sample.
3. Switch on the analyzer supply HSA3500 (see sec-
tion , on page ).
4. Start the acquisition program SpecsLab2.
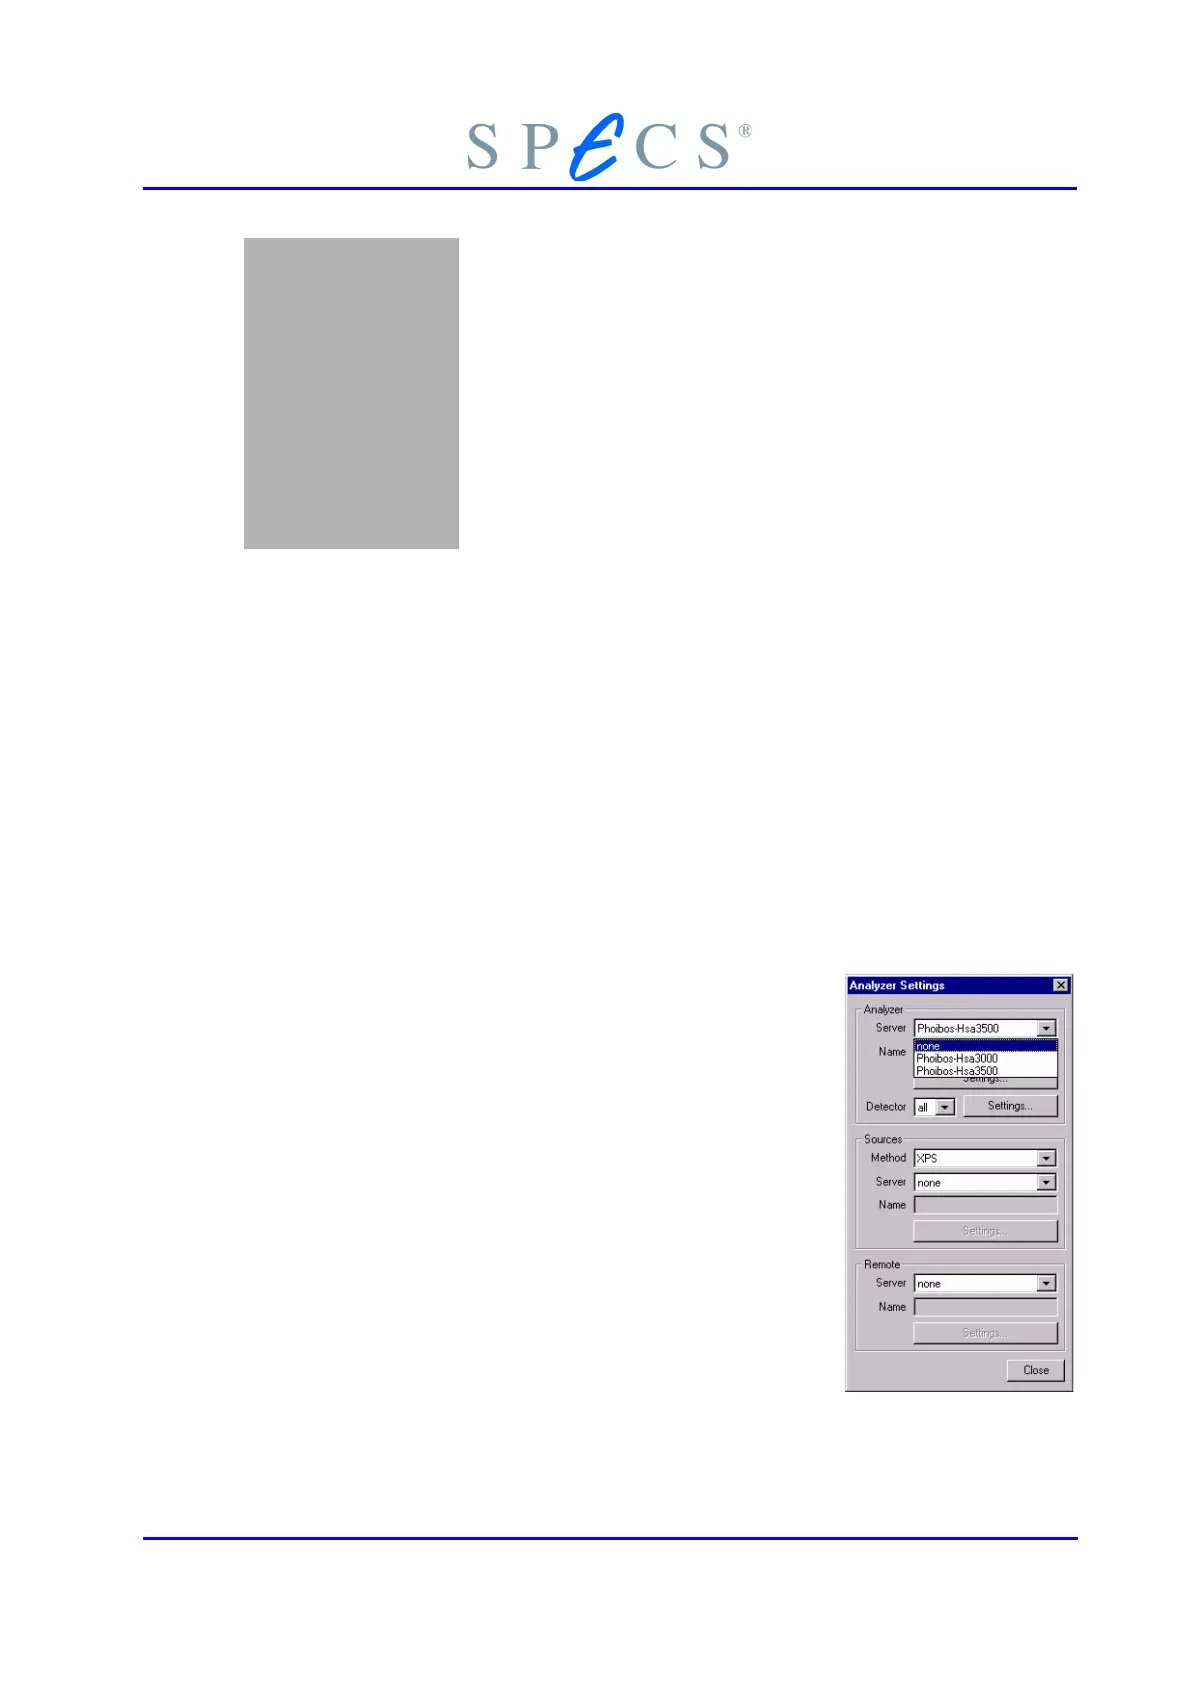
5. Select the HSA3500 control unit in the menu Ana-
lyzer / Settings
6. Switch on the excitation source.
7. Choose the desired slit combination (table 4 on
page 23). (A typical slit combination for standard
XPS and large samples ~10x10mm is 2:7x20mm /
2:open)
8. Set the Iris aperture to the desired diameter.
9. Set the scan parameter for the region (e.g. figure
31, page 68).
10. Press Validate and then Measure (window: Region
Edit).
11. Save the results.
12. Switch off the units.
PHOIBOS 47

 Loading...