13
SECTION F.2.3
STANDARD TEST PROCEDURE FOR 6000 BIRD DOG PLUS
SIMULTANEOUS 3 PHASE METER VERIFICATION
TESTING AFTER A METER CIRCUIT TEST
1. Hookup Probes to Phase A (or B or C as appropriate) & Sensors to the Meter
1.1 Secondary Current: Depending upon the type of circuit you are testing, there will be
different hookup procedures. See Section F.3.2 for more detailed hookup procedures:
1.1.1 Forms 3, 5, 6, 8, & 9 Circuits with a Test Switch: Duckbills / Copper side up or
clamp-on CTs (Small I Probes)
1.1.2 Forms 4 Circuits with a Test Switch: Duckbills / Copper side up for phase 1
and silver side up for phase 2, or clamp-on CTs (Small I Probes) with reverse
direction for phase 2.
1.2 Secondary Voltage: Alligator Clips /Red to phase A, yellow (or green for older units)
to phase B, black to phase C, & white to neutral/low side.
1.3 Automatic Sensors: Attach the automatic sensors to the meter.
1.4 3 Phase Connector Box: Set the 1) Small Knob to the Meter Verify position, 2) the
Large Knob to the proper probes (Large I Probes or Small I Probes or Duckbill
connectors) you are using, and 3) the Meter Trigger switch set to Sensors.
2. Transition From Meter Circuit Testing to Meter Testing
2.1 From the CT RATIO AND BURDEN screen, press the MORE OPTN button.
2.2 Press PP GRAPH.
2.3 With the 6000 on, change the setting on the small knob to Meter Verify. Change the
setting on the large knob if necessary. Press CONTINUE.
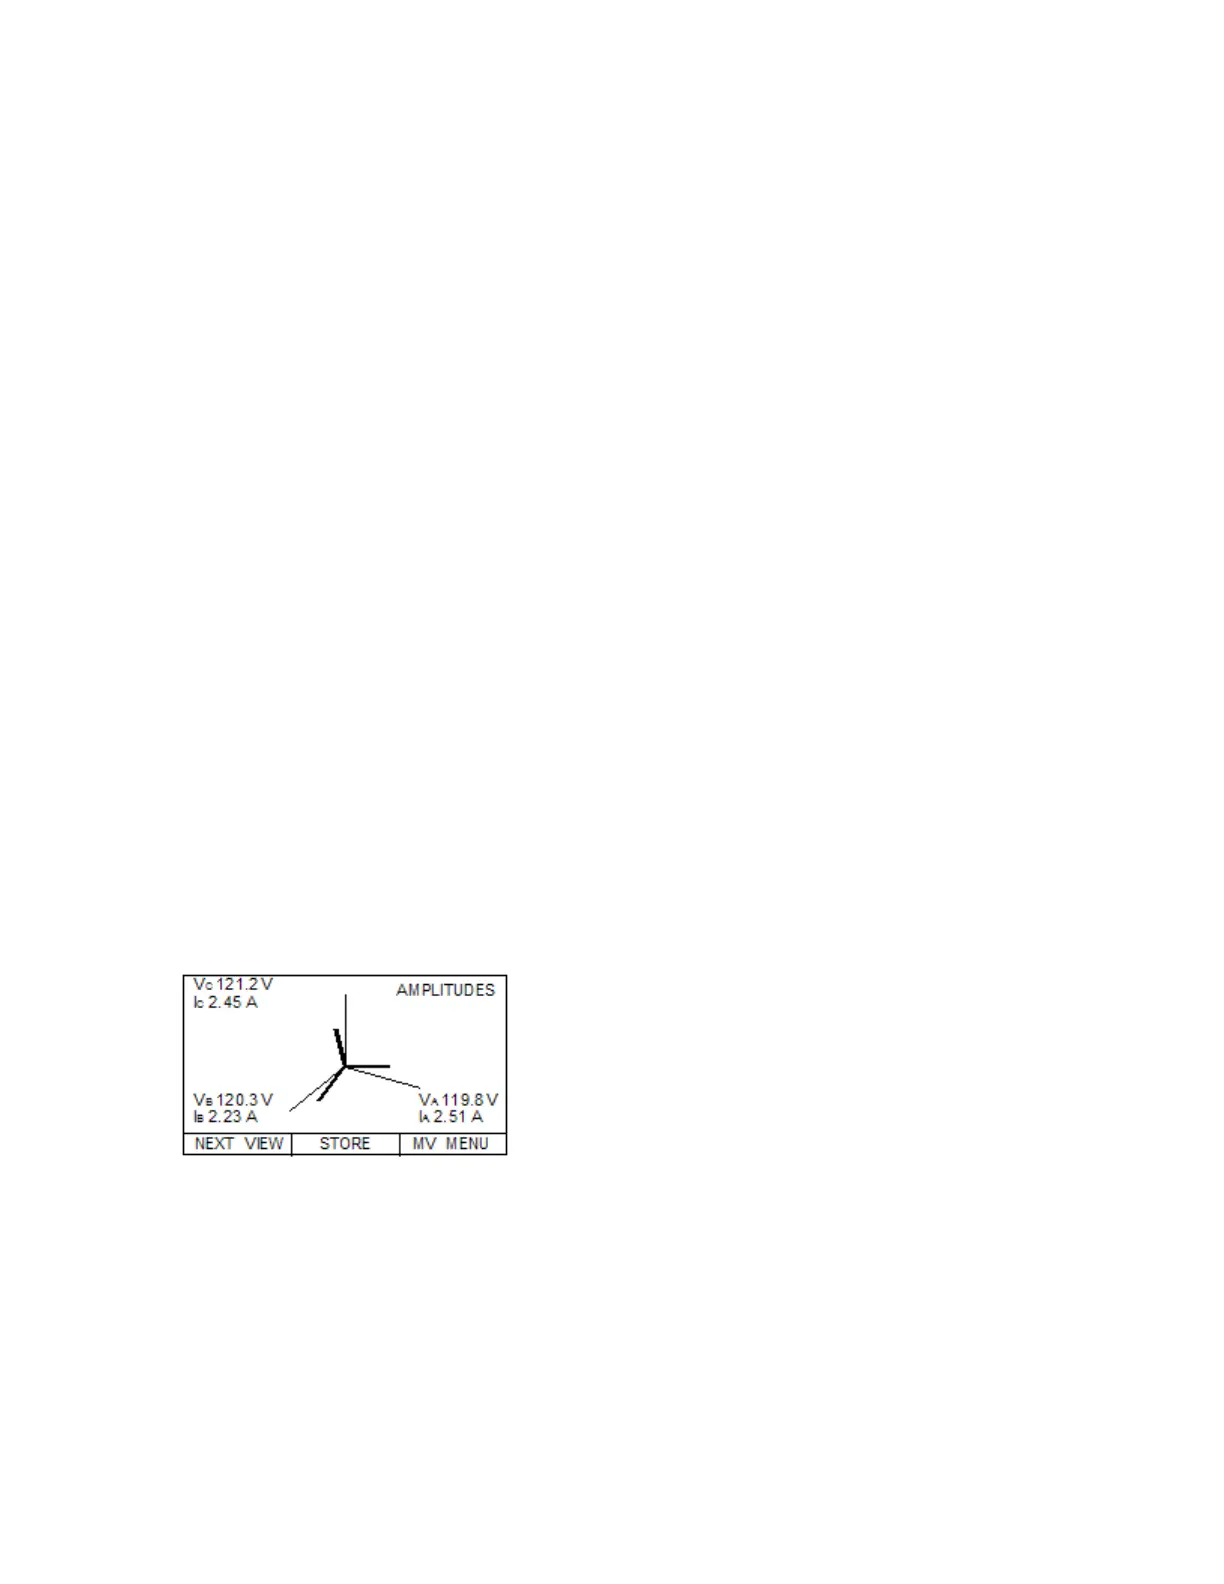
3. Review the POLYPHASE GRAPH for Input Signals
3.1 Review the AMPLITUDE readings
3.2 Press NEXT VIEW and scroll through PHASE (DEG) angles, HARMONIC
DISTORTION readings, and then finally the SYSTEM POWER SUMMARY
screen for anomalous readings as shown below:
Secondary Currents—OK? (>0.5 Amps, steady,
balanced)
Phase Angles—OK? (steady, adjust for inherent
phase shift)
THD Readings—THDV < 5% & THDI < 20%
System Power Readings
True PF—OK? (>0.7, steady)
Secondary Voltages—OK? (Correct value, steady)
3.3 Press MV MENU when your review is complete
4. Perform the Meter Verification Test
4.1 From the METER VERIFY TEST menu select METER VERIFY ONLY
4.2 Enter the appropriate Kh and press SELECT
4.3 INPUT NUMBER OF PULSES PER REVOLTION for which the meter is set
4.4 Now setup your sensors on the SENSOR SETUP screen
4.5 Once the sensors are detecting a proper pulse or rotation, press the AUTOMATIC button
4.6 The Bird Dog Plus will now detect the length of time for the test and will bring you to the
TIMING RESULTS screen
 Loading...