Press the context sensitive key beside the Group icon required and a tick will appear to
indicate that you are logged in to this Group.
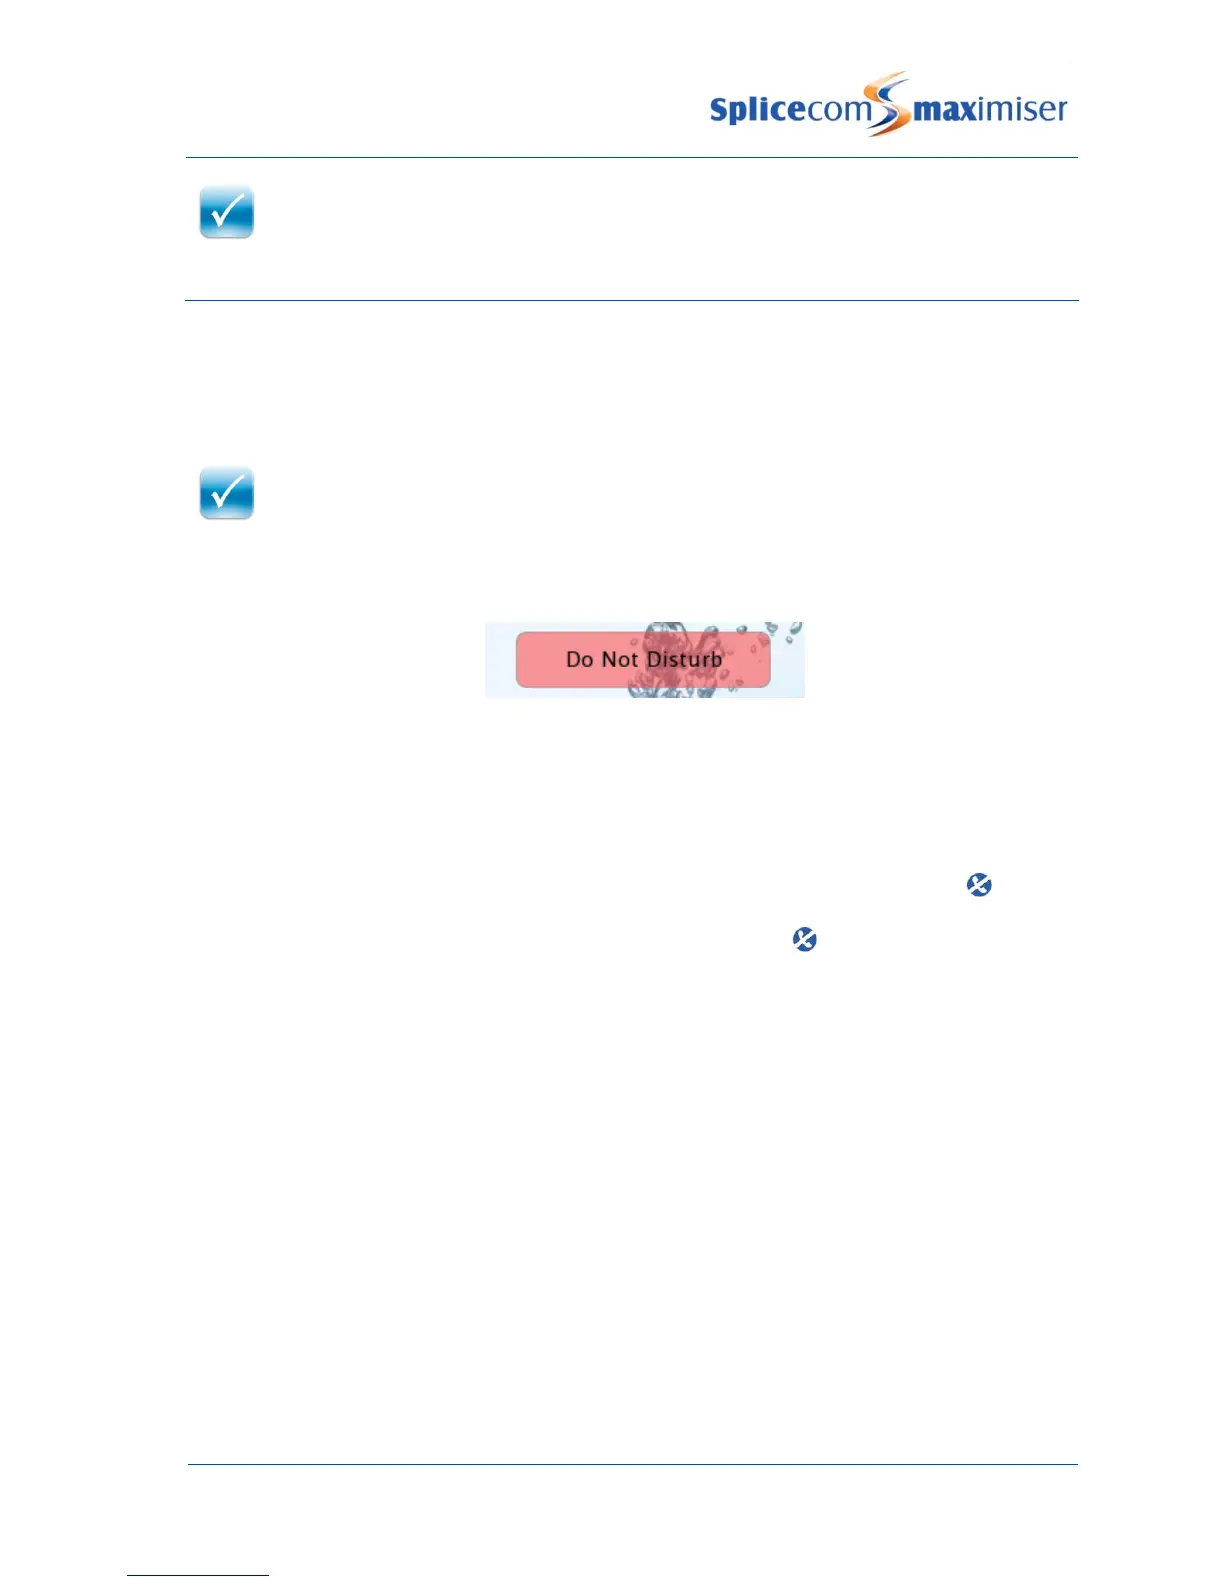
Do Not Disturb
The Do Not Disturb facility allows you set your extension as permanently busy. This useful if, for example,
you are holding a meeting in your office and do not wish to be disturbed.
Turn on Do Not Disturb
When DND is enabled:
The Do Not Disturb banner will be displayed within your home page.
The SpliceCom LED will flash.
Your telephone handset will provide a broken dial tone to remind you that this feature has been
enabled.
Your calls will be automatically passed to your Forward on Busy number, if configured, or to
voicemail, if enabled, or the caller will receive the busy tone. (For further information on your
Forward on Busy Number please refer to your System Administrator.)
When a colleague uses the Dial Ahead facility to dial your extension the blue DND icon will be
displayed to indicate that you have Do Not Disturb set.
Your entry in the Contacts Directory will display the blue DND icon to inform your colleagues that
your extension has Do Not Disturb set. Your colleagues who are using a PCS 5xx IP phone, PCS 60 or
Navigate will also be informed that you have Do Not Disturb set via their respective directories.
Turn off Do Not Disturb