UM2435 Rev 2 23/48
UM2435 Hardware layout and configuration
47
7.3 Getting started
7.3.1 Conventions
Table 3 provides the definition of some conventions used in this document.
7.3.2 Quick start
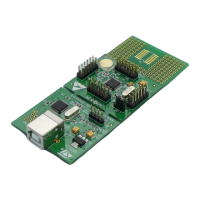
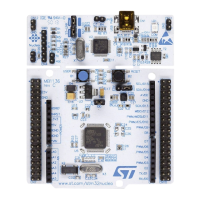
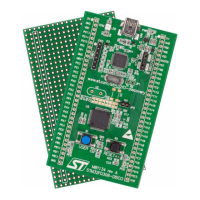
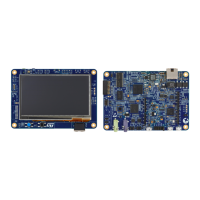
The pack board is a low-cost and easy-to-use development kit to quickly evaluate and start
a project based on an STM32WB microcontroller featuring a 2.4 GHz RF transceiver
supporting Bluetooth
®
specification v5.0 and IEEE 802.15.4-2011 PHY and MAC in a
VFQFPN68 or UFQFPN48 package.
1. Before installing and using the product, accept the Evaluation Product License
Agreement from www.st.com/stm32nucleo.
2. For correct identification of all device interfaces from the host PC, install the Nucleo
USB driver available on www.st.com/ stm32nucleo before connecting the board.
3. Set correctly the jumper JP1 ([7-8] on USB STL).
4. Plug the Nucleo USB ST-LINK connector (P2P server) and USB dongle (P2P client) to
power sources. On the P2P server, you will see a blinking LED for approximately
1
minute.
5. Once the P2P client is powered, push the SW1 button to start scanning (it will
automatically connect to the P2P server).
6. Once connected, the green LED blinks for each connection interval. The P2P client
searches for the P2P service, LEDs and buttons characteristics, and enables
notification.
7. Pushing the SW1 button toggles the blue LED on the remote device.
8. Pushing the SW2 button on the Nucleo Board changes the connection interval (50 ms,
1
s). The effect is visible directly on the green LED of the Nucleo board.
9. The demonstration software and several software examples that make it possible to
use the STM32 Nucleo and USB dongle features are available at
www.st.com/ stm32nucleo.
10. Develop your own application using the available examples.
7.3.3 Default boards configuration
By default the board is set in SMPS mode. It is possible to set the board In LDO mode, see
Section 7.13: Jumper configuration.
Table 3. Jumper and SB ON/OFF conventions
Convention Definition
Jumper JPx ON Jumper fitted
Jumper JPx OFF Jumper not fitted
Jumper JPx [1-2] Jumper to be fitted between Pin 1 and Pin 2
Solder bridge SBx ON SBx connections closed by a 0 Ω resistor
Solder bridge SBx OFF SBx connections left open
 Loading...