UM1467 Using Atollic TrueSTUDIO®
Doc ID 022172 Rev 1 34/46
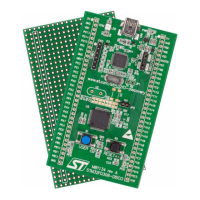
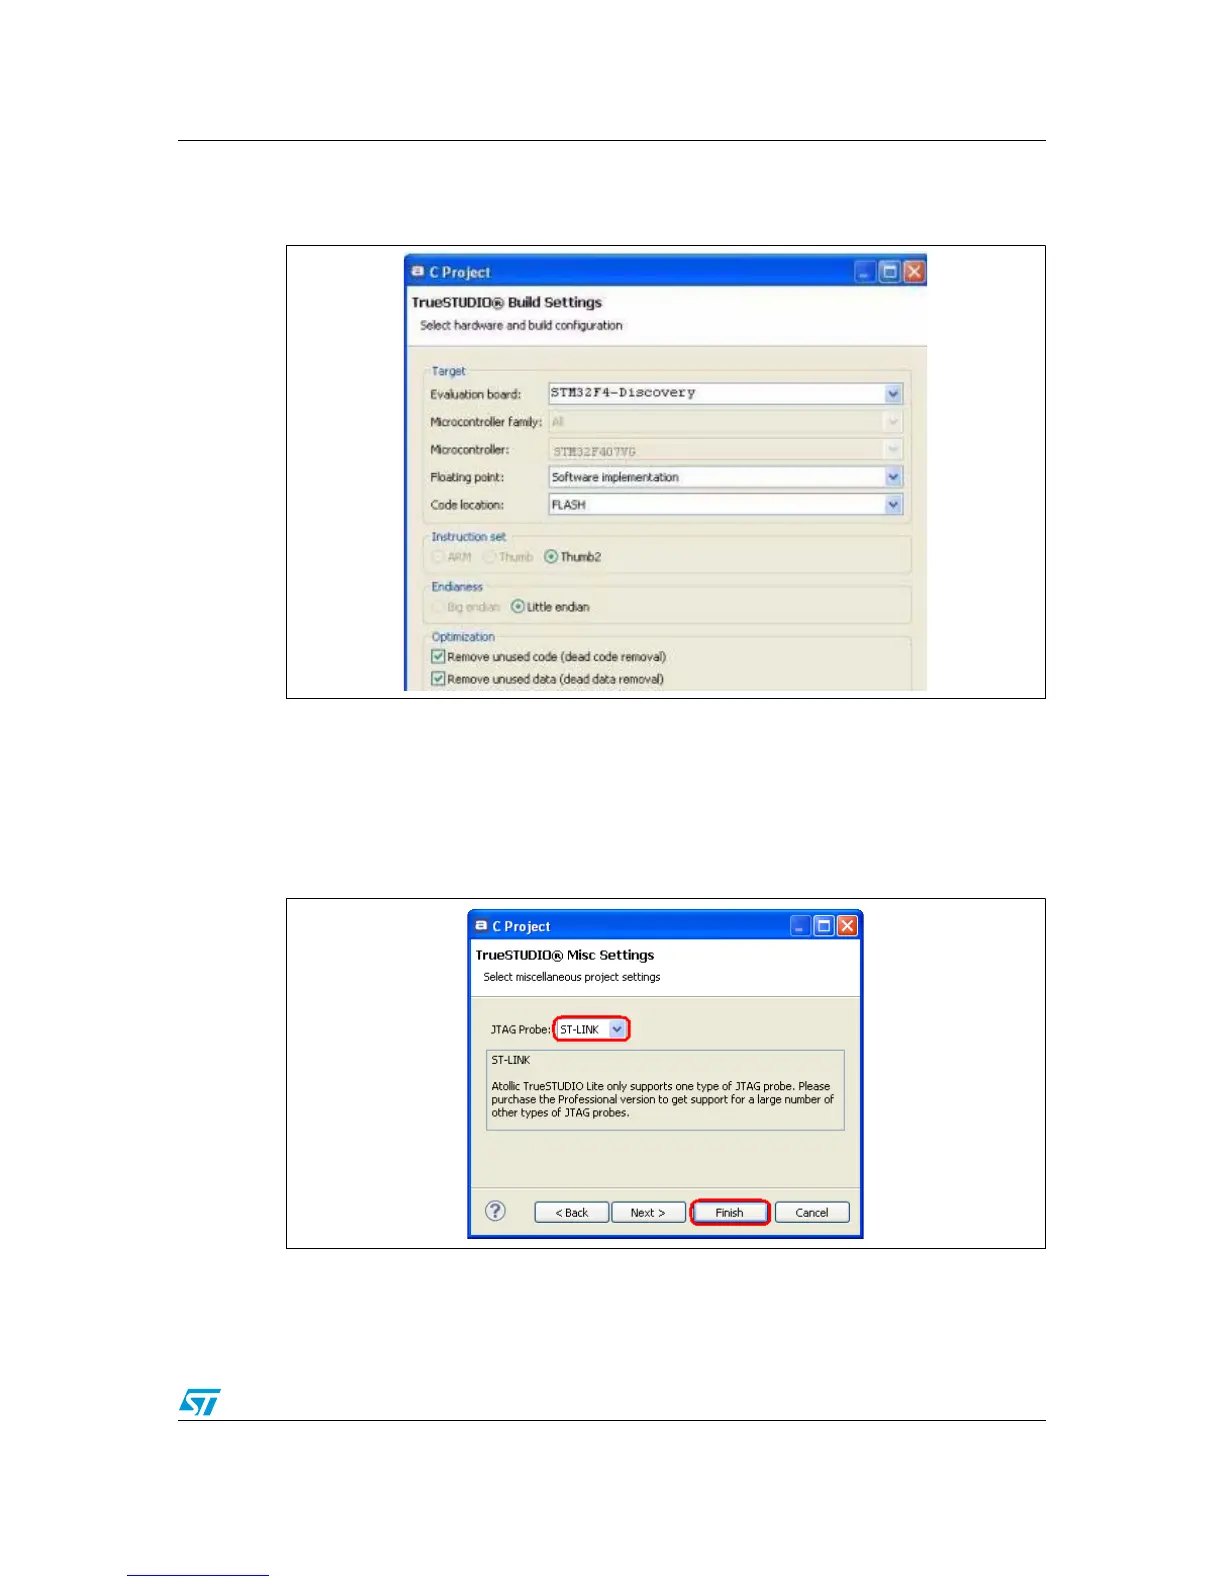
4. In the TrueSTUDIO® Build Settings dialog box, select STM32F4-Discovery as
Evaluation board, configure the other settings as shown in Figure 45 and click Next.
Figure 45. TrueSTUDIO® Build Settings dialog box
Note: Choosing STM32F4DISCOVERY as the evaluation board, will configure the project as
follows:
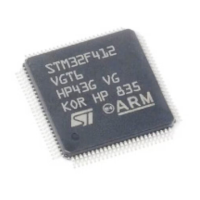
● Microcontroller: STM32F407VGT6
● Debug probe: ST-LINK
● Connection: Serial Wire Debug (SWD).
5. Verify that the JTAG Probe is ST-LINK and click Finish to confirm your settings.
Figure 46. TrueSTUDIO® Misc Settings dialog box
6. Your project is successfully created. Atollic TrueSTUDIO® generates target specific
sample files (main.c, stm32f4xx_it.c...) in the Project folder to simplify development.
You can tailor this project to your needs by modifying these sample files.
 Loading...