28
S
Increasing Tension
(Light head drifts down when pushed up)
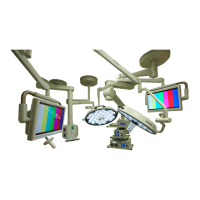
1. Insert a 5mm Allen wrench in the elbow joint of the
Spring Arm.
2. Turn the wrench counterclockwise to increase the
tension.
3. Check tension by pushing light head towards ceiling
and then toward the oor.
Decreasing Tension
(Light head drifts up when pulled down)
1. Insert a 5mm Allen wrench in the elbow joint of the
Spring Arm
2. Turn the wrench clockwise to decrease the tension.
3. Check tension by pushing light head towards the
oor and then toward the ceiling.
Adjusting Spring Arm Tension
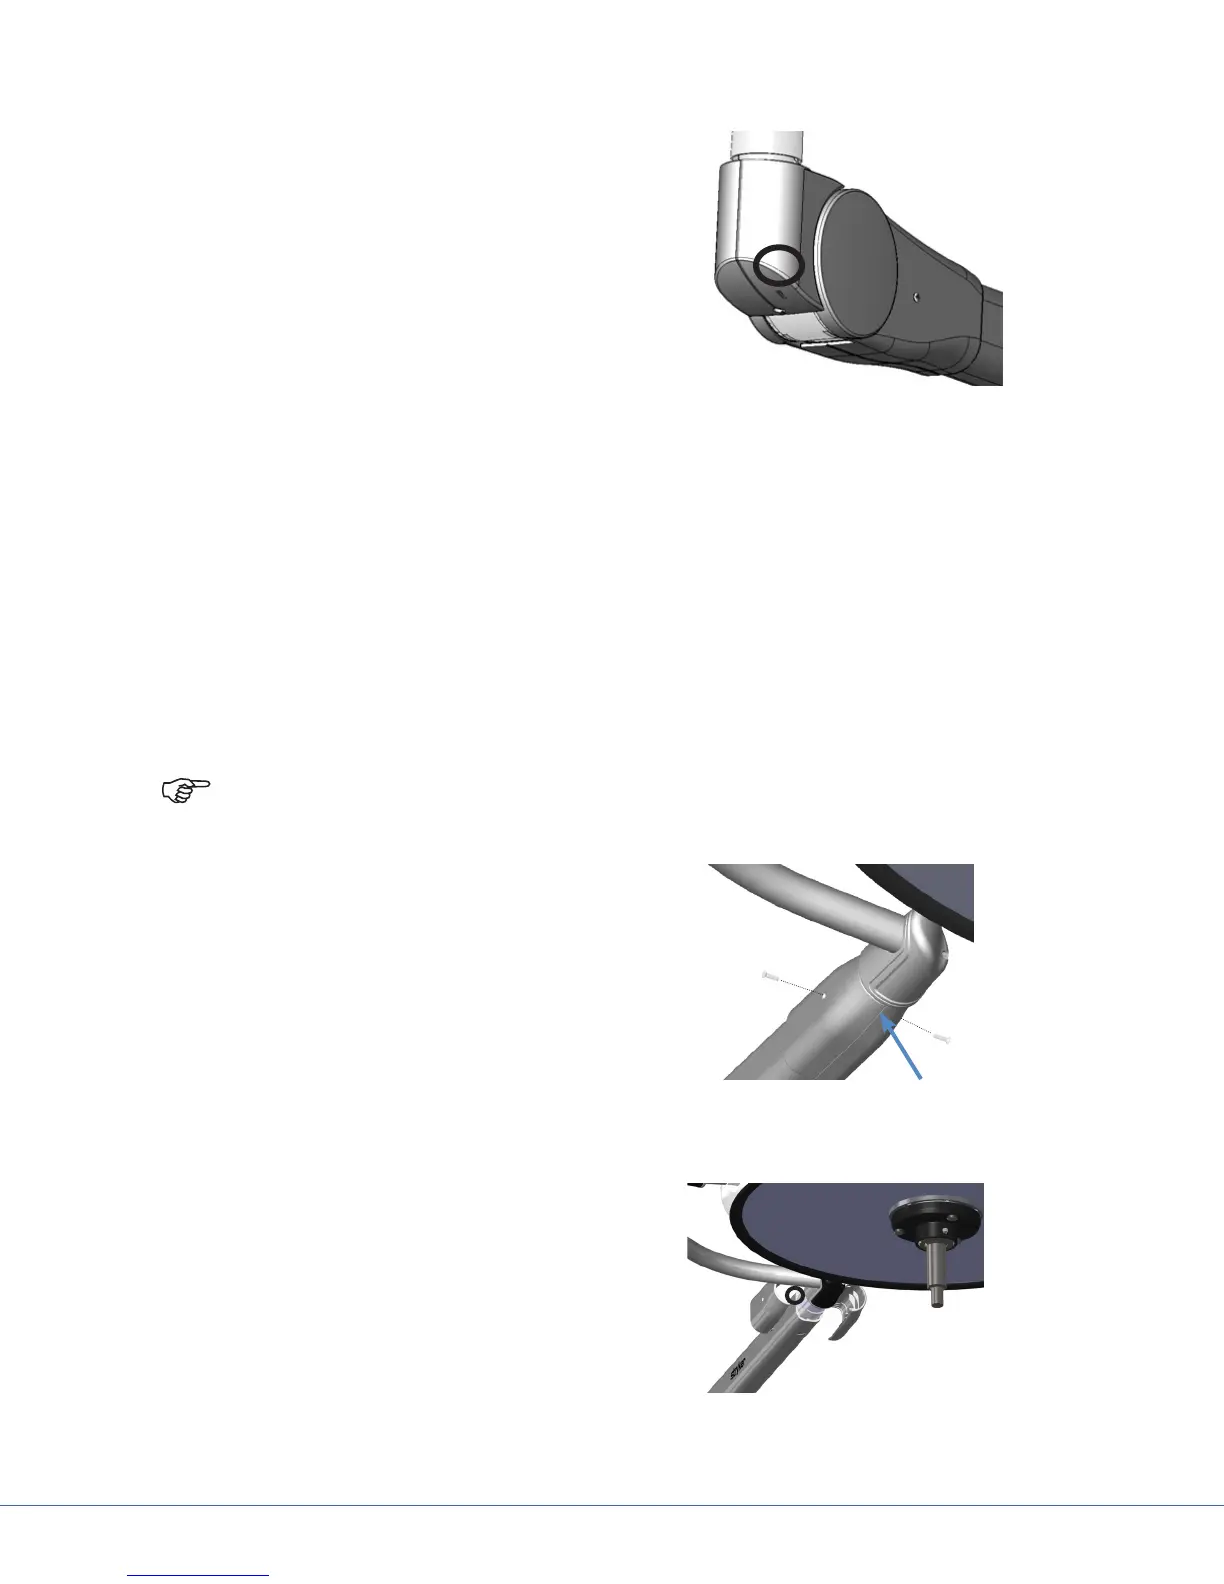
Adjusting the Spring Arm Brake Screws
The Spring Arm brake screw controls the 360° rotation of the Cardanic Suspension. It is located where the
Spring Arm meets the Cardanic Suspension. This brake screw should be adjusted during initial installation
and when performing preventative maintenance. At all other times, the brake screw is covered.
Note: Take care when setting aside the two halves of the Spring Arm front cover. When
properly joined, the Spring Arm front cover ts snugly to the Spring Arm.
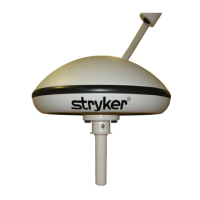
Removing the Spring Arm Front Cover
1. Use a P1 Phillips screwdriver to remove screws
at both sides of the cover.
2. At the bottom of the frontmost section of the
Spring Arm (where indicated by the arrow in
the accompanying gure), insert a at head
screw driver between the two halves of the
cover and gently pry it apart.
3. Set the two halves aside in the same orientation
so you can easily put them back on (they can
only be properly joined in one way).
Remove Spring Arm Front Cover
To Tighten
1. Use a 4mm Allen wrench to tighten the brake
screw; with your ngertips, turn the wrench
clockwise until you feel the slightest of
resistance.
2. Once you feel resistance, tighten the brake
screw an additional 180°.
3. Check for ease of movement. If it is still too
loose, tighten it up to 30° more.
Brake Adjustment Screw