29
S
To Loosen
1. Use a 4mm Allen wrench to loosen the brake screws, turning counterclockwise 30°.
2. Check for ease of movement. If it is still too dicult to move, loosen it up to 30° more.
Note: If you have a torque wrench, the recommended brake screw adjustment for the
Spring Arm (where it meets the Cardanic Suspension) is 5.3 lb-in (60 Ncm).
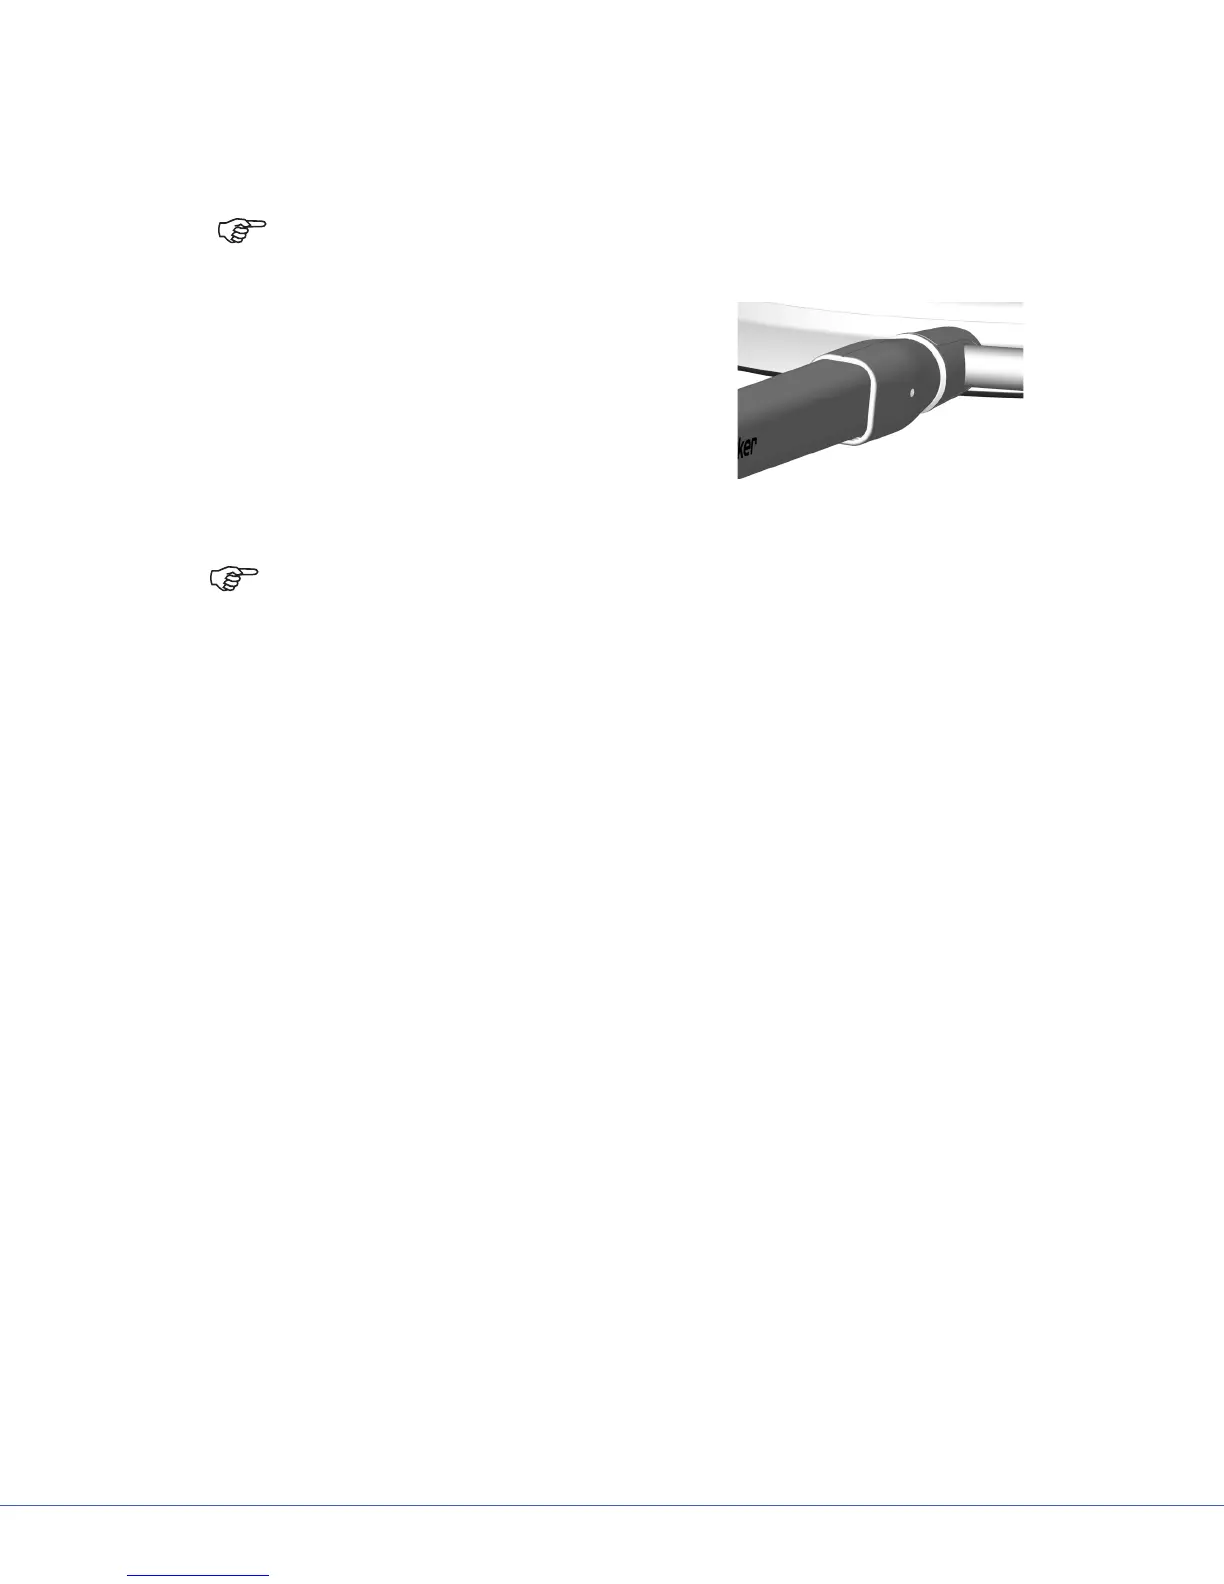
Put on Spring Arm Front Cover
1. Snap the two halves together. When properly
joined, both sides snap into place and t snugly
around the Spring Arm.
2. Use a P1 Phillips screwdriver to tighten the
screws at both sides of the cover.
Spring Arm Front Cover Properly Attached
Note: There should be no gaps at the back of the Spring Arm front cover. While the front
of the cover is circular, the back ts snugly only when properly attached. The top has
slightly shorter curves and a slightly longer at surface. Use that orientation to secure it
properly.
7.3.3 Replacing Brake Screws
1. Remove the brake screw (using the Allen wrench recommended in the instructions to loosen the
appropriate brake screw).
2. Fill the hollow nose of the brass brake pads with Microgleit GP360 and lubricate the faces of the brake
pads with a thin layer of the grease.
3. Insert the brake screws and turn them with you ngertips until the threads engage.
4. Follow the instructions to tighten the appropriate brake screw.