STULZ Ultra-Series Humidifier Controller
(August, 2013) 17
Version
SET
Alarm Set
Enter Password: █ 0
Level:0
4.4 Start-up / Commissioning
CAUTION
Ensure all system hook-ups to the Humidifier(s) have been
completed and that DI water is available.
1. Turn the On/Off door switch to "On". Upon application of
control power, the interface display panel function keys
illuminate and the controller begins conducting internal
diagnostics to confirm functionality. After about 30
seconds the controller will display the Main Info screen
(see Section 4.4.1).
2. If the controller is configured for "Automatic On"
operation (standard), it calculates the percentage
humidification for each Group of Humidifiers and sends
that information to the Humidifiers over the RS-485
Modbus interface.
3. If the status message "OFF- Manual Restart Req"
appears, the Automatic On feature may not be enabled.
In this case turn the Humidifier on by pressing the Enter
(←) key for 1 to 2 seconds until the unit switches state.
NOTE
The Humidifier may be turned off at any time by pressing
and holding the Enter (←) key for 3 seconds. Other status
messages that may appear at the bottom of the screen are:
"OFF by remote shutdown"- Indicates the Remote
Start/Stop feature is enabled and requires a remote
start switch to be turned on.
"OFF by Network"- Indicates the BMS communication
feature is enabled and the controller received a network
signal to pause operation.
4. If the actual room humidity is below the set point minus
dead band, the Humidifier(s) will operate. The controller
automatically enables the control outputs and records
the date and time in the alarm history log. An animated
icon (shown below) appears in the display indicating the
Humidifier is operating.
= Humidifying
5. If the Humidifiers don’t operate, operation may be started
by creating a demand for humidification. If direct BMS
control is used, generate a demand with the BMS
proportional input and skip to step 11. Otherwise
generate a demand using the Control menu loop (see
steps 6- 10).
6. From the Main screen, access the Main Menu (see
Section 5.1) by pressing the program (Prg) key.
7. Scroll through the Main Menu selections with the Up (↑)
and Down (↓) arrow keys and select the Control menu
by pressing the Enter (←) key when "CONTROL "
appears in bold letters in the center of the screen. A
password entry screen will be displayed.
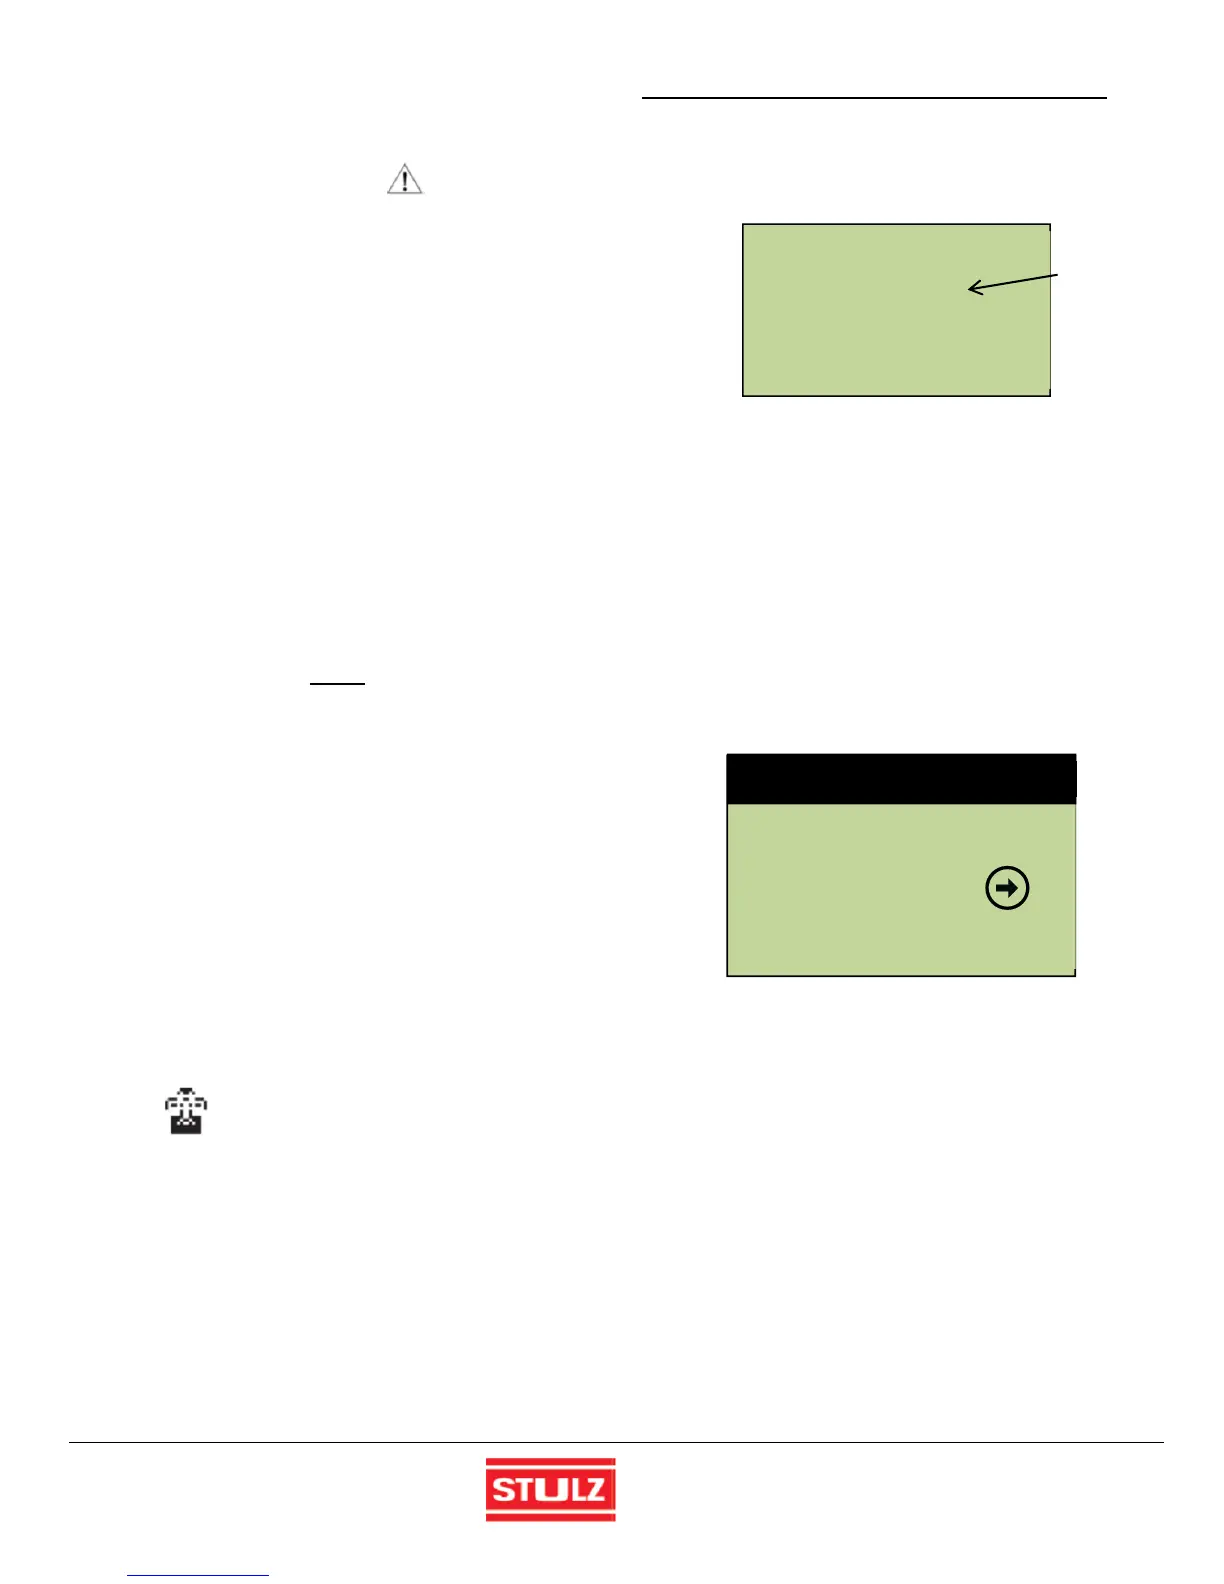
Flashing
Cursor
8. To access the Control menu, press the Enter (←) key to
insert a flashing cursor in the "Enter Password" field.
Change the "0" to "1" (or to the current Control menu
password if it was changed in the Service menu) with
the Up (↑) arrow key and then press the Enter (←) key
to accept the password. Press the Enter (←) key again
to access the Control menu screens.
9. From the Control menu, select set points by scrolling
through the menu selections with the Up (↑) and Down
(↓) arrow keys and pressing the Enter (←) key when
"SET " appears in bold capital letters in the center of the
screen.
10. After entering the set points screens, select the
Humidity set point screen by scrolling through the menu
selections with the Up (↑) and Down (↓) arrow keys (see
Section 5.4.1
). Press the Enter (←) key to move the
cursor over to the set point value. Increase the Humidity
set point with the "UP" arrow key until the humidity set
point exceeds the actual room humidity. Press the
Enter key again to accept the set point. Press the
Escape key twice to exit the set points screens and
return to the Main Menu screen.
11. Listen for the ultrasonic Humidifier transducers to
energize or visually check for humidity leaving the
Humidifier(s) to confirm that they are operational.
12. Observe the animated icon in the Main screen to
determine if the unit is operating.
Control Menu
 Loading...