6
19
Figure 17
Figure 17
Note: The Solar Screen is preset to stop 36” from the
Housing. This posion can be changed to lower the
Solar Screen as much as 84” from the Housing.
20Plug in the Motor.
Press and release the UP
Figure 18
21
DOWN
the EasyShade to the current
Let the
EasyShade stop on its own
See Figure 18
22UP and DOWN
simultaneously
See Figure 18
Note: The EasyShade is temporarily in Programming
Mode. The UP and DOWN buons on the
Remote Transmier must be pressed and held to
reposion the EasyShade. When either buon is
released, the Solar Screen will stop moving.
23DOWN or UP
to adjust the new Down
marked in Step 12Figure 12
CAUTION: Do not let the EasyShade extend more
than 84” from the Housing. See Figure 19.
24STOP (my)
Down
UP and DOWN
UP
Figure 18
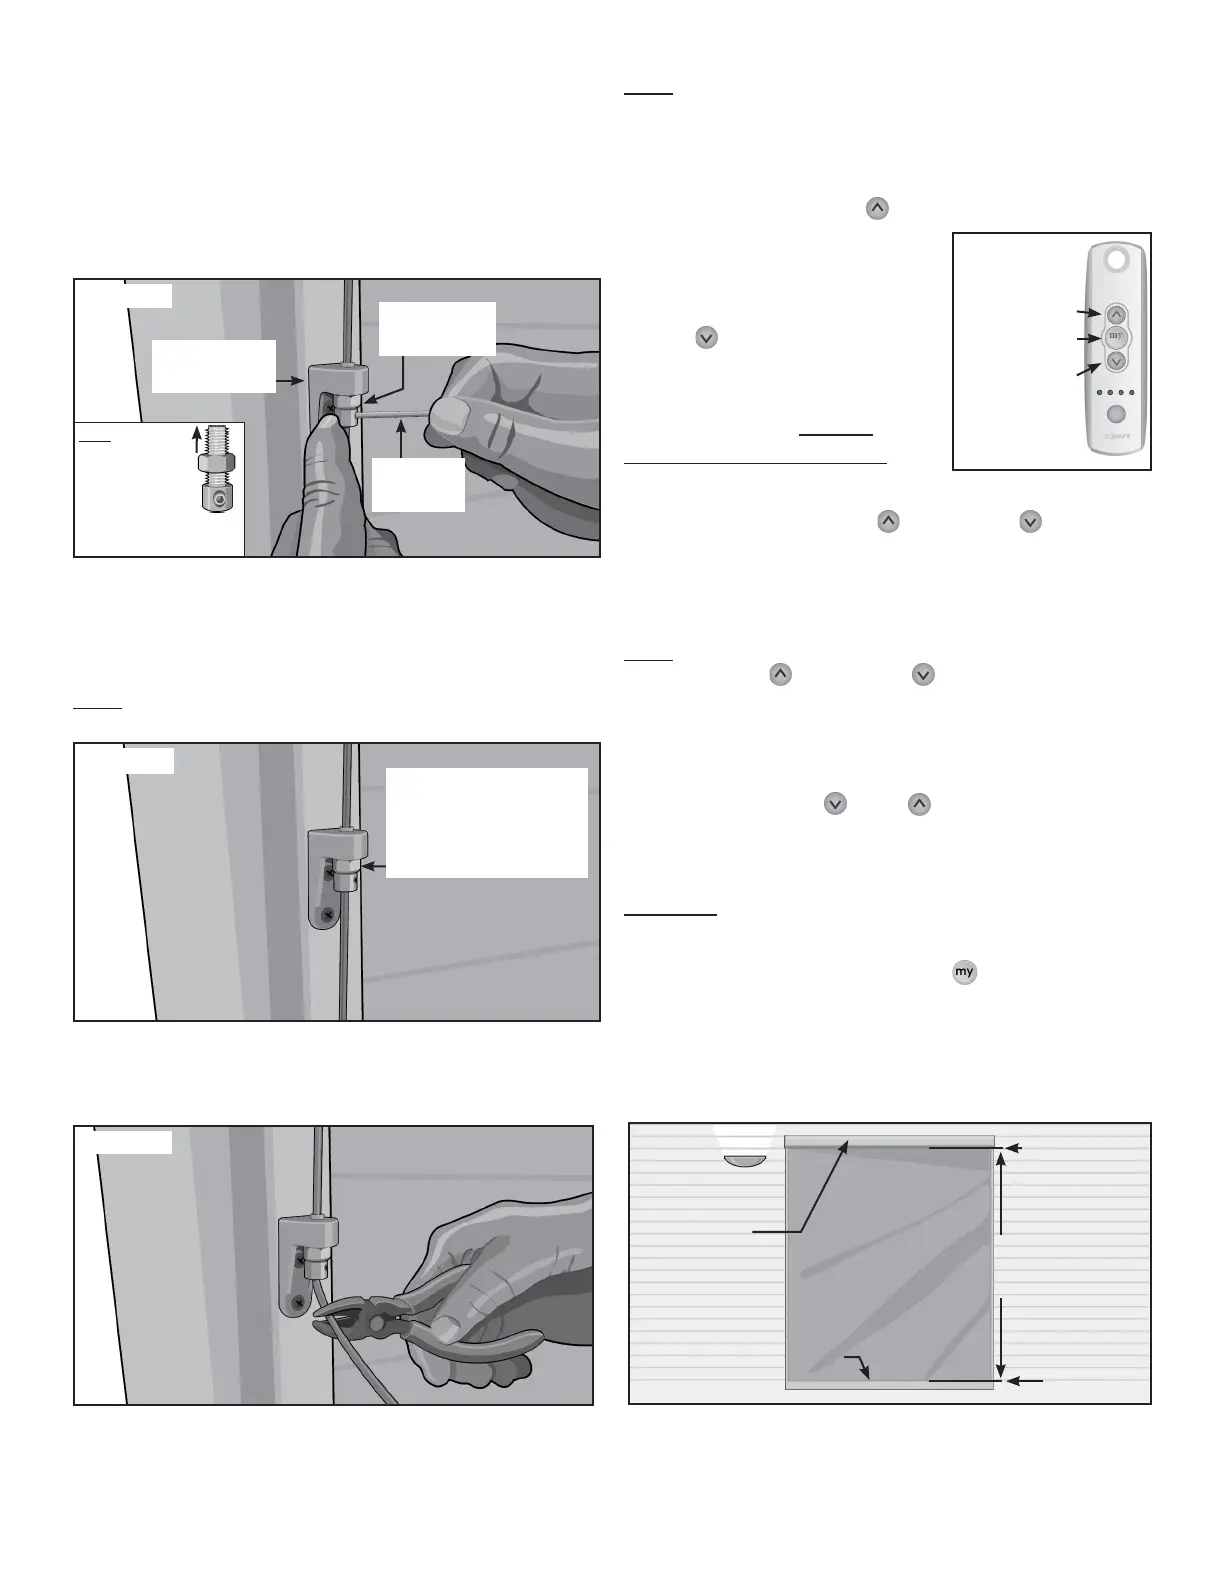
Figure 19
EasyShade
Housing
Housing
Cable Guide
Bracket
17
Cables through the hole in the Cable Guide Bracket
Cable Guide Stops onto the Vinyl Coated Cable and
See Figure 15
18
Cable Tension by turning the Cable Stop Nut Counter
See Figure 16
Note: Do not over ghten the Cable.
Figure 15
Note:
The Cable Guide
Stop installs
underneath the
Cable Guide
Bracket, with threads
poinng up.
Cable Guide
Bracket
Cable Guide
Stop
Figure 16
Adjust Cable Tension
by turning this Cable