SuperServer 1019C-HTN2 User's Manual
28
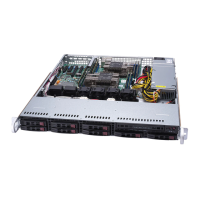
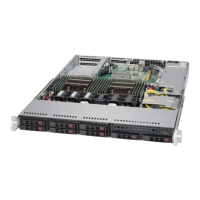
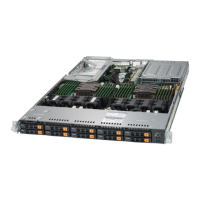
3.5 Chassis Components
Hard Drives
Your server may or may not have come with hard drives installed.
Two hot-swap 2.5" SATA3 drives may be installed into the chassis. Follow the procedures
below to install the internal drives.
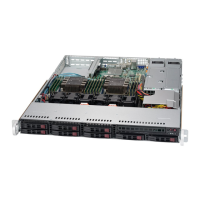
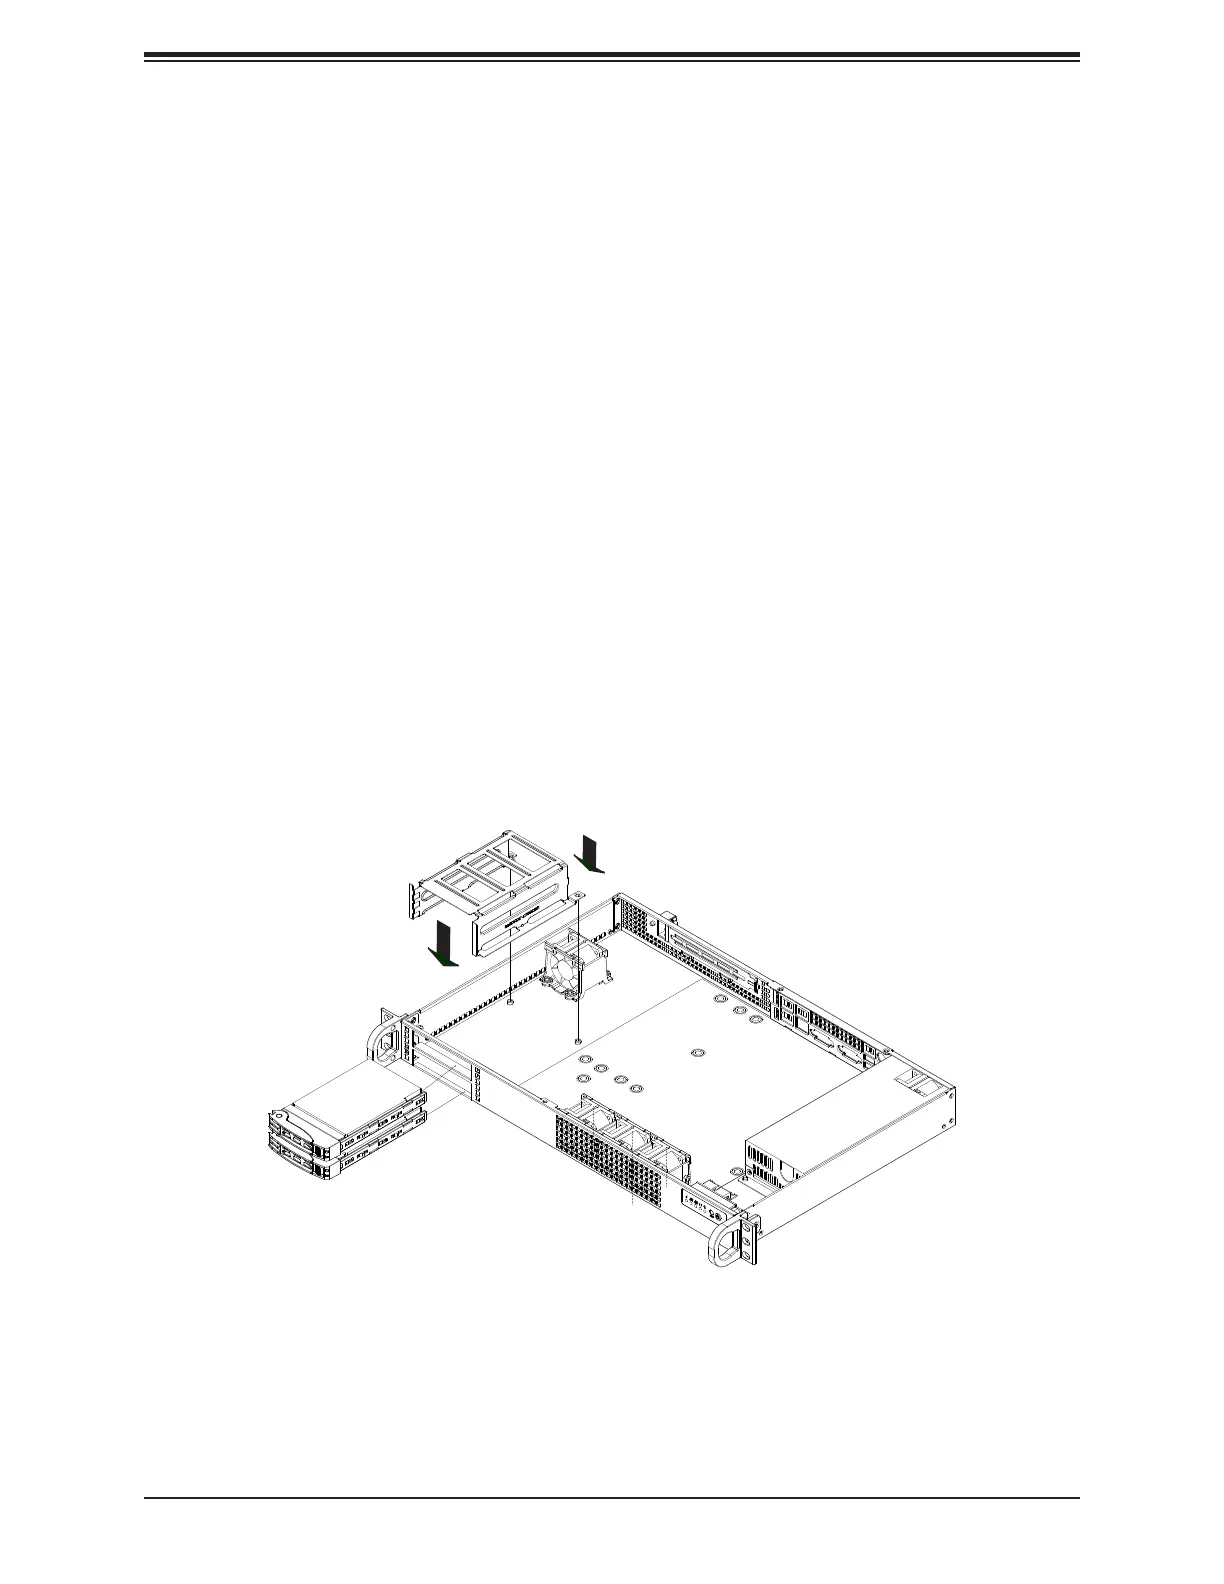
Installing Fixed 2.5" Hard Drives
The 2.5" hard drives must be installed in brackets before they are screwed into the chassis.
Begin by removing power from the system as described in section 3.1 and remove the chassis
cover.
1. Insert up to two 2.5" hard drives into the hard drive bracket.
2. Secure the 2.5" hard drives to the bracket with the screws provided.
3. Place the hard drive bracket in the chassis as illustrated in Figure 3-2.
4.
5. Connect the power and data cables to the motherboard.
Figure 3-4. Installing 2.5" Drives in the Chassis
Note: Figure is for illustrative purposes only. Only one bracket for two drives can be installed
to the 1019C-HTN2.
 Loading...