Chapter 6: Advanced Chassis Setup
6-5
6-5 Checking the Airfl ow
Checking Airfl ow
1. Make sure there are no objects to obstruct airfl ow in and out of the server. In
addition, if you are using a front bezel, make sure the bezel's fi lter is replaced
periodically.
2. Do not operate the server without drives or drive trays in the drive bays. Use
only recommended server parts.
3. Make sure no wires or foreign objects obstruct airfl ow through the chassis.
Pull all excess cabling out of the airfl ow path or use shorter cables.
4. The control panel LEDs inform you of system status. See “Chapter 3: System
Interface” for details on the LEDs and the control panel buttons.
6-6 System Fans
Four fans provide cooling for the chassis. These fans circulate air through the
chassis as a means of lowering the chassis internal temperature. The SC827 system
fans are hot-swappable. There is no need to power down the system when replacing
fans and new tools are required for installation.
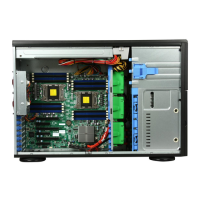
Optional Fan Confi gurations
The SC827 model chassis is designed so that the default confi guration of the
system is for each motherboard to control two fans (Figure 6-3). The fans are hot-
swappable. Each motherboard node in the chassis is connected to the backplane
through the adapter card, mounted in the motherboard drawer. In the event that
one of the motherboard drawers is removed, then the remaining motherboard will
operate both fans.
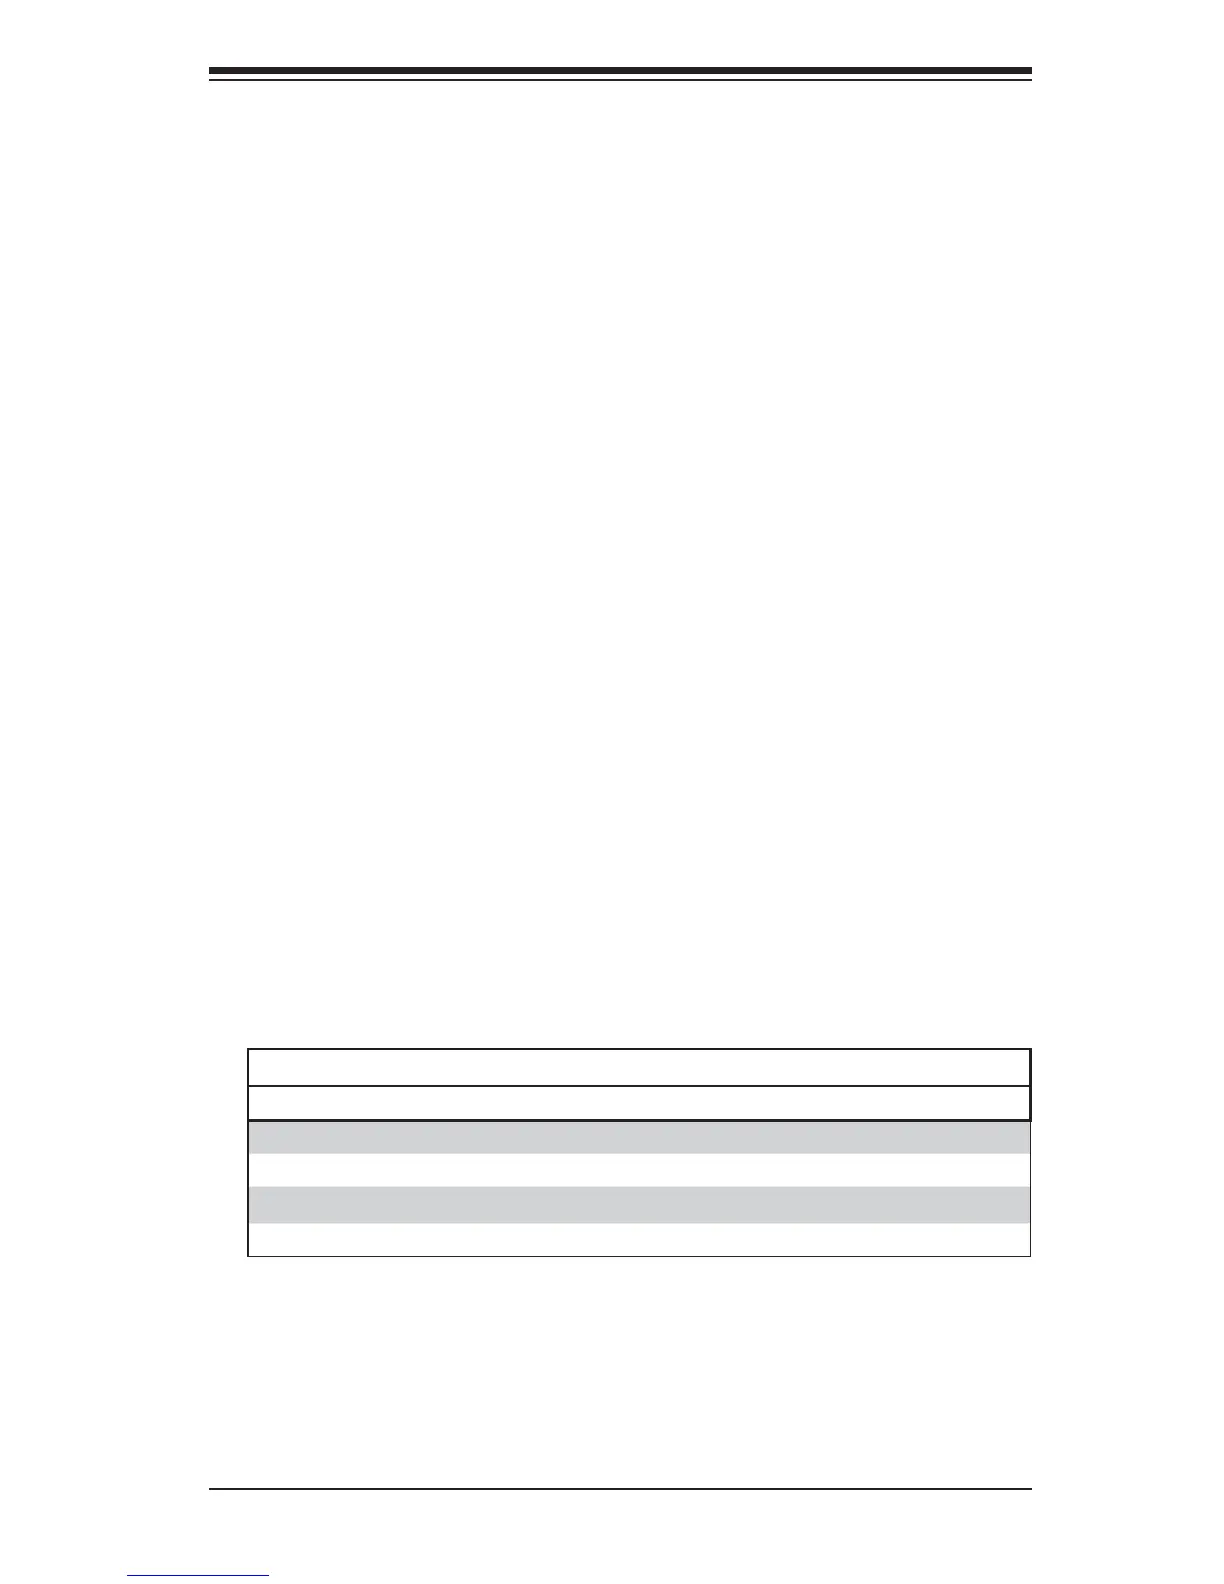
Fan Confi gurations Options
SC827H Hot-Swappable Default Confi guration
Fan A connected to bplane, bplane connected to Node A by adapter card
Fan B connected to bplane, bplane connected to Node B by adapter card
Fan C connected to bplane, bplane connected to Node C by adapter card
Fan D connected to bplane, bplane connected to Node D by adapter card