Chapter 6: Advanced Chassis Setup
6-7
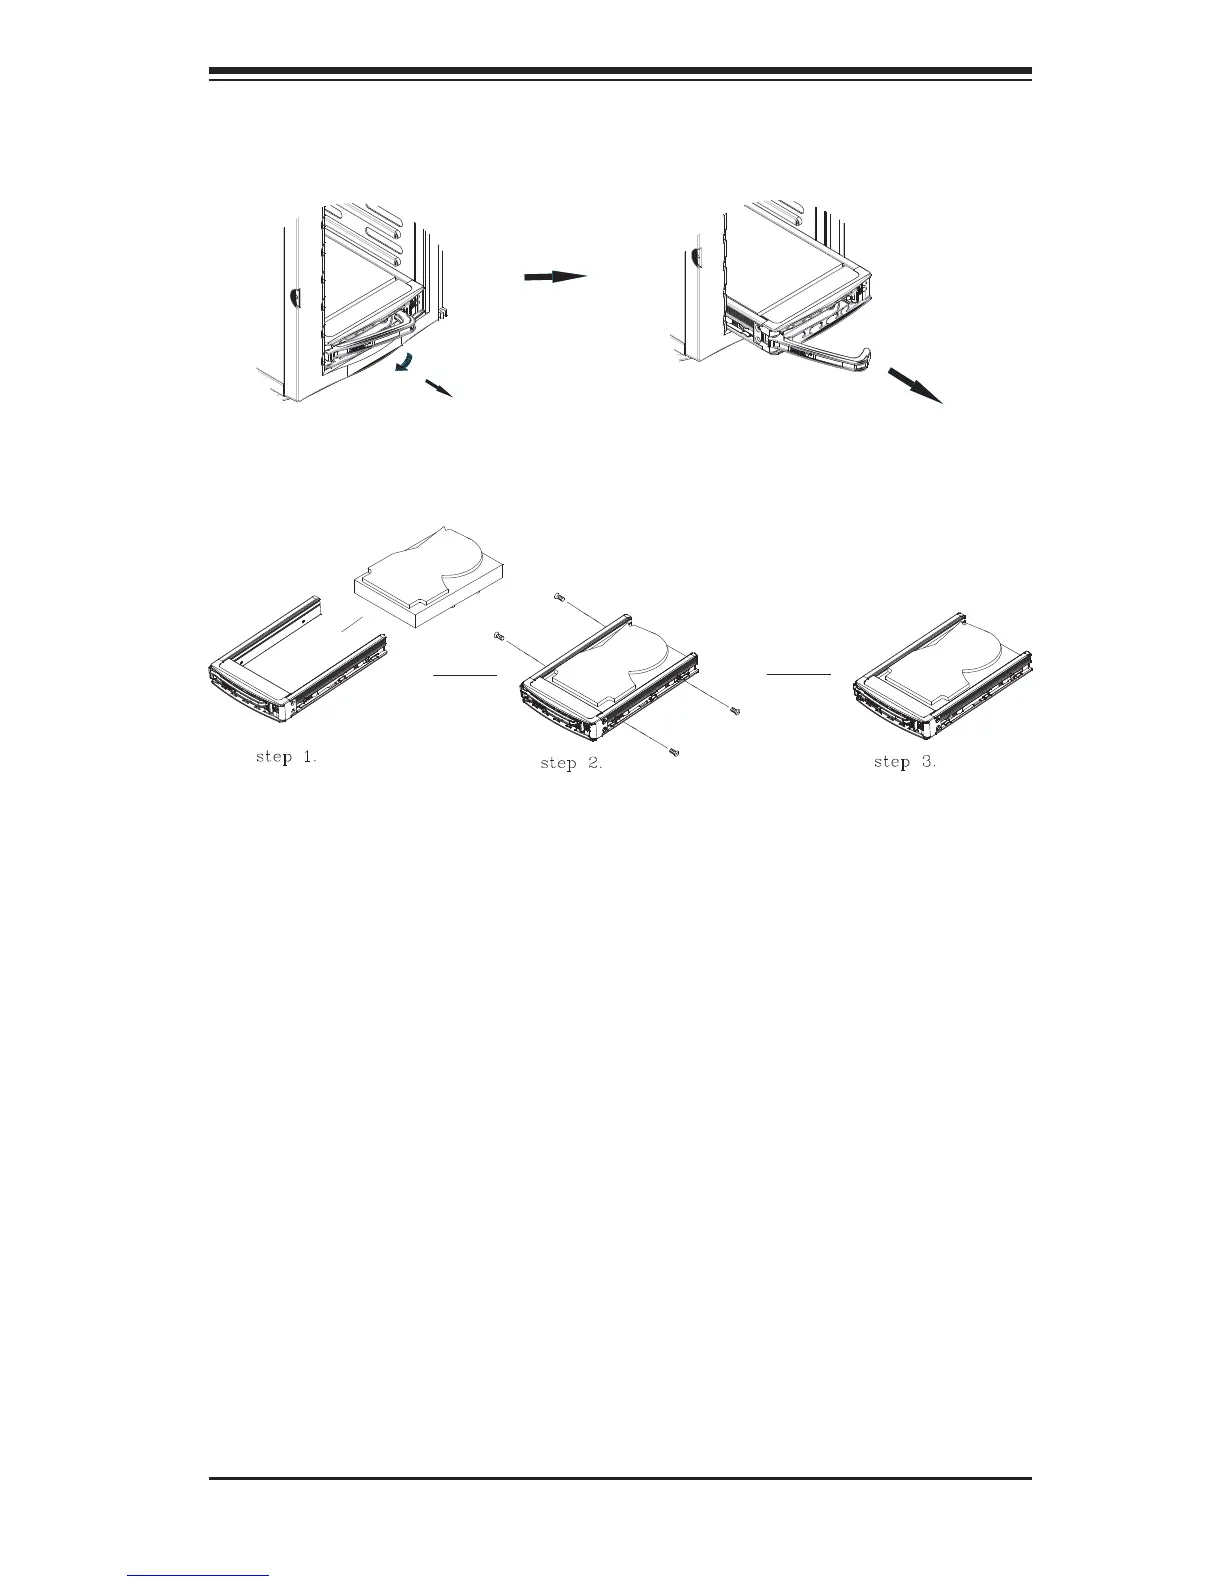
Figure 6-6. Mounting a Drive in a Carrier
Figure 6-5. Removing a Drive Carrier
SATA Backplane
The SAS/SATA drives plug into a backplane.
Installing Components in the 5.25" Drive Bays
The SuperServer 7047R-TRF has two 5.25" drive bays. Optional DVD-ROM drives
can be installed into these 5.25" drive bays.
1. First power down the system and then remove the top/left chassis cover to
access the drive components.
2. With the cover off, remove the two or four screws that secure the drive carrier
to the chassis (one side only) then push the entire empty drive carrier out
from the back.
Adding an Optional DVD-ROM Drive
1. Remove the guide plates (one on each side) from the empty drive carrier and
screw them into both sides of the DVD-ROM drive using the holes provided.
2. Slide the DVD-ROM into the bay and secure it to the chassis with the drive
carrier screws you fi rst removed.
3. Attach the power and data cables to the drive.
4. Replace the top/left chassis cover before restoring power to the system.
 Loading...