C-2
X9SCM/X9SCM-F/X9SCL/X9SCL-F User’s Manual
Part 2: BIOS Reprogramming (Re-Flashing)
After completing the Boot Sector Recovery Process, you will need to reprogram
(“re-ash”) the proper BIOS binary le again into the BIOS ROM in order to have
the correct BIOS le loaded by the system. For details on how to ash/re-ash a
BIOS, please check our website for “Update your BIOS”, or see the section 3-3
(FAQ) of this manual. DO NOT INTERRUPT THIS PROCESS!
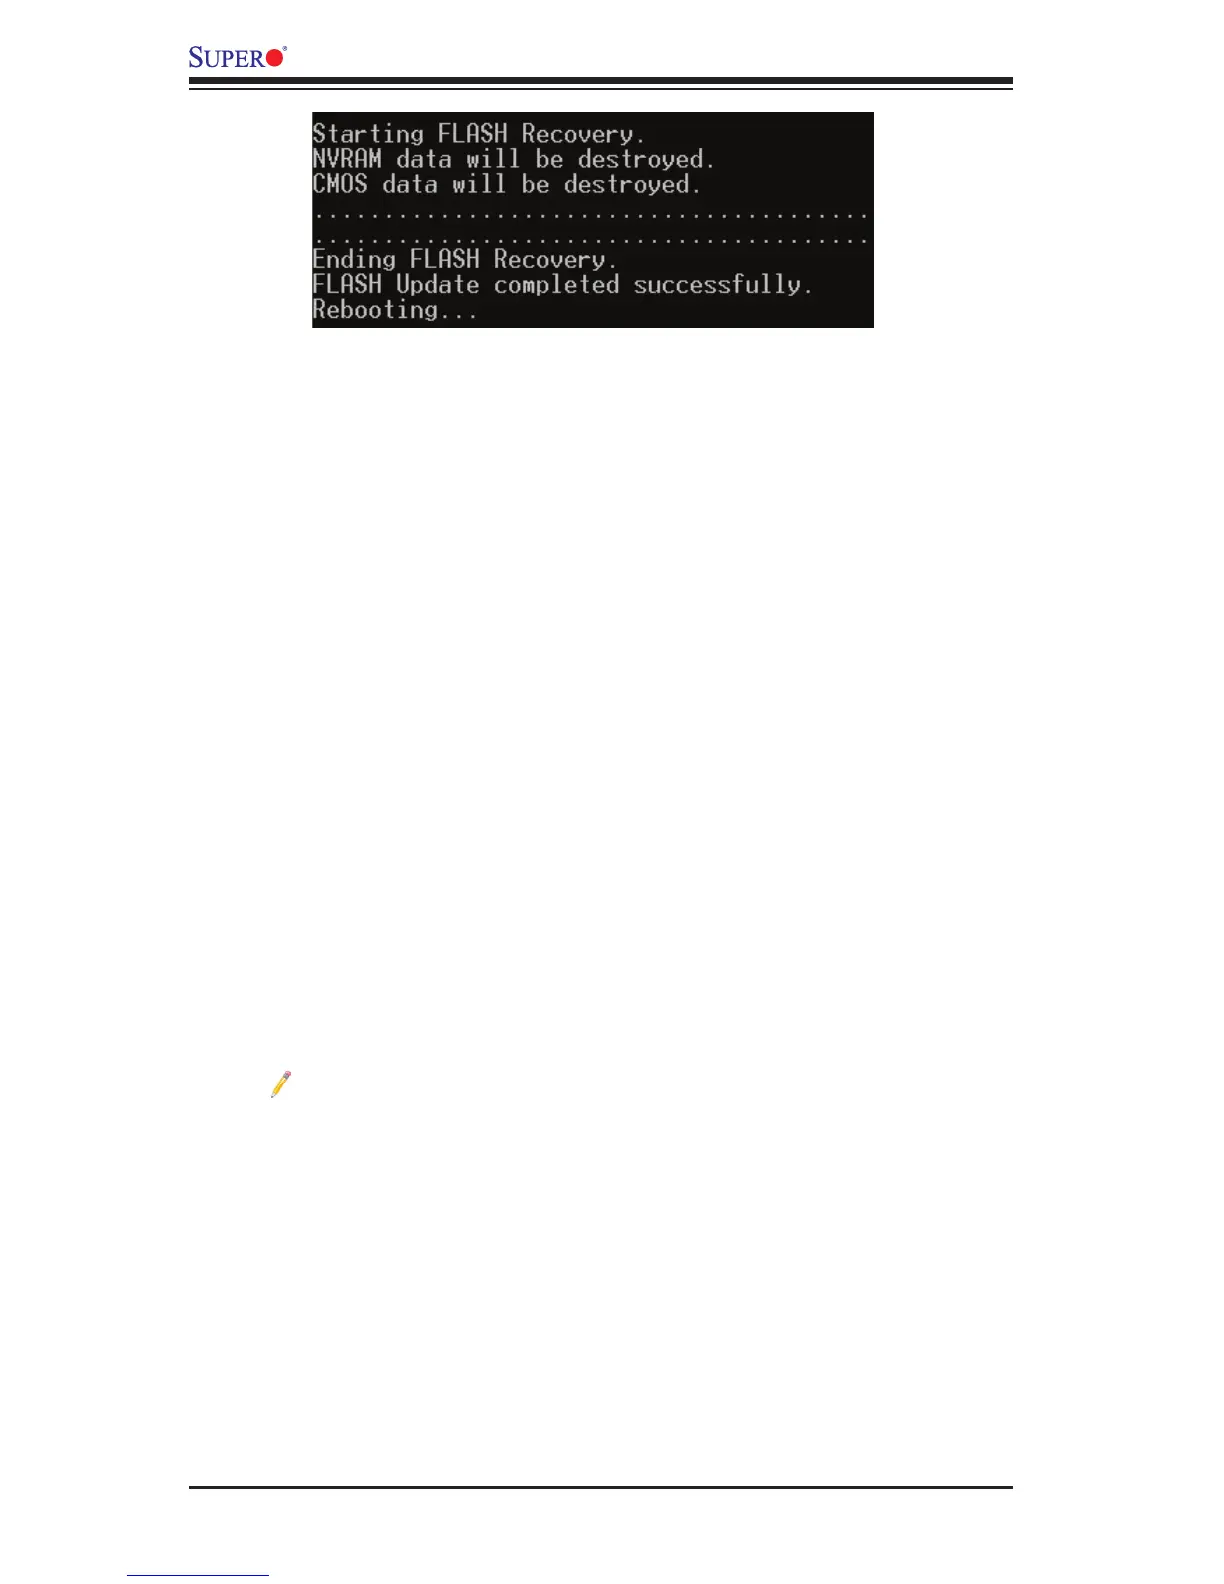
When completed, the system will reboot automatically, and you will see a checksum
error again.
Press “F1” to go to setup. Press “F9” to load the defaults and then press “F10” to
save and exit.
C-2 BIOS Recovery from an IDE/SATA_ATAPI Disc Drive
This process is identical to the Boot Sector Recovery Process from a USB 1.
Device/Drive (as above), except that the BIOS image le (“super.rom”) is
loaded from an IDE/ATAPI CD/DVD/ROM/RW disc drive attached to the sys-
tem. Note that loading from an IDE/SATA hard disk drive is NOT supported.
Using a different system, download and copy the correct BIOS binary image 2.
into a writable CD/DVD disc's Root "\" Directory. Rename the le to "super.
rom" so that the system can recognize and read the BIOS binary le.
Note: Record/Burn the CD/DVD-R/RW disc using the ISO 9600 standard
format. Refer to your CD/DVD application documentation for instructions.
Insert the newly created disc into the IDE/SATA ATAPI CD/DVD ROM/RW 3.
drive of the system that has the corrupted BIOS, and power the system down.
Follow the step-by-step instructions under Part 1 - Recovery Process from a 4.
USB Device/Drive (above) starting from Step 3 and continue on to Part 2 -
BIOS Reprogramming (Re-Flashing).
If your system still does not boot up after performing the above procedure, there
may be other issues with your motherboard. Please contact your customer service
representative for further assistance.