tracks in any order.
4. Once all desired tracks have been selected, press the
PROGRAM button to accept and exit the Program
mode. Your tracks are now programmed. NOTE:
Tracks can only be programmed in the CD drive.
Once you take a CD out of the drive, the program is
erased. You can also erase the program by pressing
the CD player STOP button twice.
5. As you rotate the SELECT jog wheel, the display will
now show only the programmed track numbers.
Key, Tempo & Voice Reduction Changes
Make any Key, Tempo, or Voice Reduction manipulations
before putting the unit into “RECORD WITH CD” mode.
(See next section for more detail).
For setting up Key changes” see page 15.
For setting up Tempo changes see page 15.
For setting up Voice Reduction see page16.
If you want to record with Voice Reduction activated,
press the VR button twice while the REC button is
flashing. You can turn Vocal Reduction ON and OFF any
time while recording a CD in RECORD WITH CD mode.
When you are finished setting your music manipula-
tions, press the SELECT jog wheel or the CD recorder
drive’s STOP button to activate the CD recorder drive.
Any changes in Key and Tempo will be applied to your
entire programmed playlist or the entire CD.
Activating “Record with CD” Mode
Select the “RECORD WITH CD” mode to sync the CD
playback drive with the CD recorder. This means the CD
recording drive will begin recording the same time CD
player drive begins playing.
1. With a CD in the CD Player drive, place a blank CD-R
or CD-RW disc in the CD recorder drive.
2. Press the RECORD MODE button located above the
display.
3. “REC WITH CD” should appear in the display. Press
the SELECT jog wheel to accept the RECORD WITH
CD mode. After initialization, “PUSH REC KEY” will
now appear in the display and the RECORD button
will be flashing. [If you want to record a song
segment see the next section before proceeding.]
4. Press the flashing red RECORD button to begin
recording. Any music practice manipulations made to
the CD player drive (i.e. Key or Tempo changes) will
be recorded to the CD recorder drive.
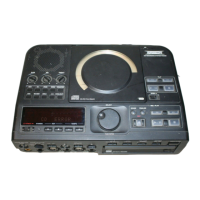
• A MIX setting of 50% means that half the
audio is processed by the Reverb/Delay effect
while the other 50% of audio bypasses the
Reverb/Delay processor.
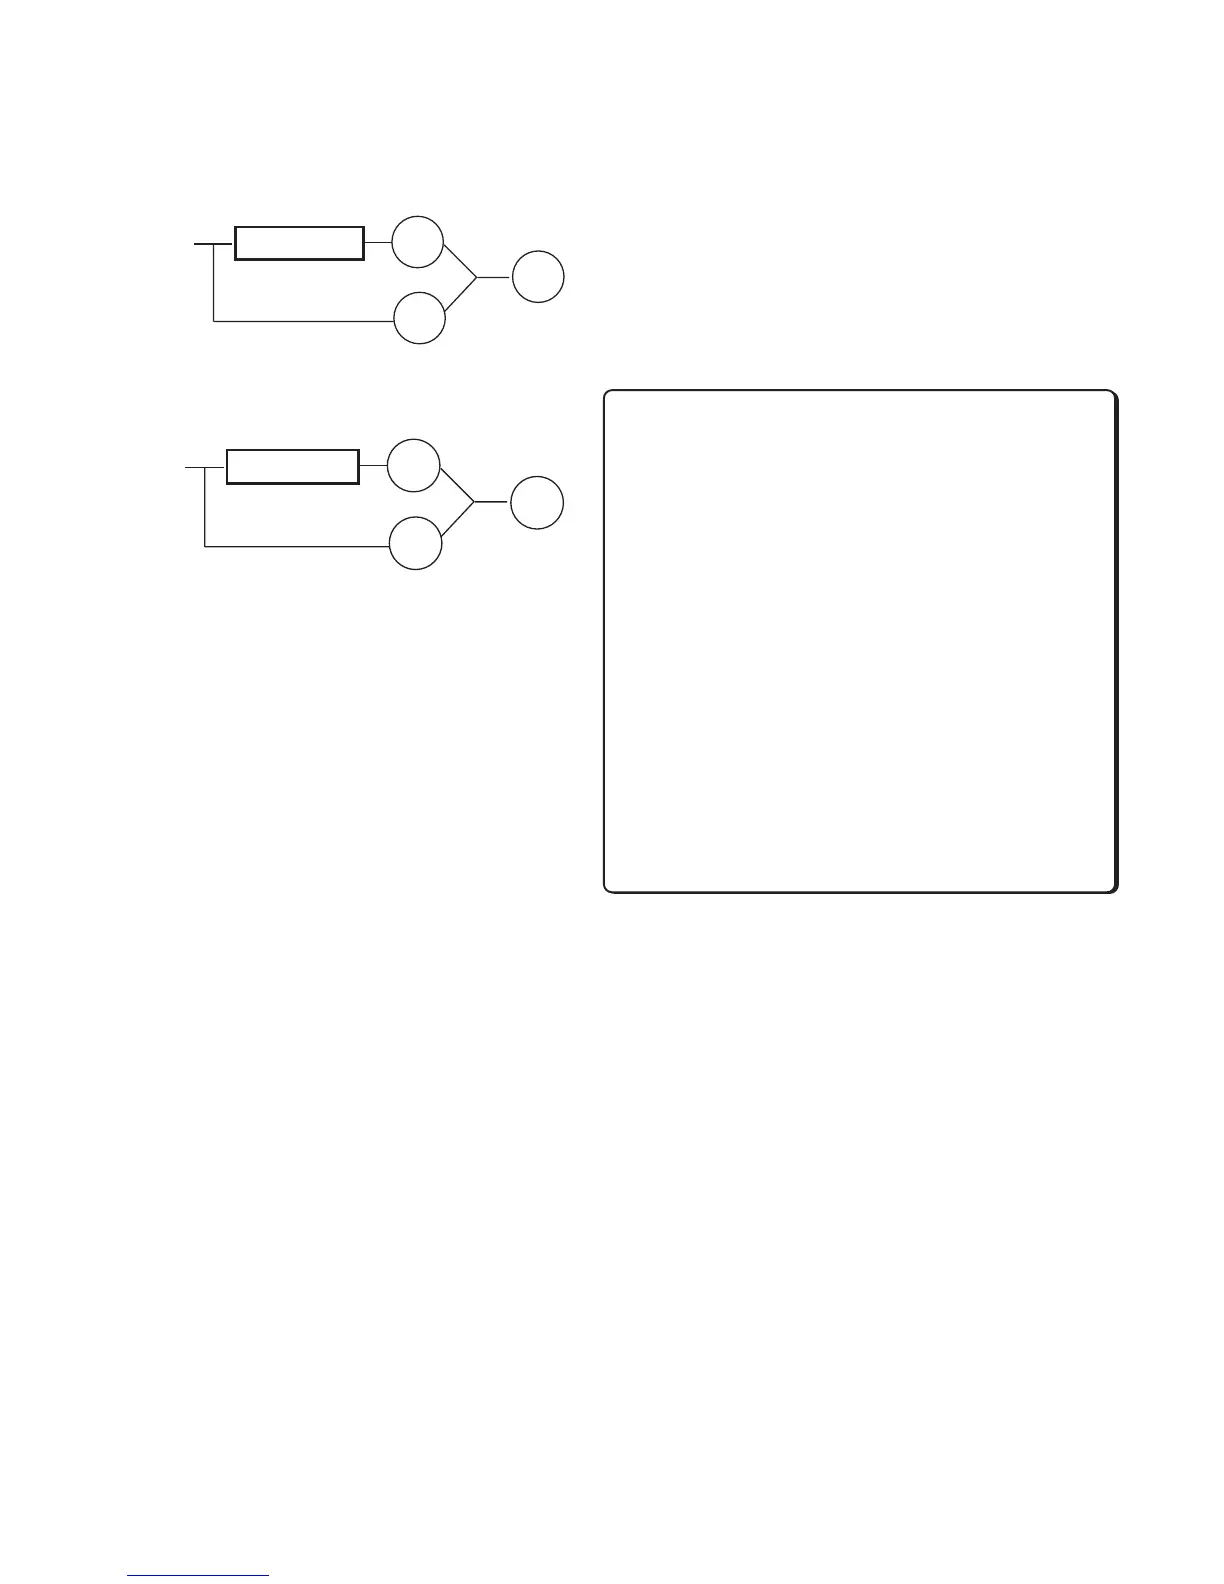
• A MIX setting of 0% means that you will only
hear “dry,” unprocessed audio.
How to Record with a CD
Anytime you start the CD player drive during recording,
audio from the CD player will be recorded. (Input
switch must be set to analog). This allows you to:
• Record a mix of live musicians with prerecorded CD
music accompaniment, and/or
• Record key and tempo changes and voice reduction
to a CD-R/RW disc.
• Intersperse live recordings with tracks, or parts of
tracks, copied from a CD. Simply locate the point in
the CD that you want to copy and press the Pause
button. During recording, release the Pause button
on the CD player drive and you will begin recording
CD audio from that point. To sync the CD player
drive to the CD recorder drive see “How to Record a
Song Segment.” (pg. 20)
.
Program a Playlist
(Recording part of a CD)
If you plan to record only select tracks from the CD,
follow these steps:
1. Press the PROGAM (PROG) button on top of the unit.
2. “PROG” will be flashing in the display showing no
tracks programmed and no track time displayed.
The letter “P” indicates programmed tracks.
3. Use the SELECT jog wheel to scroll to the track you
wish to program. Press the SELECT jog wheel to
accept the track, or, wait 3 seconds and the track
will automatically be added to the playlist. The
display will show one track programmed and its
total playing time. Continue selecting tracks using
the SELECT jog wheel. As you select tracks, the
display will show total playing time for the selected
tracks in the program. NOTE: You can program
- 19 -
REVERB/DELAY
INPUT
>
>
0%
100%
+
100%
REVERB/DELAY
INPUT
>
>
50%
50%
+
100%