Body Structure: 9E-4
Front Carrier Removal and Installation
B827H19506005
Removal
• Remove the front carrier (1) by removing the bolts (2).
Installation
Install the front carrier in the reverse order of removal.
Pay attention to the following point:
• Tighten the front carrier mounting bolts to the
specified torque.
Tightening torque
Front carrier mounting bolt (a): 28 N·m (2.8 kgf-
m, 20.0 lb-ft)
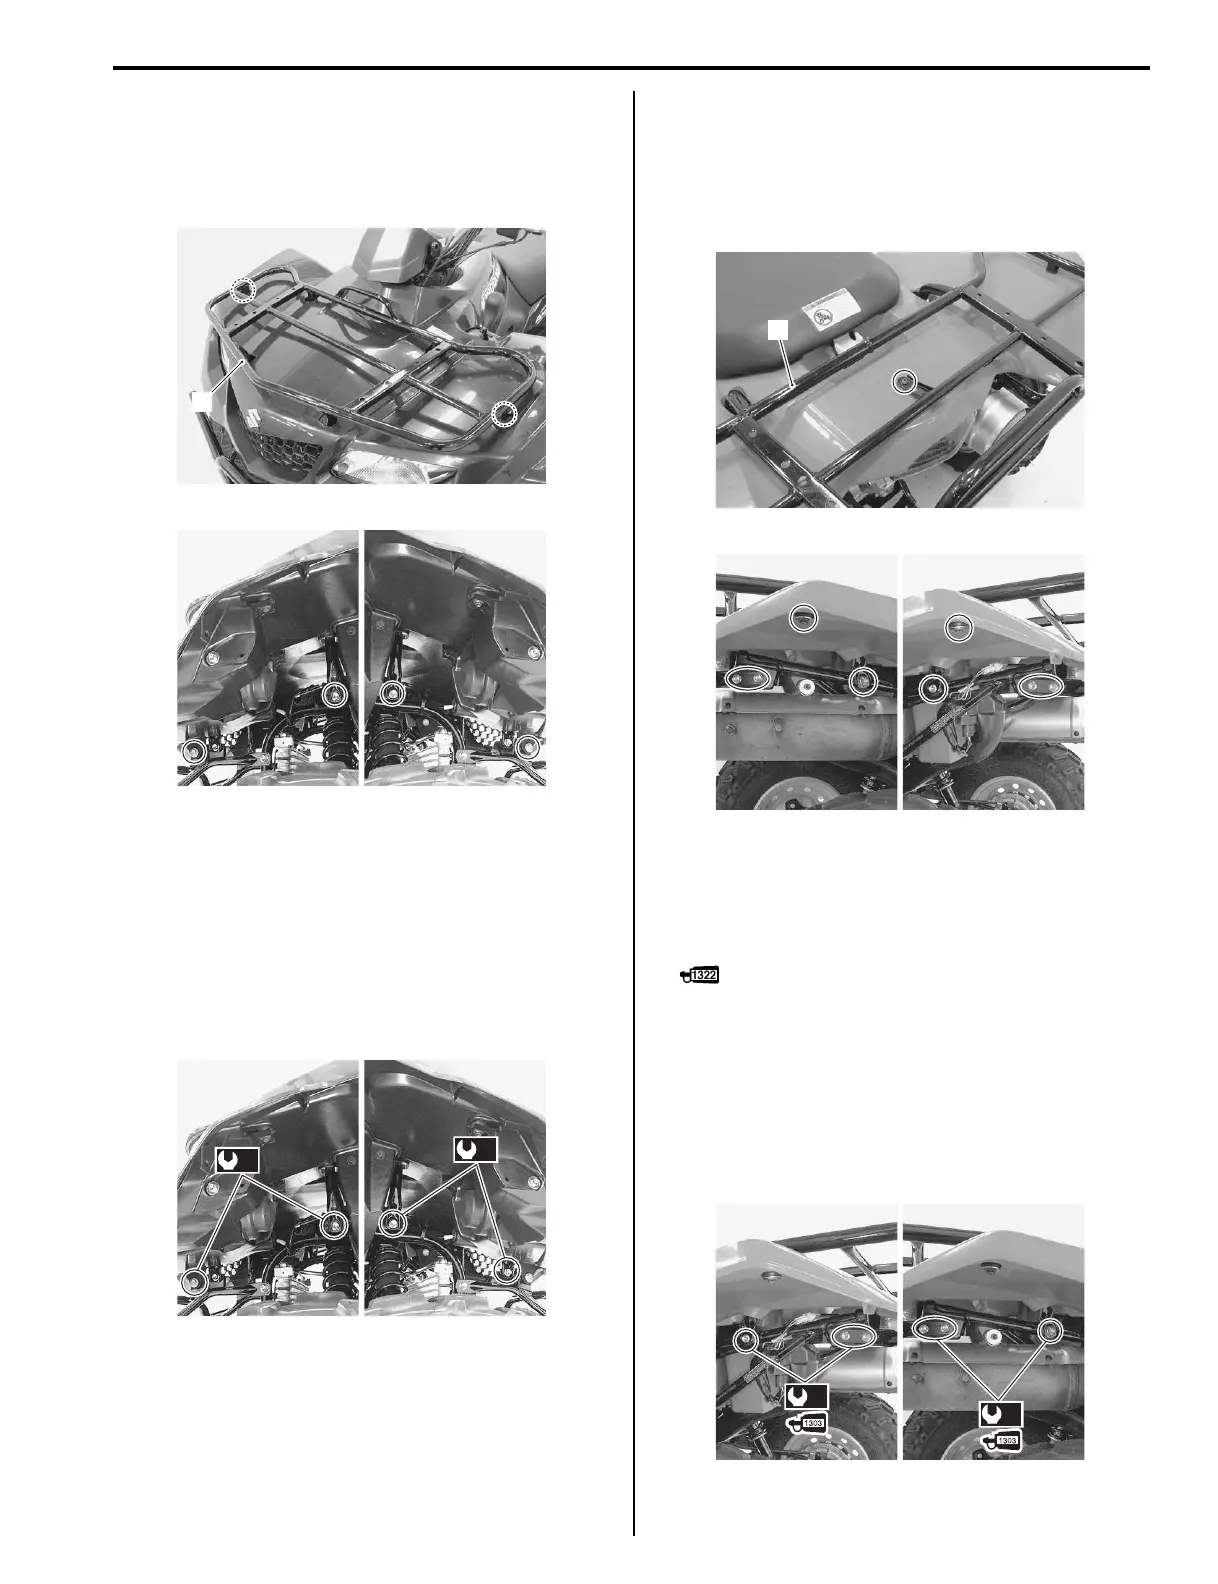
Rear Carrier Removal and Installation
B827H19506006
Removal
• Remove the rear carrier (1) by removing the bolts and
screw.
Installation
Install the rear carrier in the reverse order of removal.
Pay attention to the following points:
• Apply thread lock to the rear carrier mounting bolts.
: Thread lock cement 99000–32110
(THREAD LOCK CEMENT SUPER 1322 or
equivalent)
• Tighten the rear carrier mounting bolts to the specified
torque.
Tightening torque
Rear carrier mounting bolt (a): 28 N·m (2.8 kgf-m,
20.0 lb-ft)
1
I827H1950007-01
I827H1950008-01
(a)
(a)
I827H1950009-02
1
I827H1950010-01
I827H1950011-02
(a)
(a)
I827H1950012-01

 Loading...


