5.0 SETTING UP A TEST
5.1 Enabling Alarms(s) for O
2
and/or CO
2
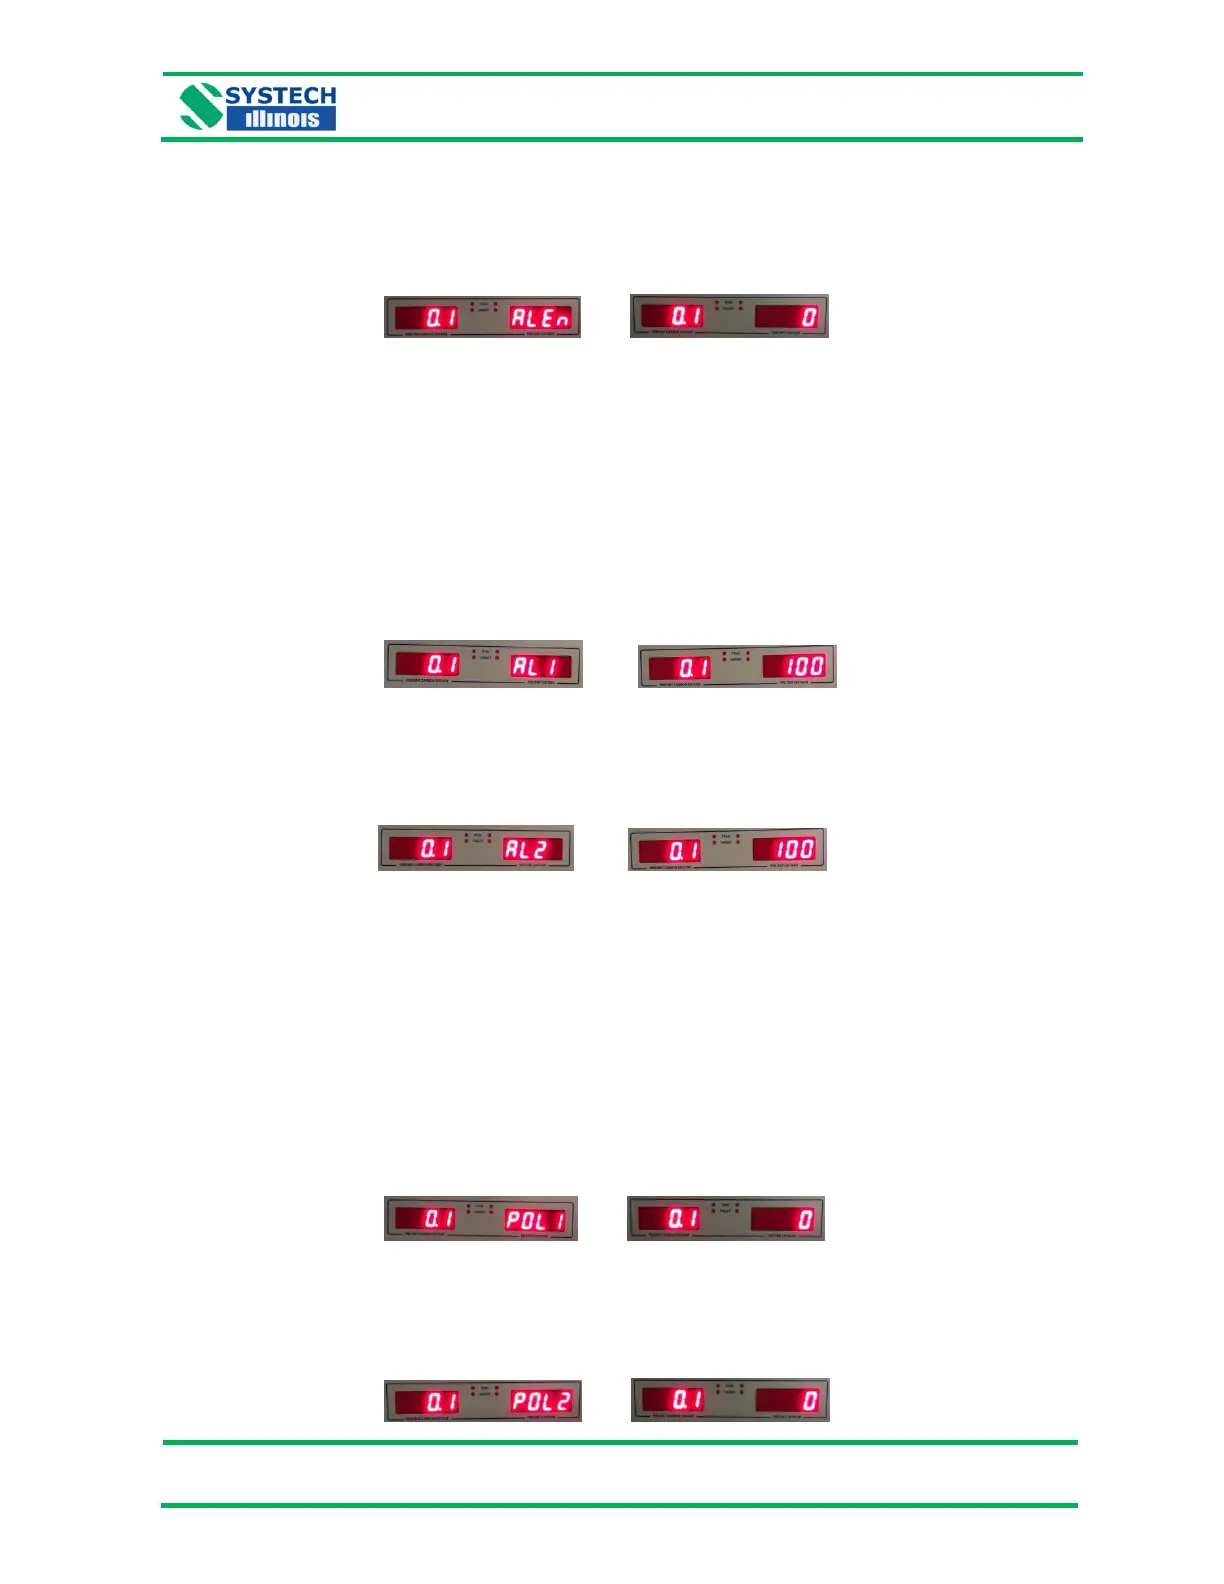
Use the menu system (refer to section 3.3) to get to the “ALEn” (Alarm Enable) parameter on Page 1
as shown below:
Using the ‘Digit Select’ and ‘Digit Increment’ buttons, set “1” to enable alarms, or “0” to disable
alarms. Press the ‘Enter’ button to save.
5.2 Setting Alarm Levels
Alarms must be enabled to set levels (refer to section 5.1 above). Use the menu system (refer to
section 3.3) to get to “AL1” and/or “AL2” (Alarm 1 and/or Alarm 2) parameter(s) on Page 1 as shown
below:
a) The “AL1” (Alarm 1) parameter sets the alarm level for O
2
(GS6500 and GS6600) or for CO2
(GS6700).
Using the ‘Digit Select’ and ‘Digit Increment’ buttons, set alarm 1 to the desired level. Press ‘Enter’
button to save.
b) The “AL2” (Alarm 2) parameter (available only for GS6600) sets the alarm level for CO
2
.
Using the ‘Digit Select’ and ‘Digit Increment’ buttons, set alarm 2 to the desired level. Press ‘Enter’
button to save.
5.3 Setting Alarm Polarity Low / Hi
Alarm Polarity is the parameter that sets the alarm condition to trigger either low or high relative to the
alarm level selected (see section 5.2) for “AL1” (Alarm 1) and/or “AL2” (Alarm 2 for GS6600).
Alarms must be enabled to set polarity (refer to section 5.1 above). Use the menu system (refer to
section 3.3) to get to the “POL1” (Alarm Polarity) parameter on Page 1 as shown below:
a) “POL1” option sets alarm polarity for O
2
(GS6500 and GS6600) or for CO
2
(GS6700).
Using the ‘Digit Select’ and ‘Digit Increment’ buttons, enter a “0” to set the polarity to low or a “1” to
set the polarity too high. Press the ‘Enter’ button to save.
b) “POL2” option (available only for GS6600) sets the alarm polarity for CO
2
.
 Loading...